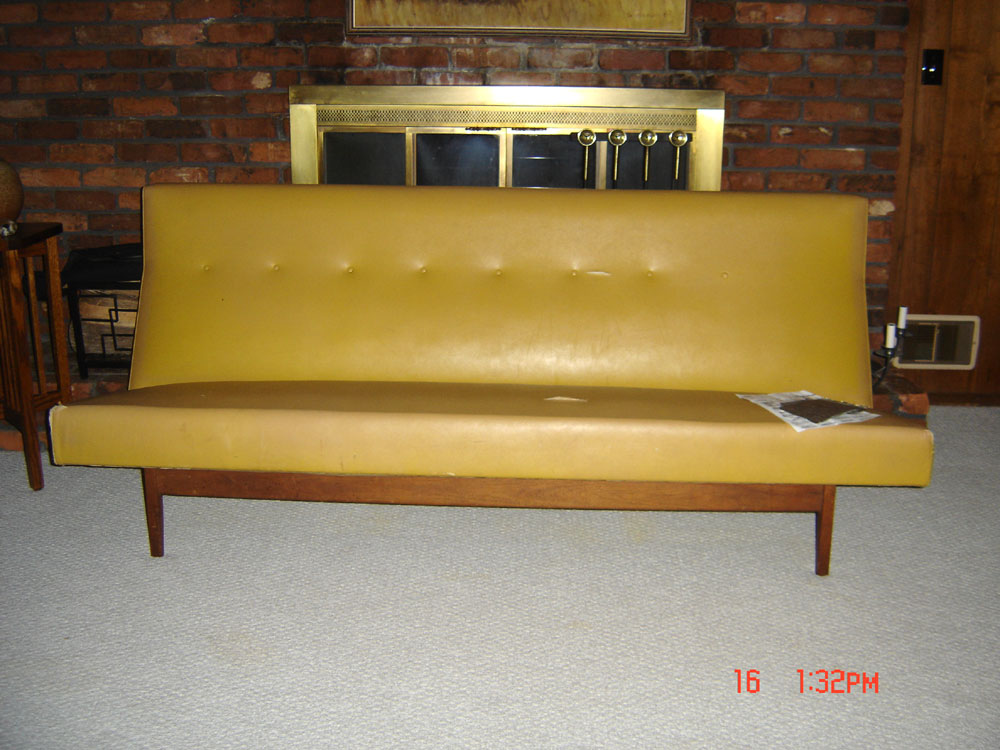
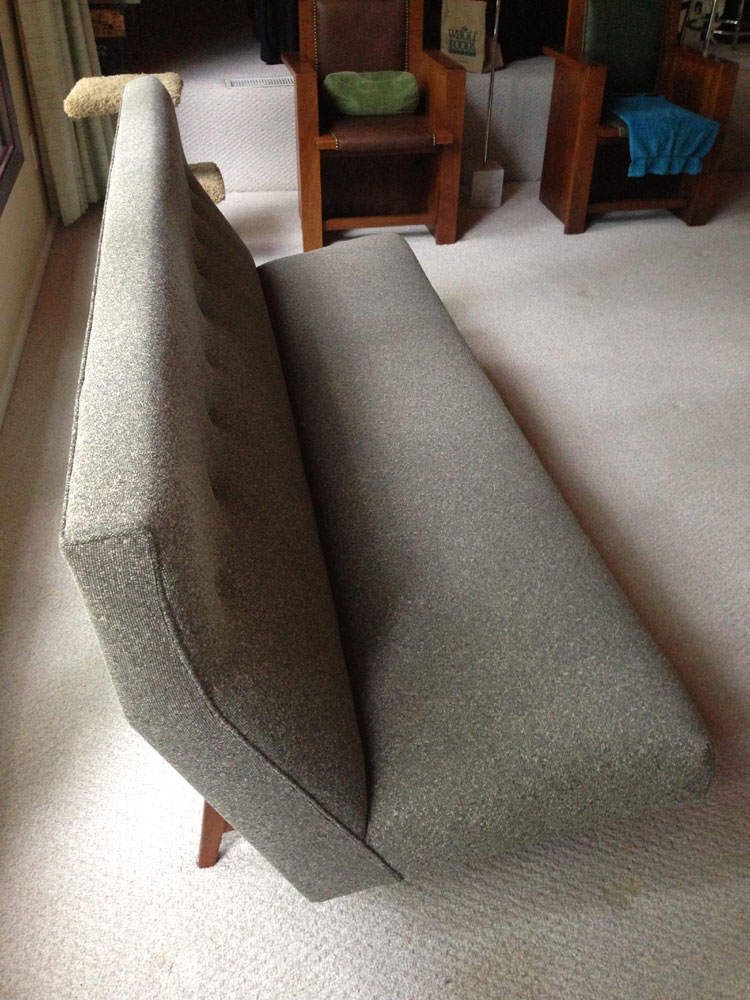
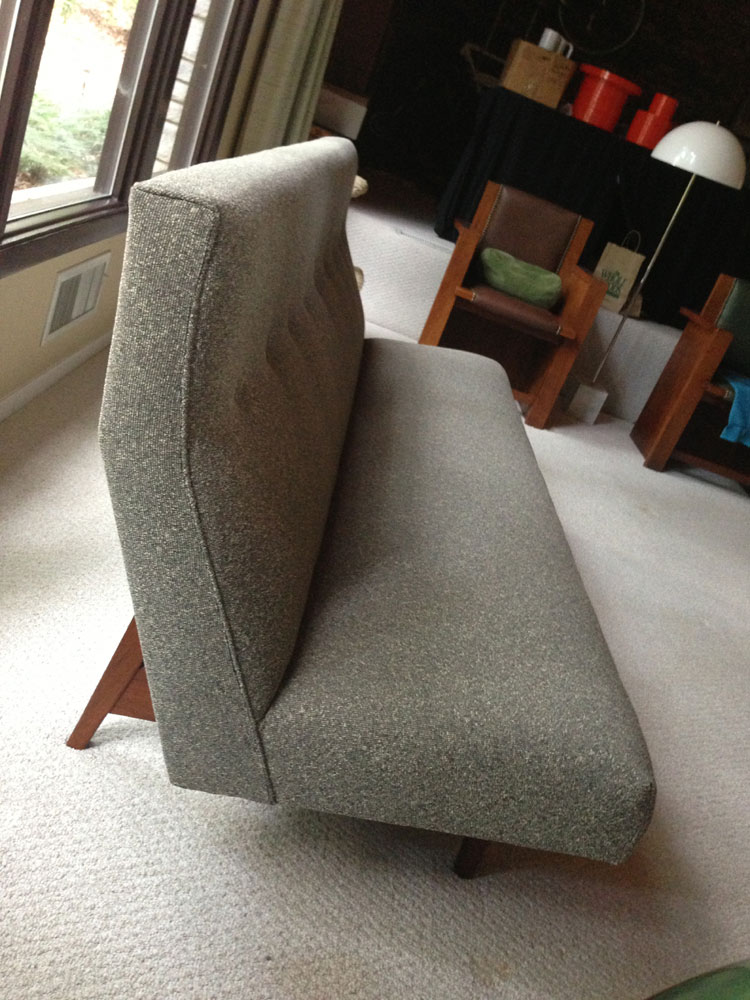
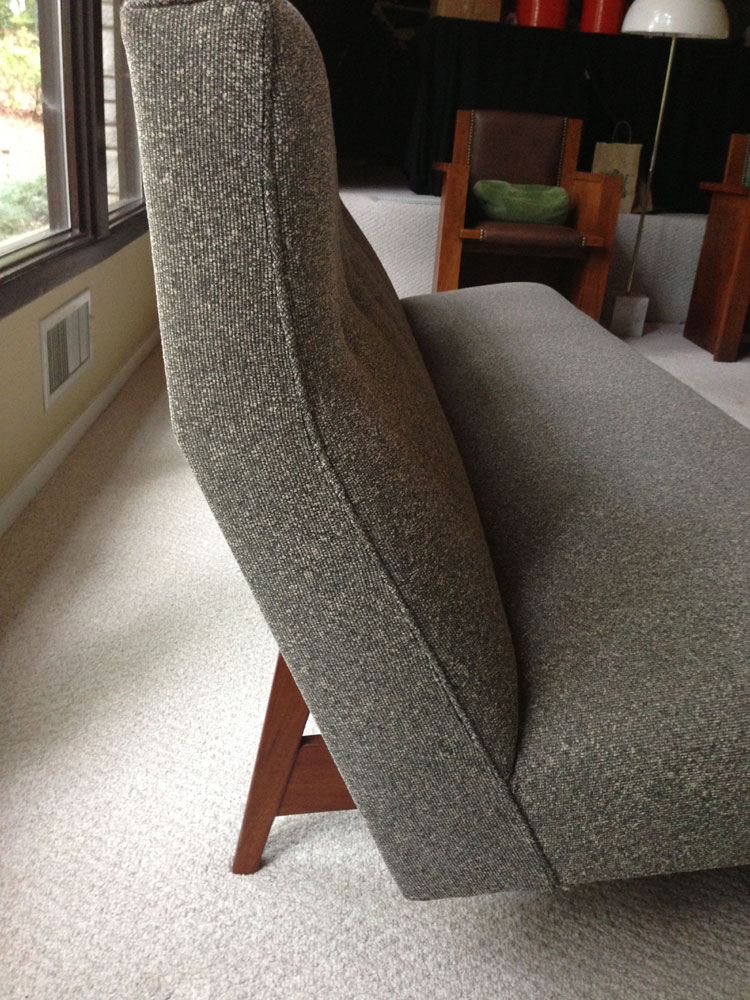
The sofa measures over seven feet in length and is quite comfortable - one thing we found was that much of the seating designed as part of the Mid-Century Modern esthetic is not very comfortable - usually the backs are quite low, more for looks than comfort. This design breaks that trend, slanting both the seat and back to be better form-fitting, more like a sport car seat designed by Ricarro rather than a bench designed by Jed Clampett.
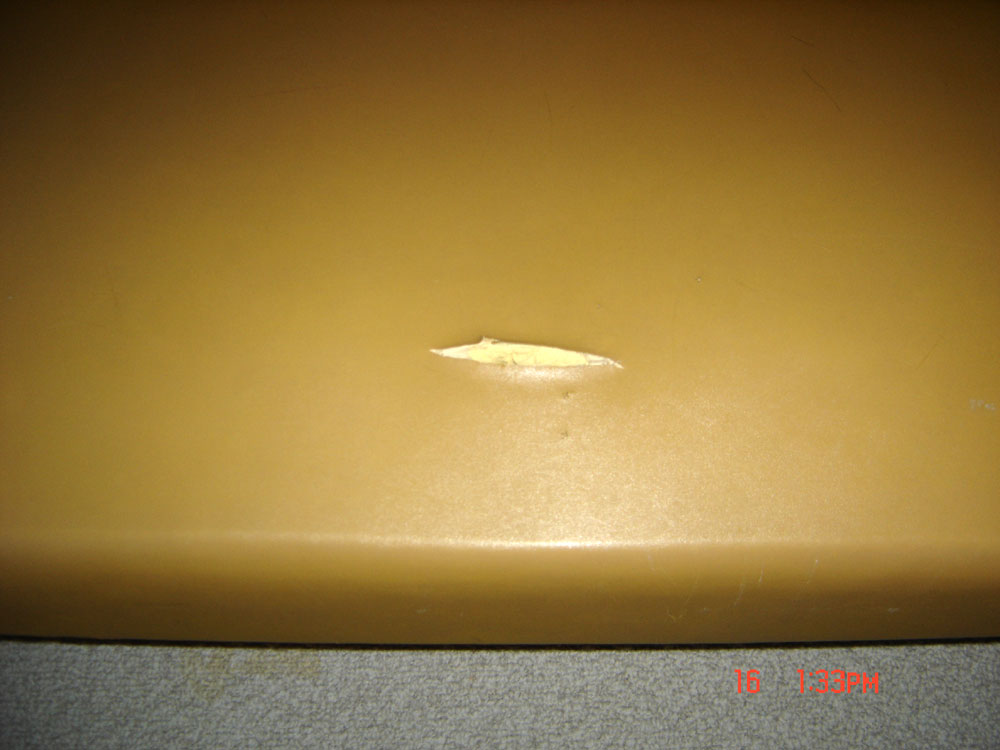
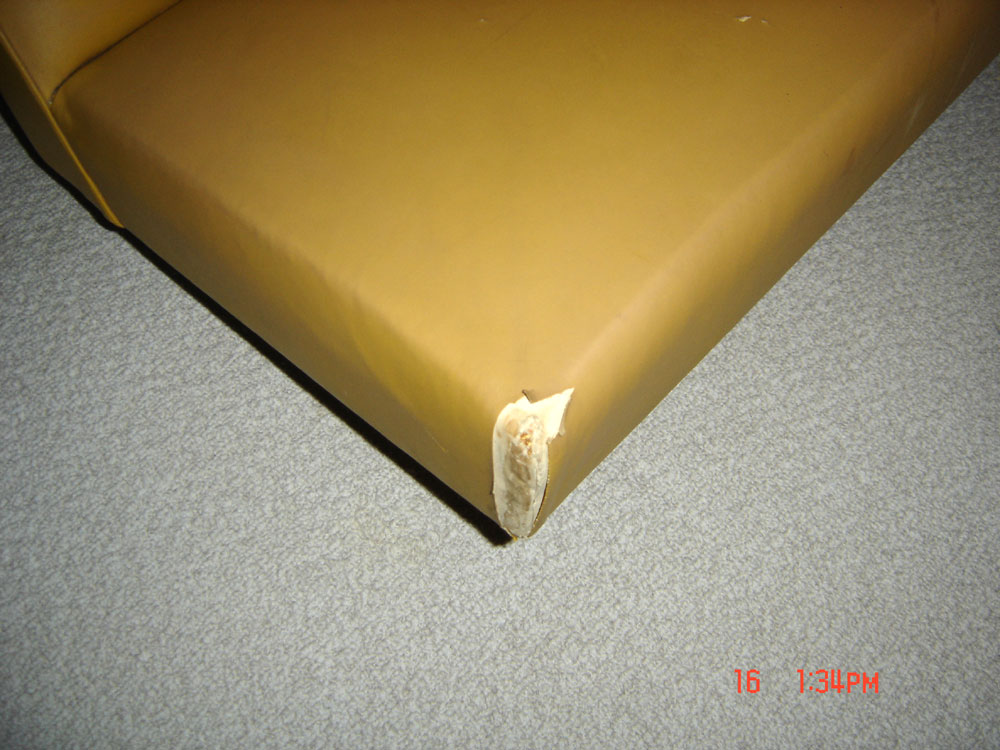
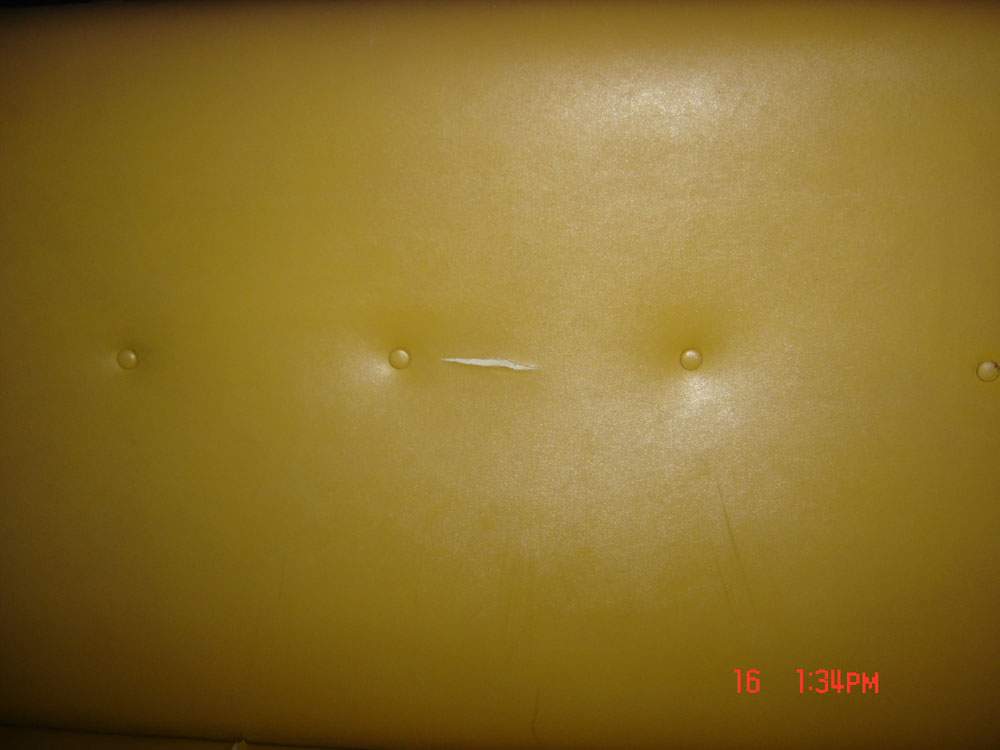
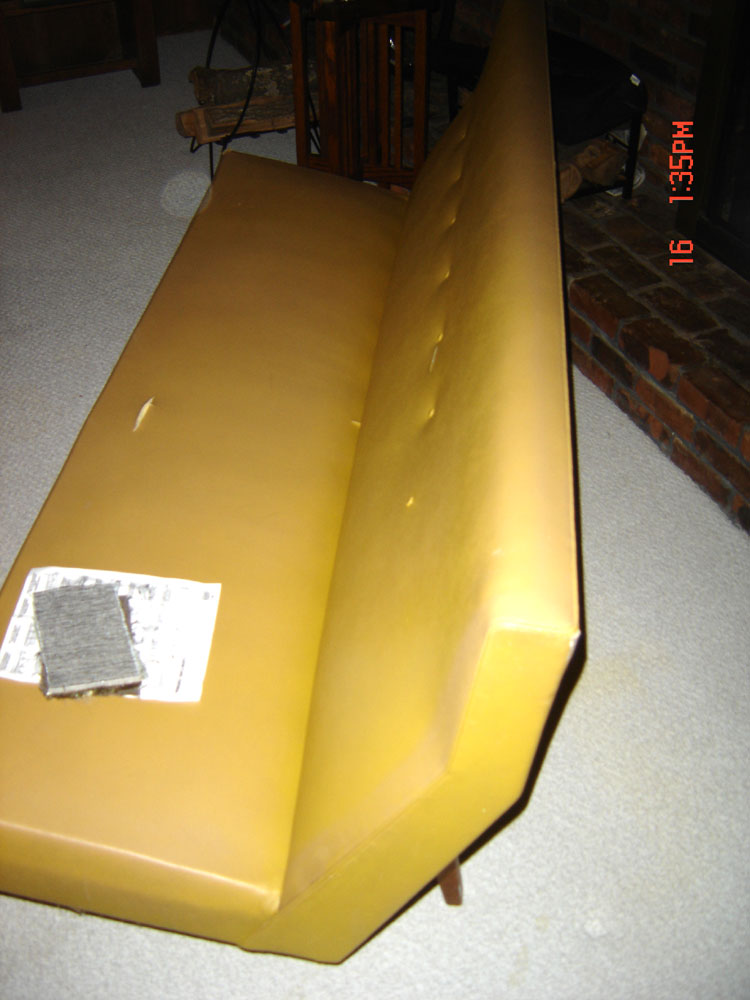
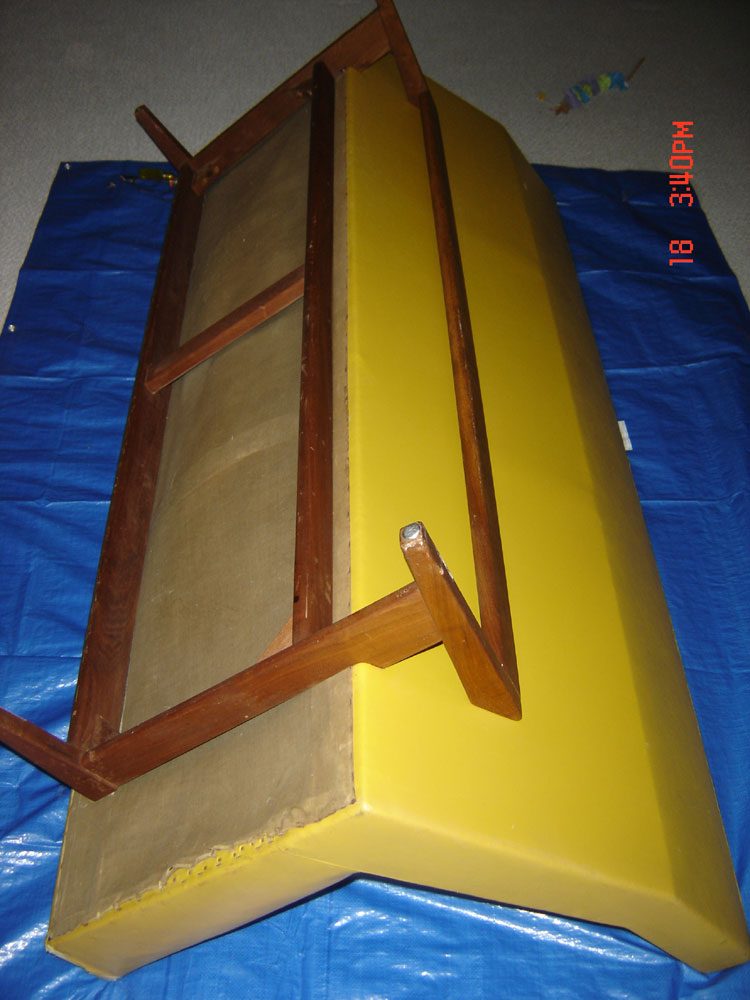
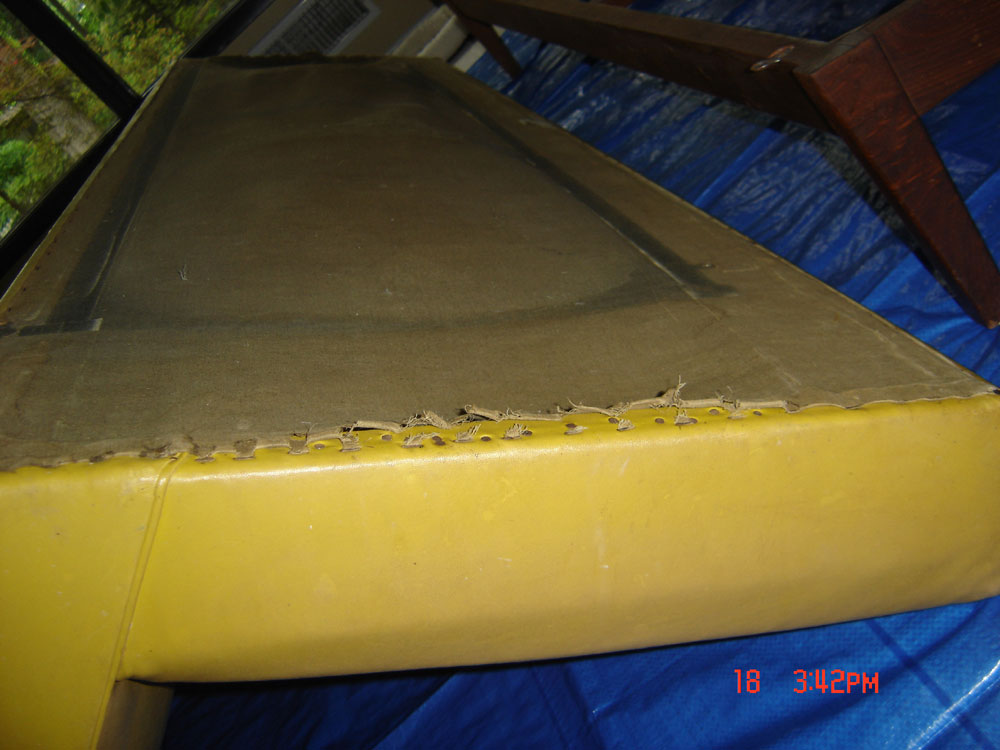
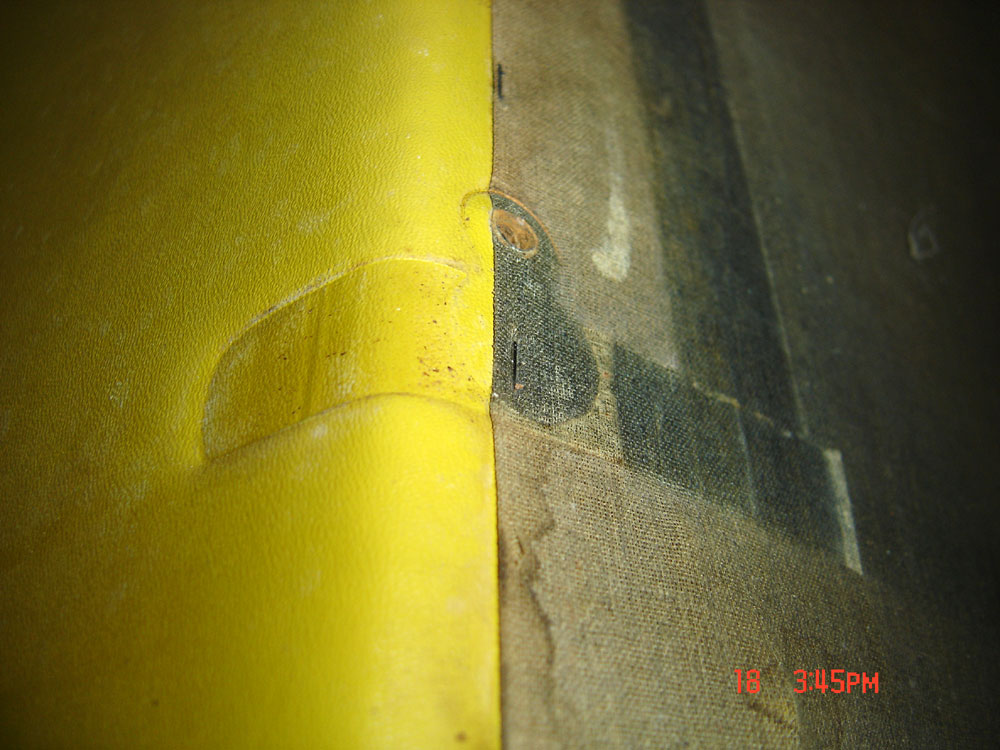
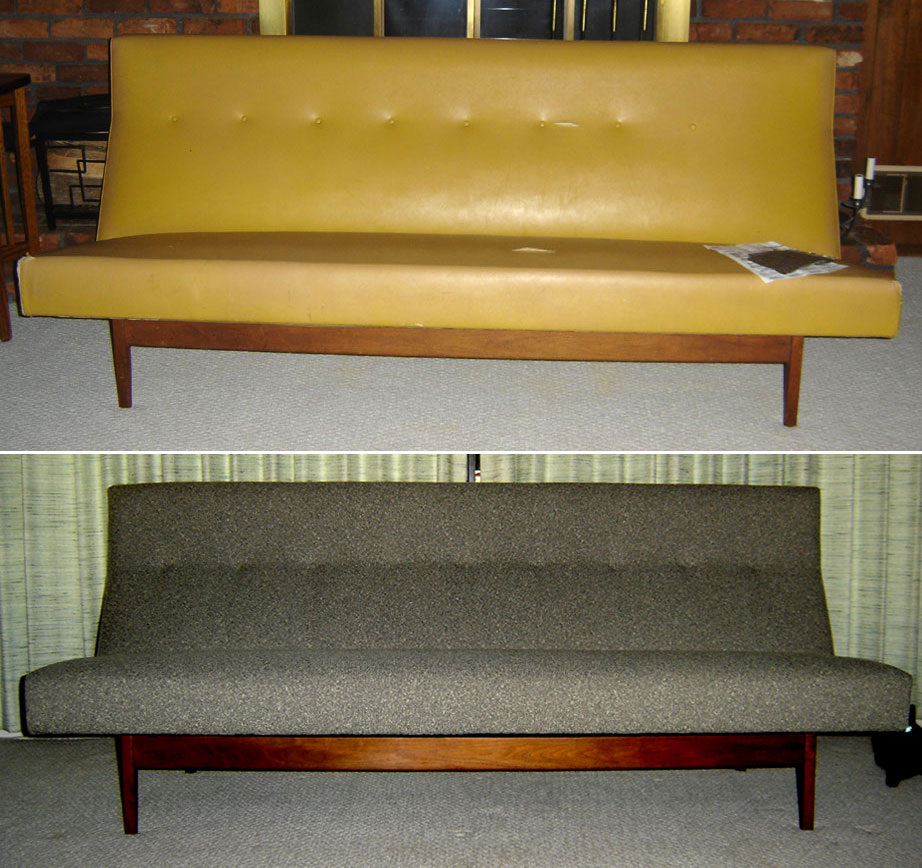
In any case, as you can see the from photo, this example still had its spectacular chartreuse-yellow or mustard Naugahyde upholstery complete with tears, holes and missing buttons.
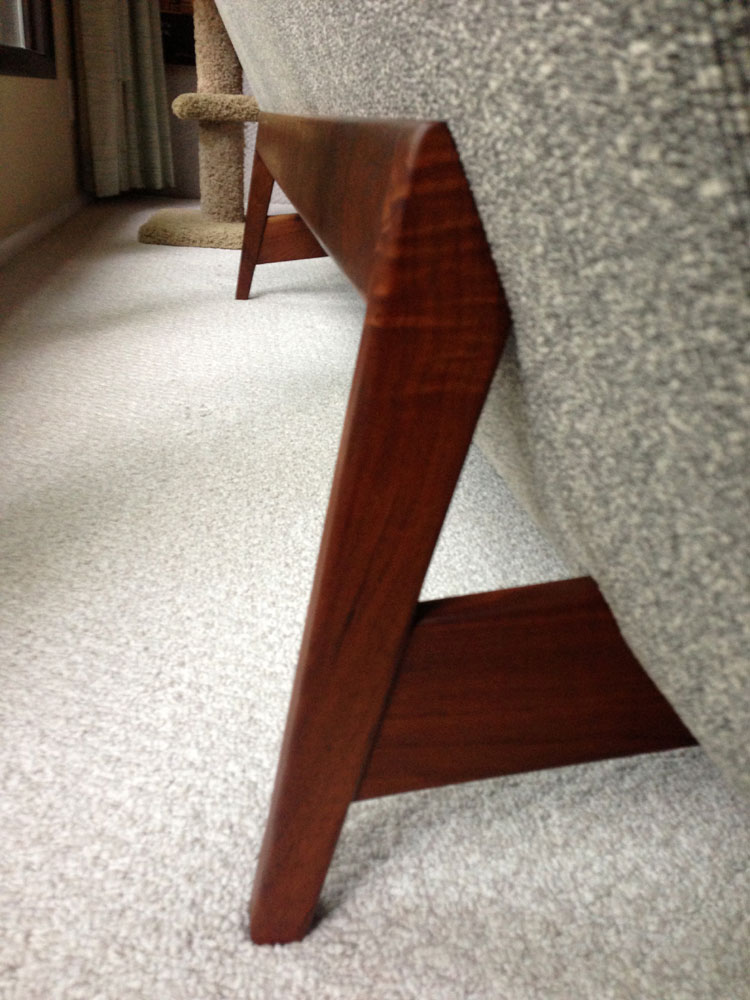
The American walnut base was still in moderately good shape, albeit stained and chipped. You can see a hint of the original label in the middle of the couch above as some white glue residue.
Also, the torn dust-skirt allowed all the brittle dust-of-ages to bellow out whenever someone sat on the sofa (the original cushions were brittle and basically disintegrating).

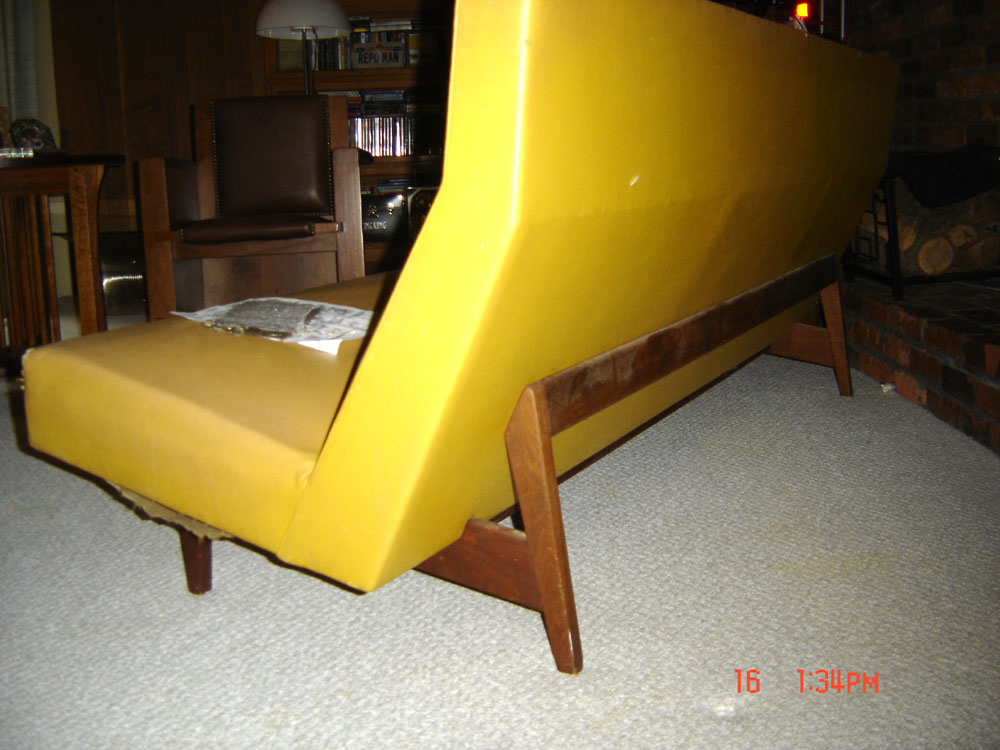
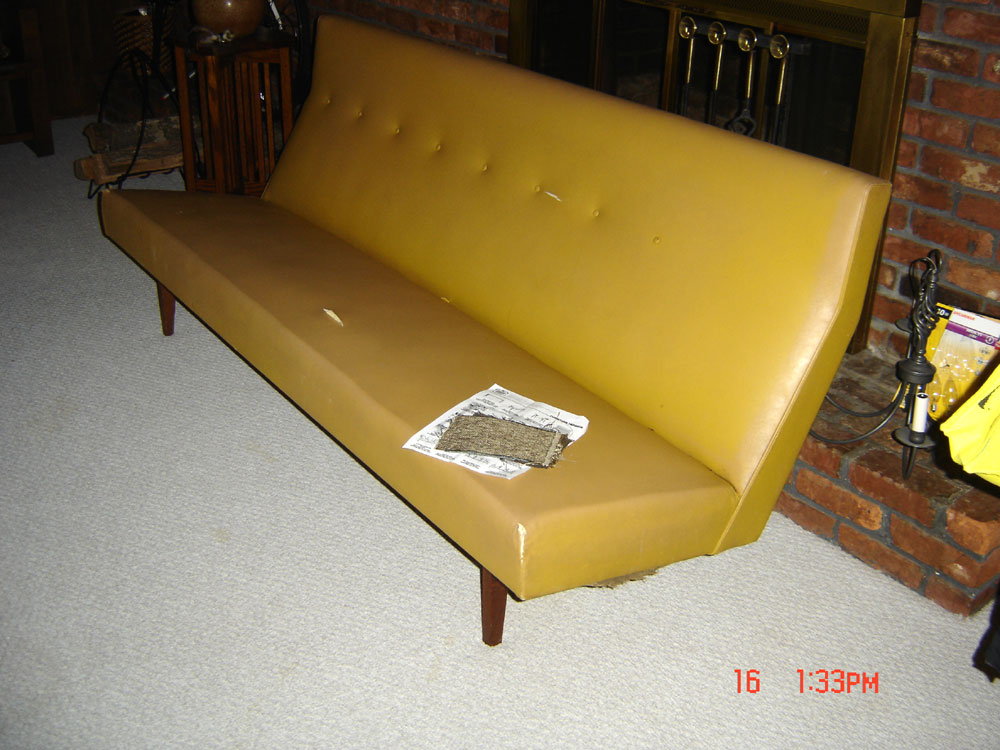
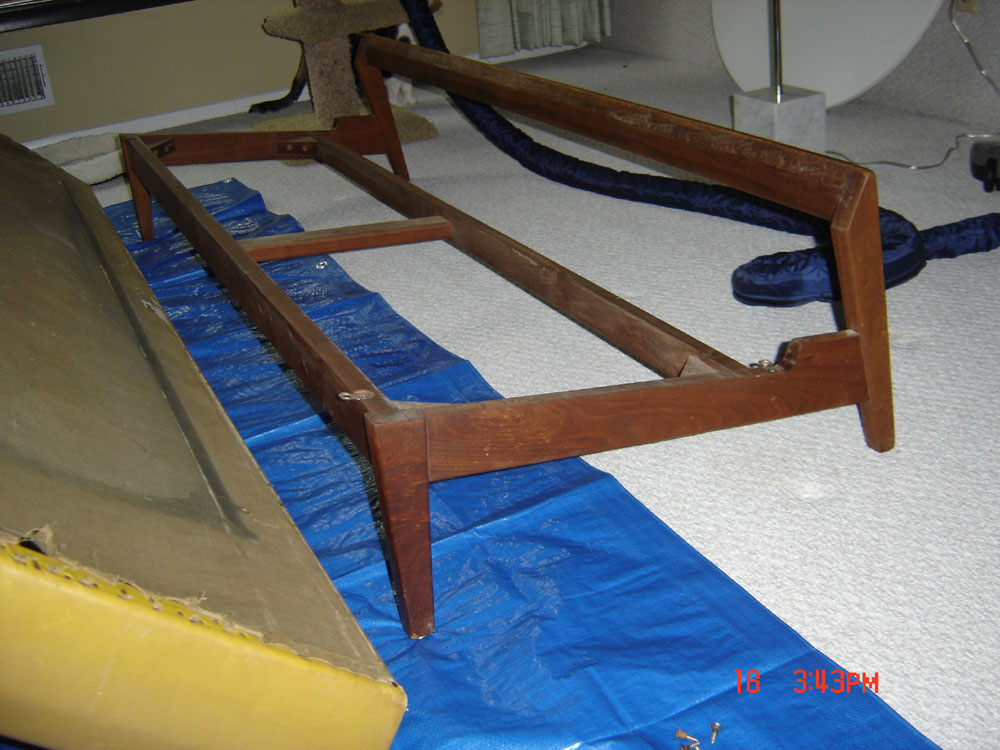
As you can see, the sofa wasn't of much use as-is - we next started on the search for an appropriate material to re-cover. You can see some swatches on the paper in the photos above and below.
Knowing that I also possess several Jens Risom strapped lounge chairs (to be restored) that would accompany the couch, we looked for a color and texture that would first "feel right" in relation to the period, and also compliment the black straps of the lounge chairs. So the sofa has sat for several months as we searched and researched, both the material and an upholsterer. We came upon a material produced by cfstinson called 62387 Flannel. We looked at many different materials including those by Knoll (wanting to keep things reasonably period-specific), but we wanted to keep the 10 or so yards of material needed to cover the sofa in a safe budgetary range. We also wanted something with a high rub-count that could withstand the cat's claws - this material has an Abrasion Resistance of 102,000 Double Rubs.
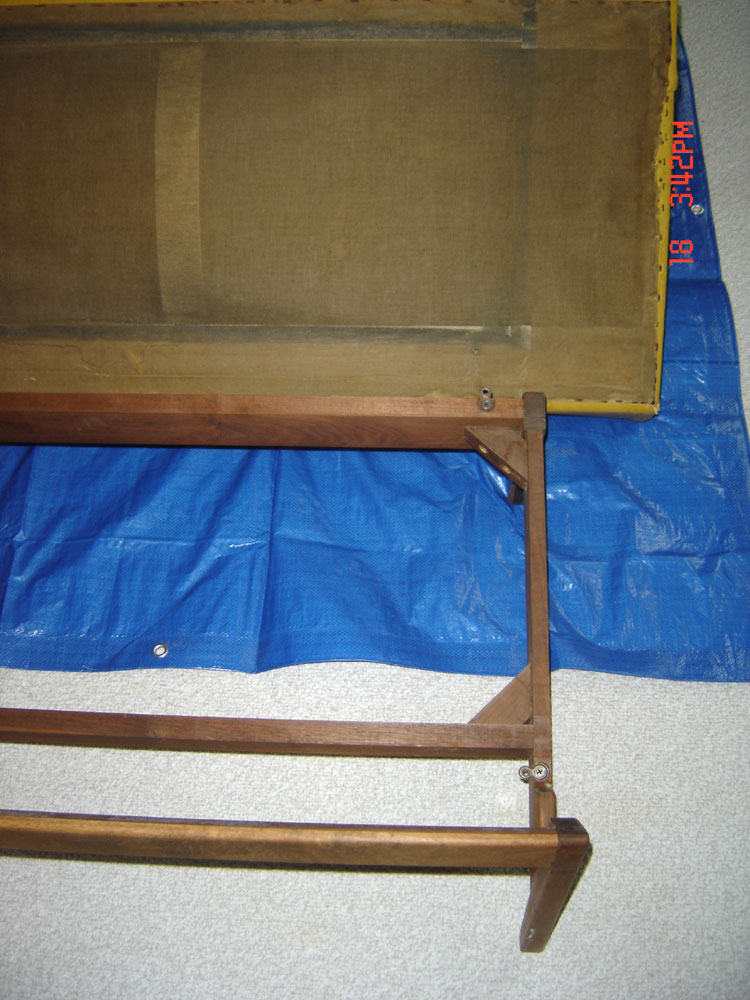
Next we decided on two different upholsterers - one a smaller shop (which we originally used) and then a larger shop (which eventually "fixed" what the first stop did!). But first we ordered the material and then I took the couch apart, using a large tarp to capture most of the crap that was falling out of the dust-shield.
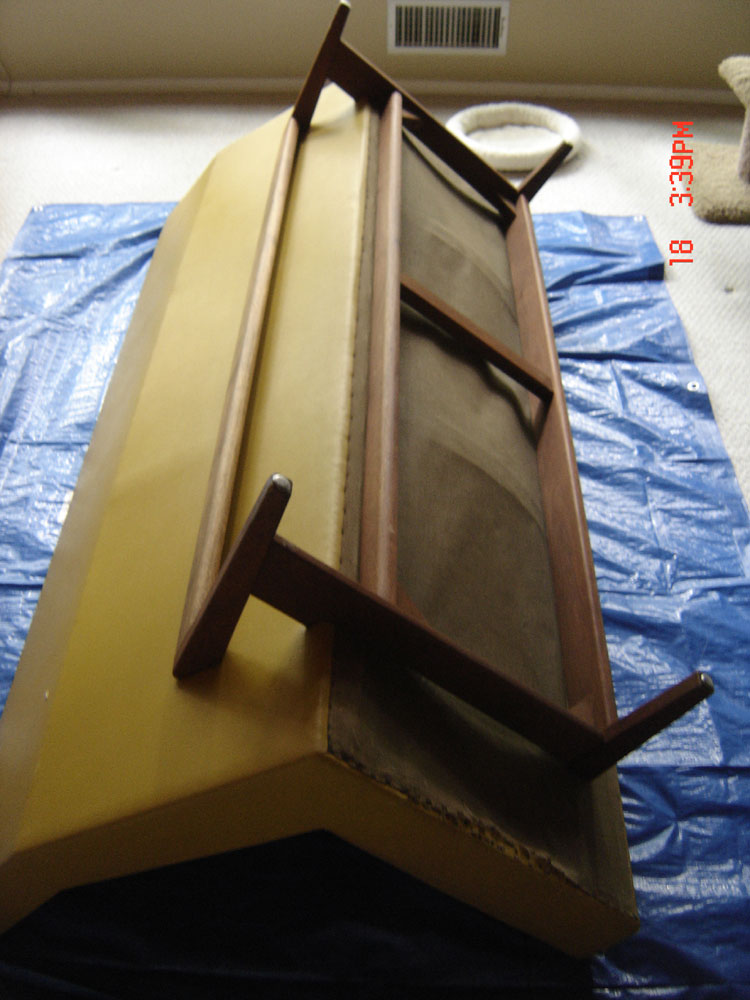
Doesn't look too bad, right? Well, now look at it in artificial light rather than daylight from the window...
You start to see some of the flaws in the base and finish.
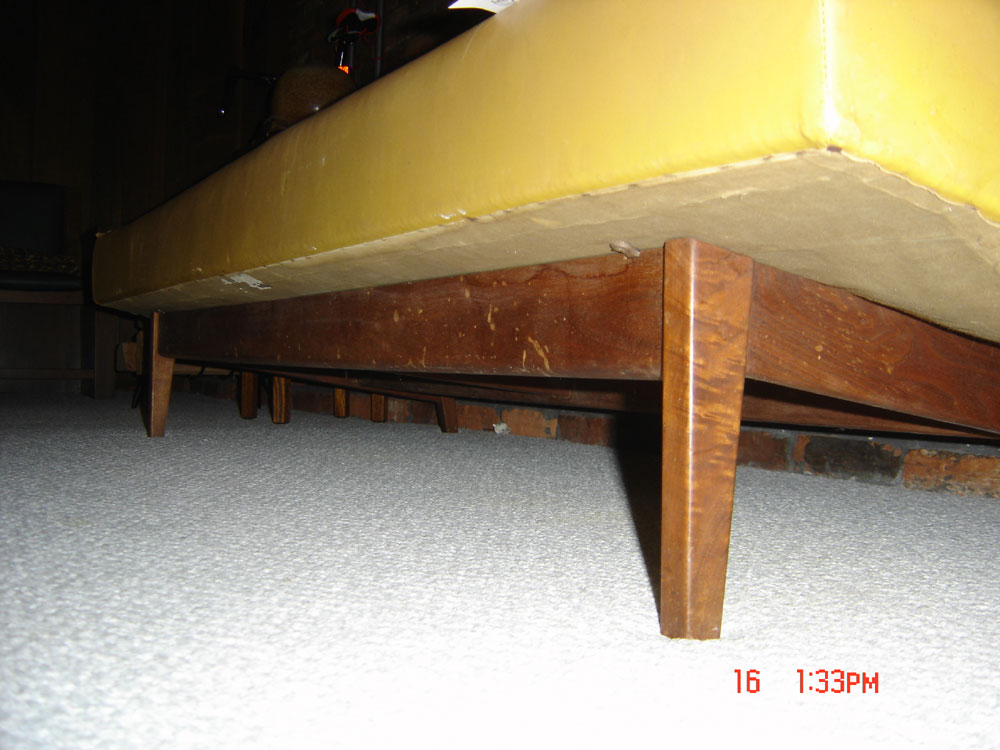
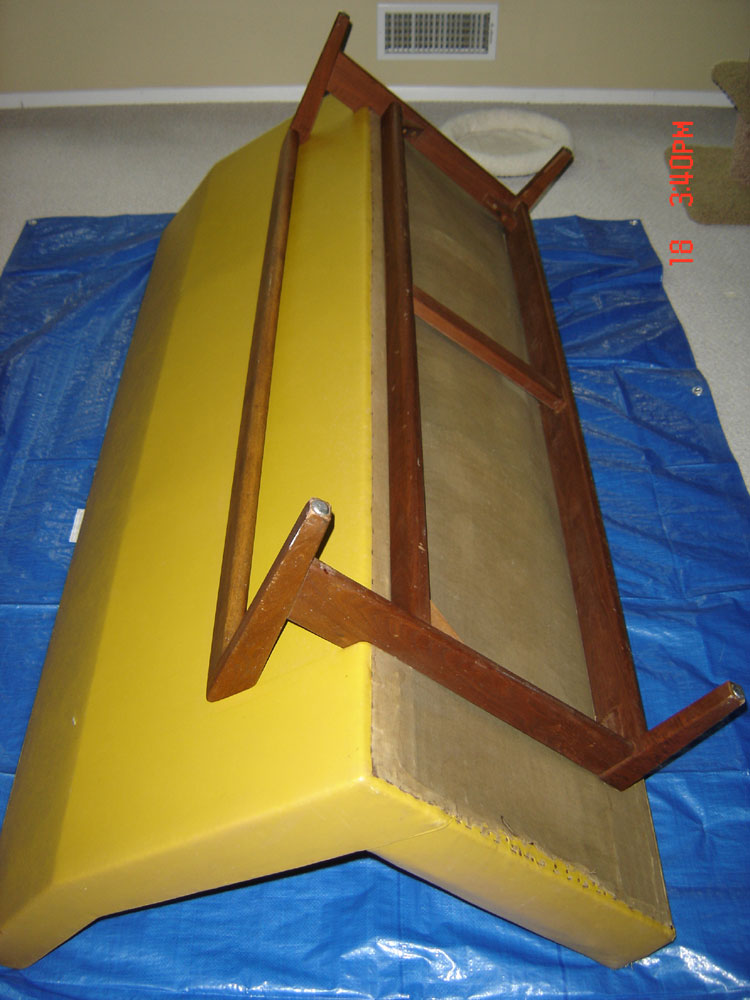
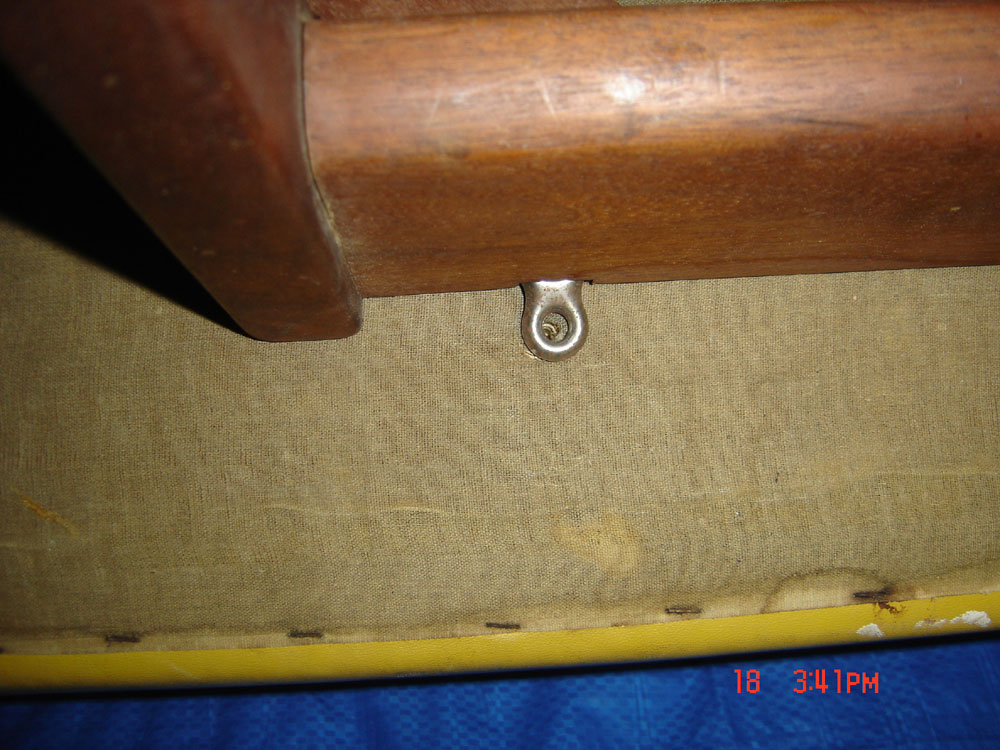
And the only thing holding the base on other than the weight, are these four tiny "figure-eight" straps (see above).
Quick work to remove the four Phillips-head woodscrews.

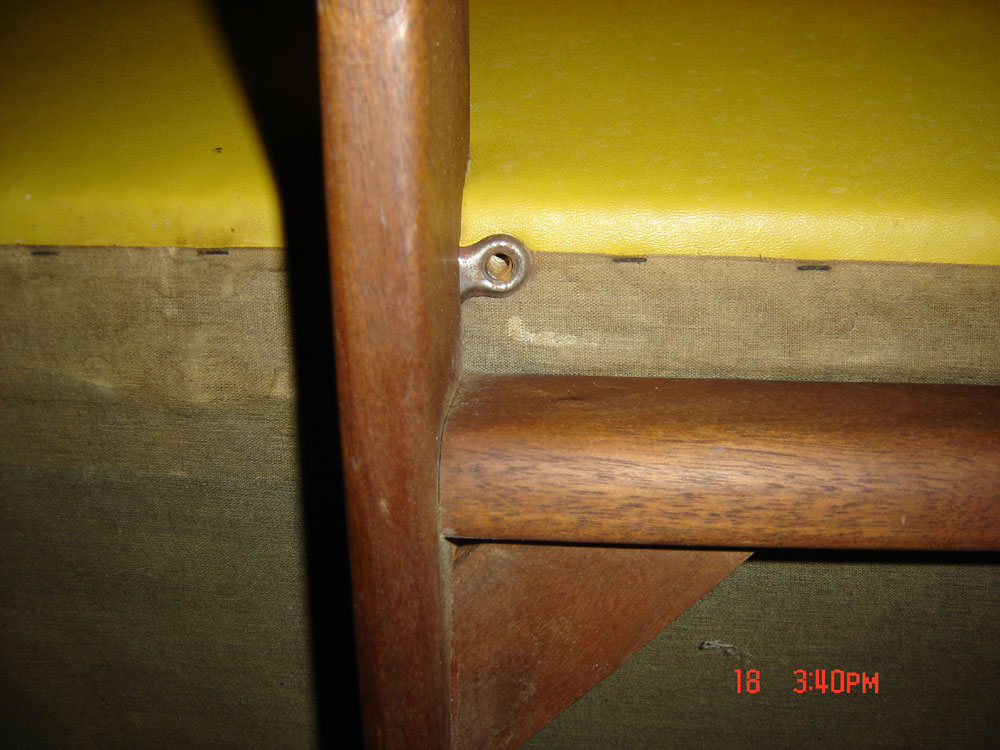
I also noted some markings used in the support blocking....
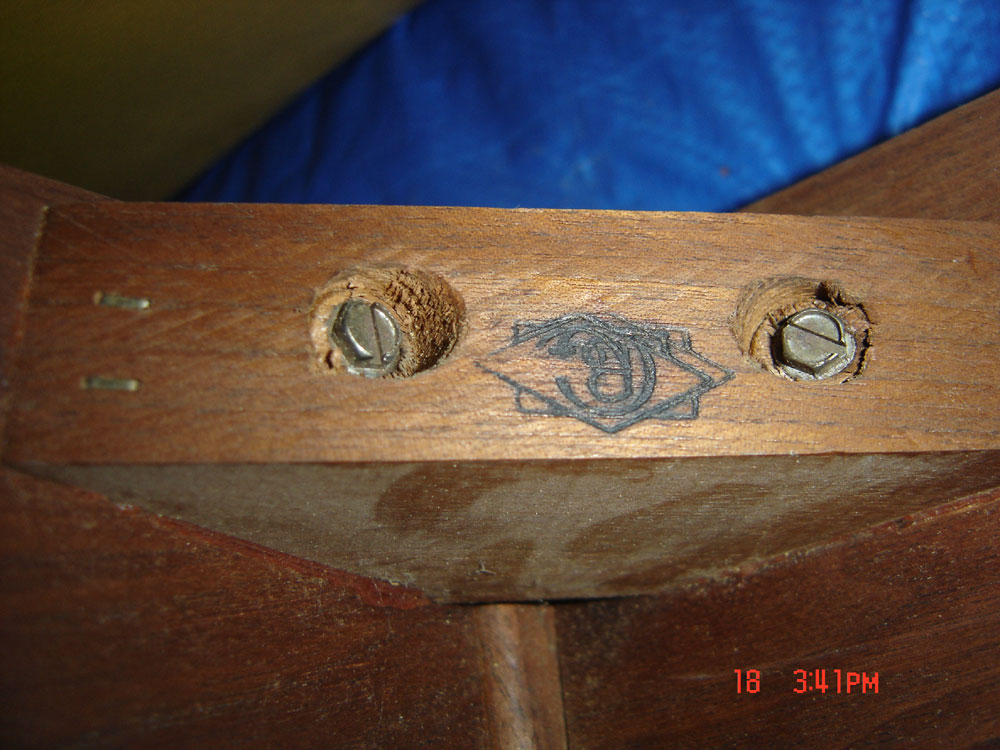
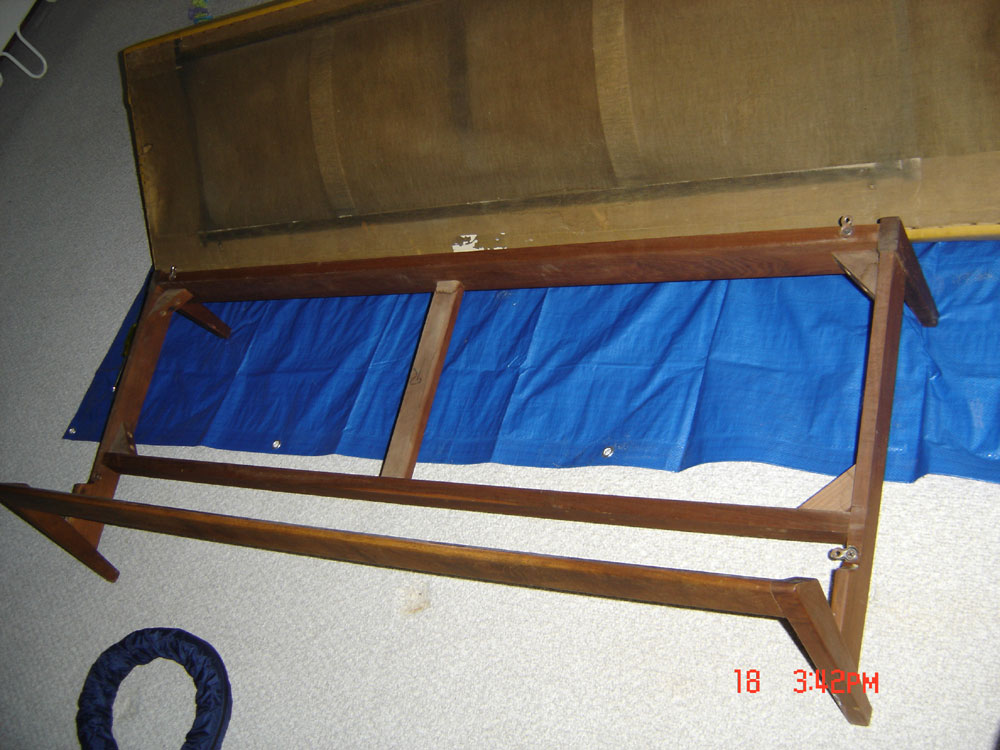
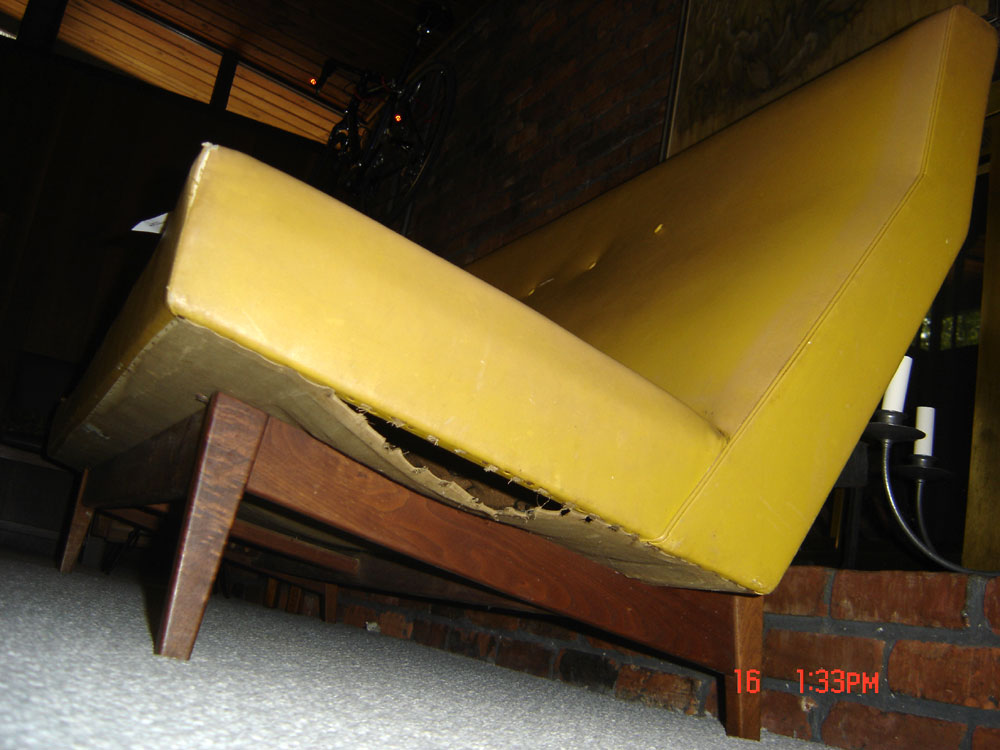
And you can see some of the other defects to the sofa itself along with the "dusty print" from the base...
Luckily the springs were still in good shape...

So off the sofa went to our first upholsterer. The original estimate was 2-3 weeks and we were assured that it would look exactly like the original (only with the new material) - we left several photos for reference and the piping, etc. was noted on the order.
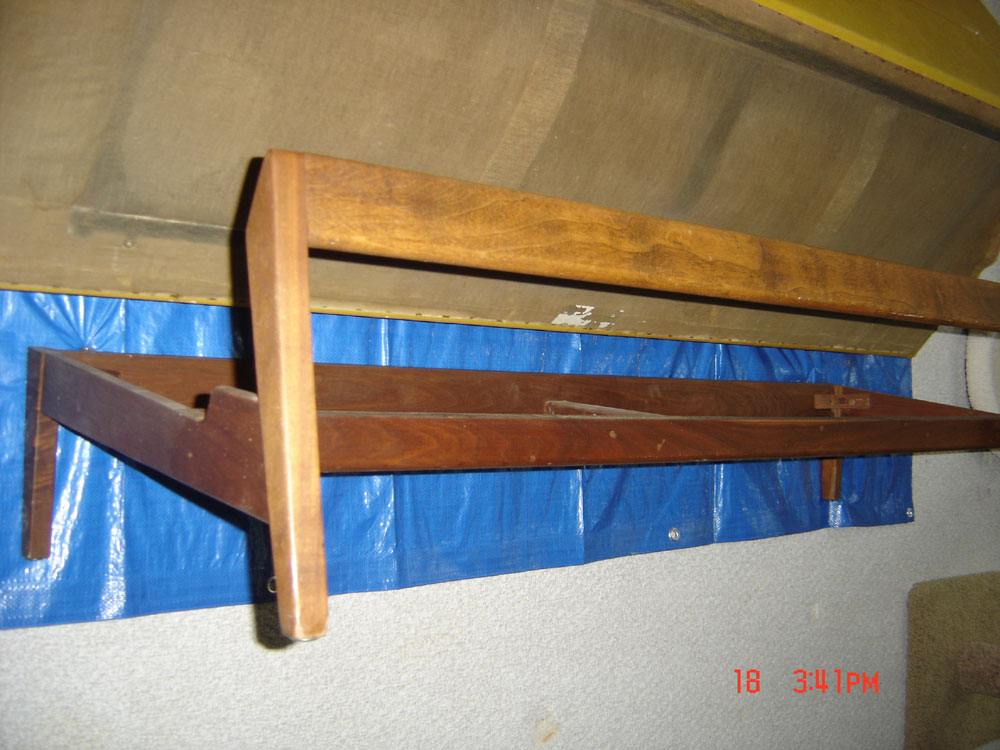
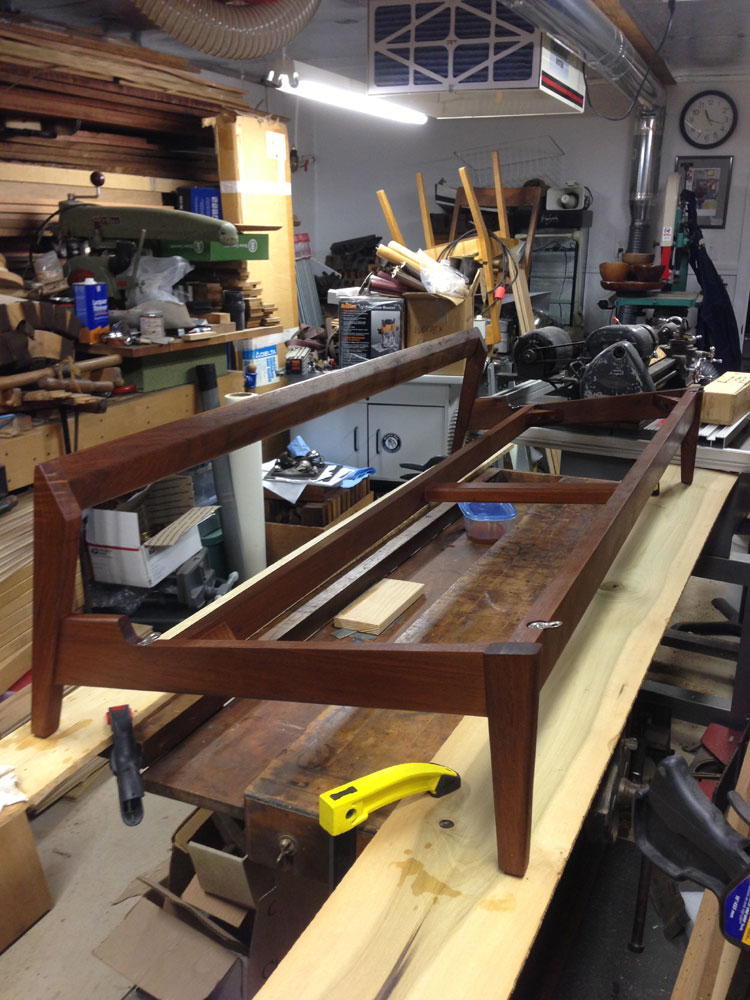
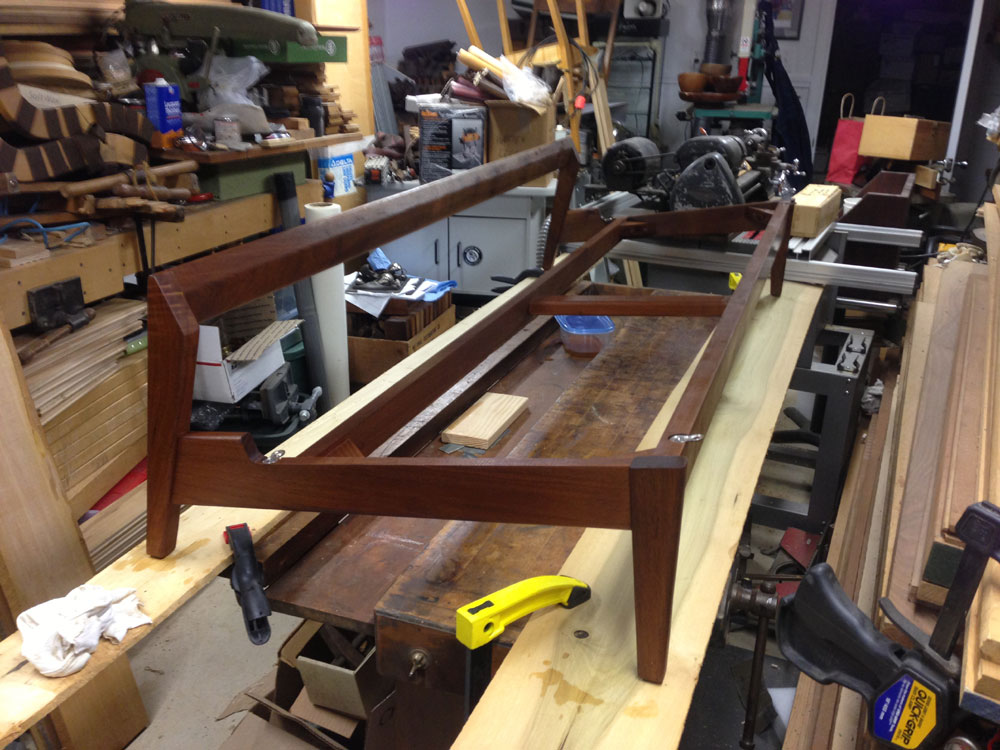
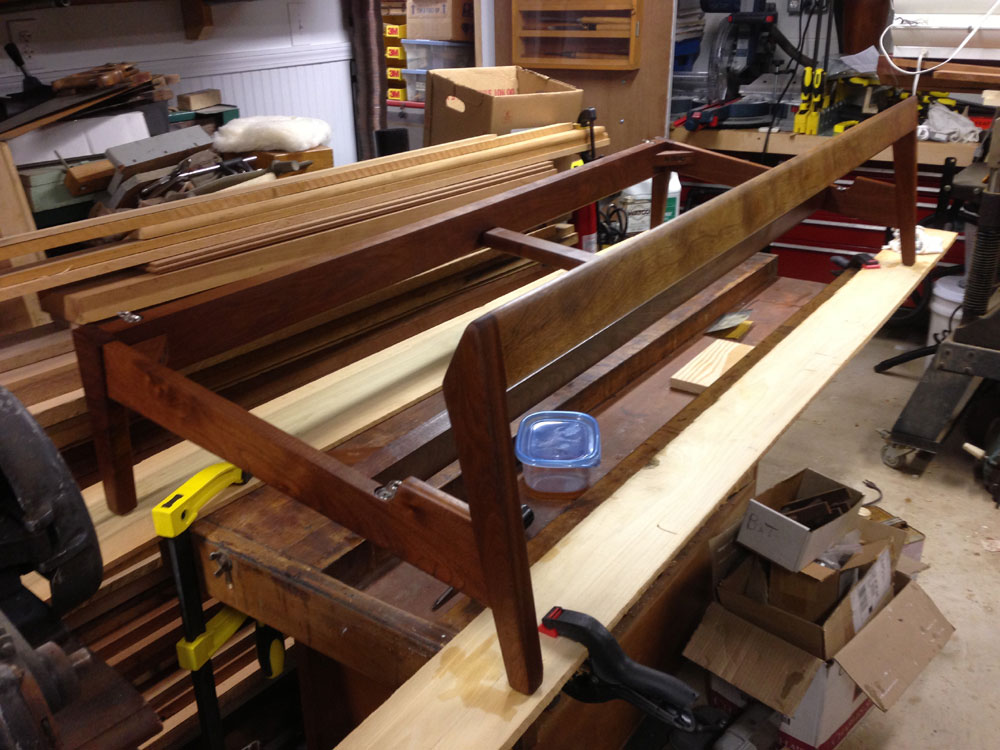
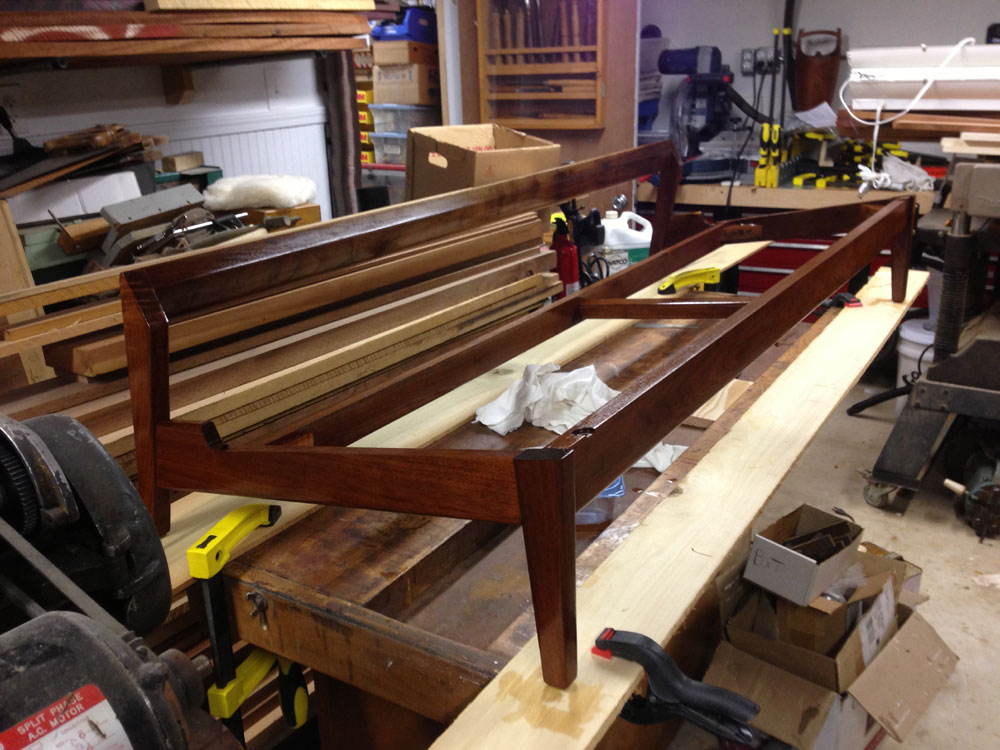
Meanwhile, I took the base into the shop to see what I needed to work with. I did a quick wash of the whole thing with some #0000 steel wool and mineral spirits, hoping that would take off the dirt and any water staining. Alas, that did very little and I had to resort to light sanding - all done by hand (to preserve as much of the original patina as possible. The cleaning revealed one issue - the corner back joint (left side facing the sofa) had failed, so I had to pry the back apart, clean up the glue and re-glue and clamp. Here's the base in my shop, repaired, cleaned and sanded.
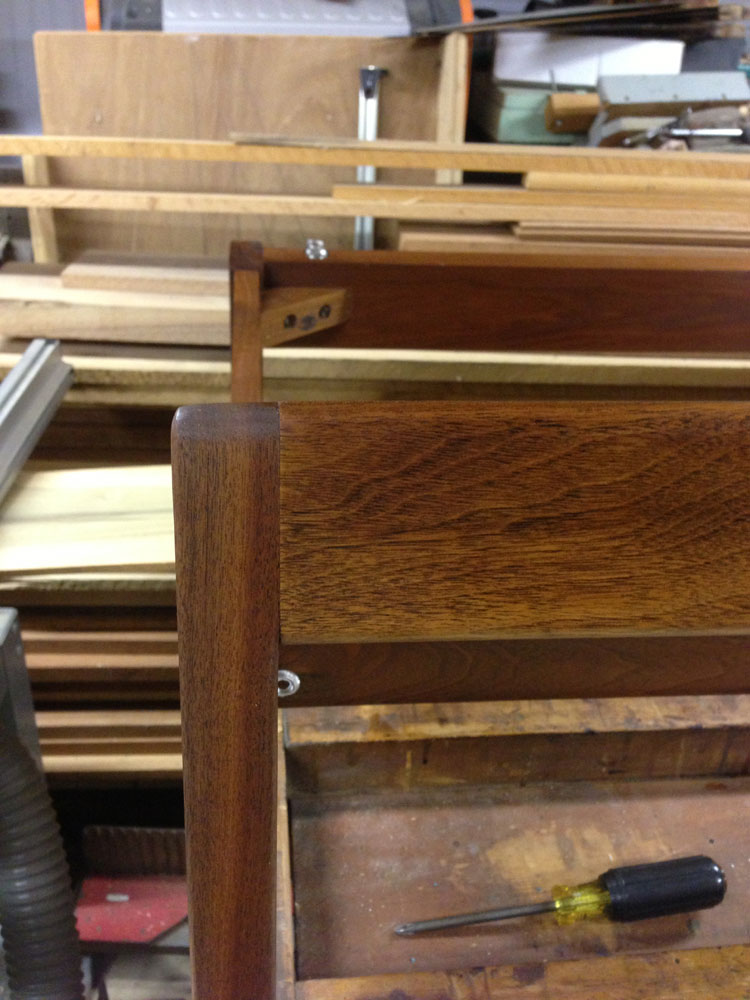
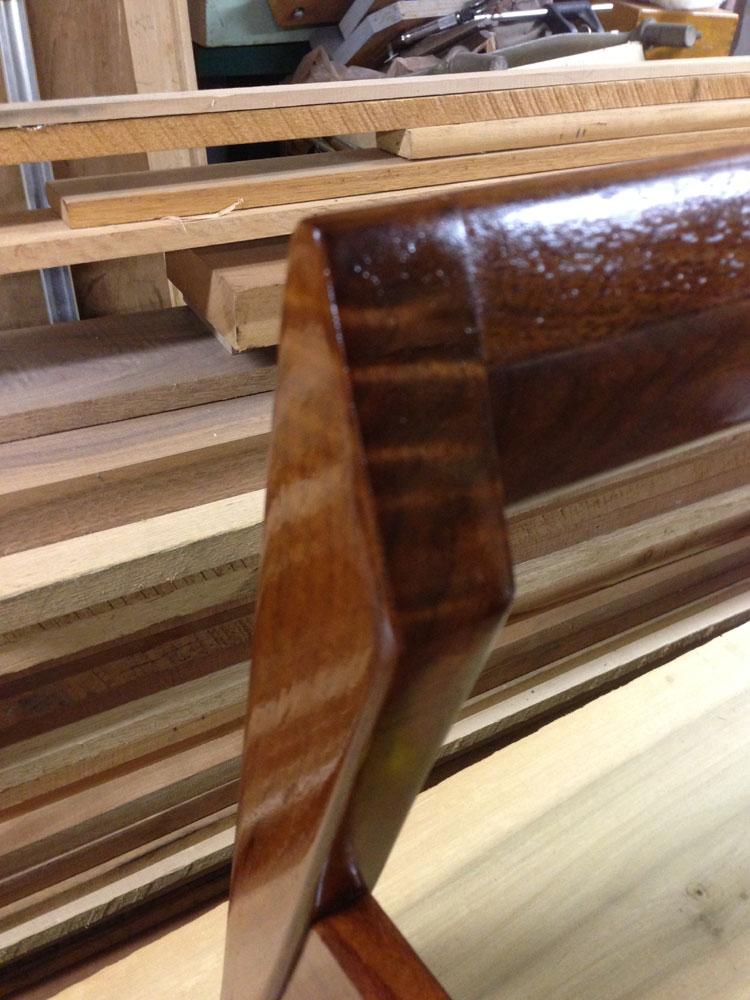
There was also one other issue, the back had exposed a large area of walnut sap-wood. I'm not sure if it wasn't common practice to steam walnut at that time (60's era) or if they simply sprayed stain to match the woods, but my sanding revealed the lighter color along about 70% of the back. You can see the two differing colors in the photo below (the spar to the right shows the lighter sap wood and the remnants of the original stain).
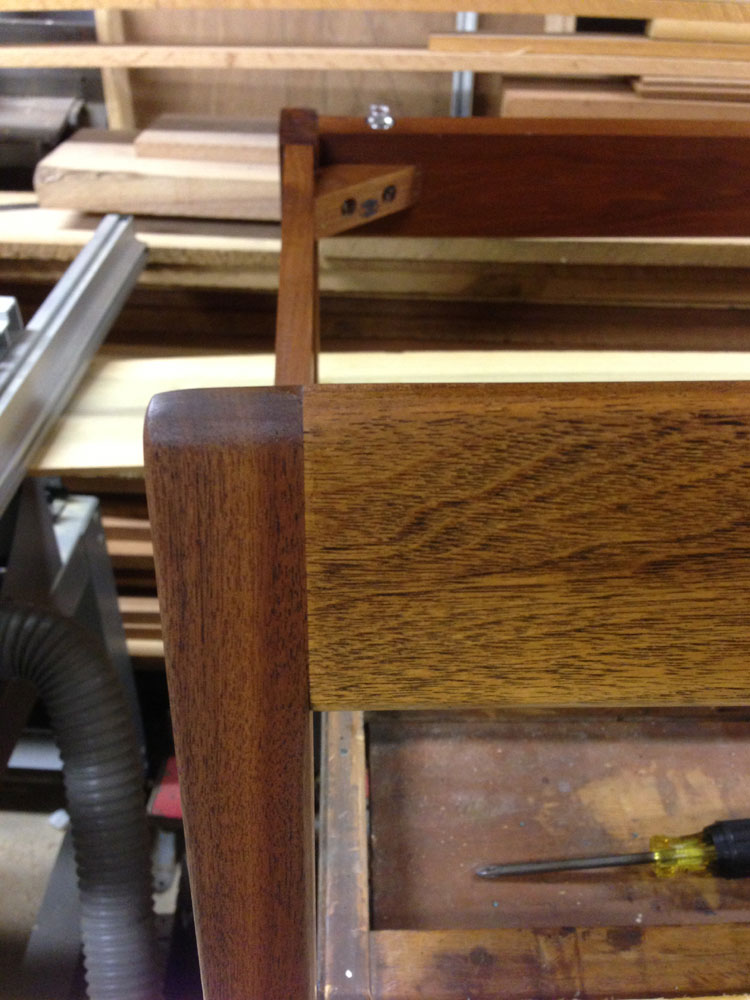
It's even more noticeable when viewing the entire back and will look strange with the sofa.
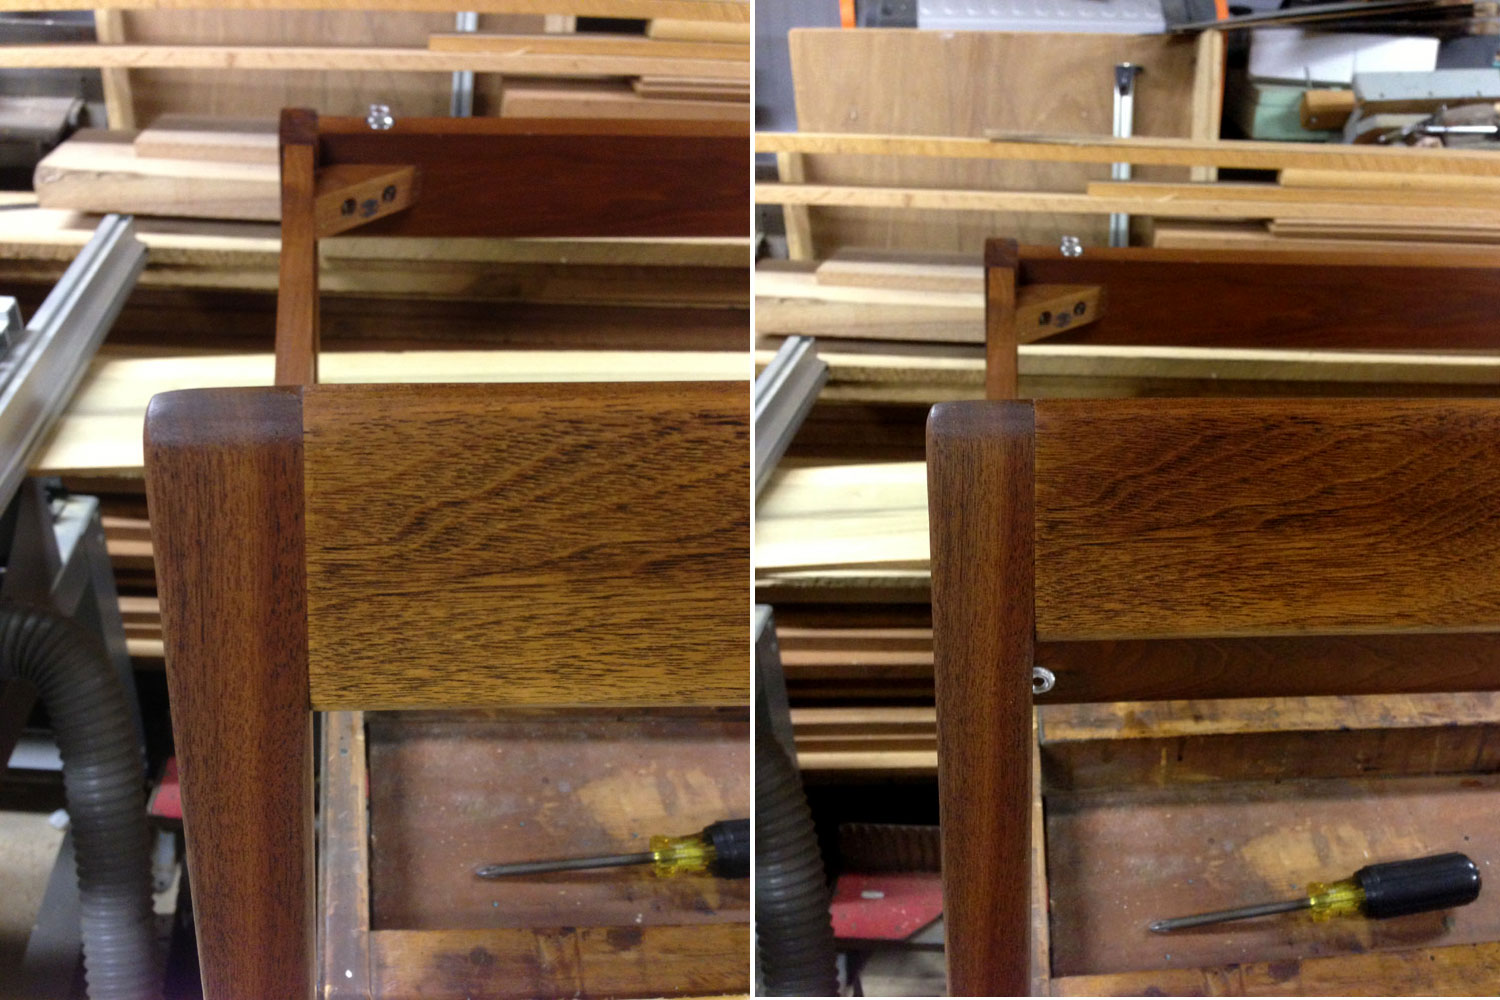
So I began the process of color matching the woods - I used dark walnut and mahogany stains as glazes and slowly brushed the mix in, allowing to penetrate and wiping off, until the colors made a good match, stopping right where the sap wood turned into the regular hardwood about two-thirds to the right of the spar. This took 4 applications until I was happy that the colors made a good match. See the results below.

Here are some comparison shots:

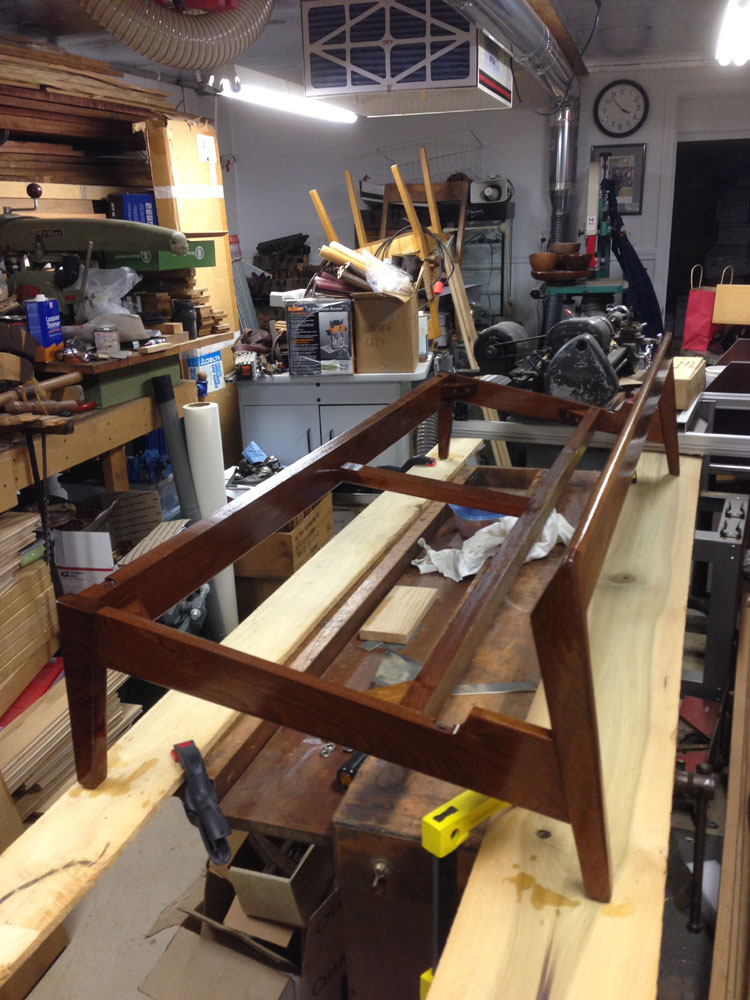
Finally, I applied a couple of coats of wipe-on oil finish (Watco Natural Danish Oil) to complete the look (slight gloss, sort of a satin finish, close to the original). Here are some images right after application so it's still "slick"...
Now for the horror story. I spent about a leisurely week getting the base right while the rest was off to the upholsterer. So the base had plenty of time to harden-up, since the first upholsterer had the sofa for 9 weeks! And when we went to look at it, it looked more like something for the boudoir of some prostitute than the original couch - just horrible. Extra padding was added to the back giving it this over-stuffed appearance, the side piping was centered with this open seam where it attached to the base, the buttons were crooked and the worst thing, the top of the back had angles along the two edges. It was really awful, and all we got were excuses that "it was the only way it could be done" etc. Basically, the first company did a rush job and ignored all the notes and photographs left as reference. After a couple of attempts at fixing the mess, this first upholsterer just gave the sofa back to us with a "good riddance" - we next took it to the larger upholsterer, Corn Upholstery in Tucker.
Corn provided some input on what they could do to "fix" the first mess and in about a week we got this back:
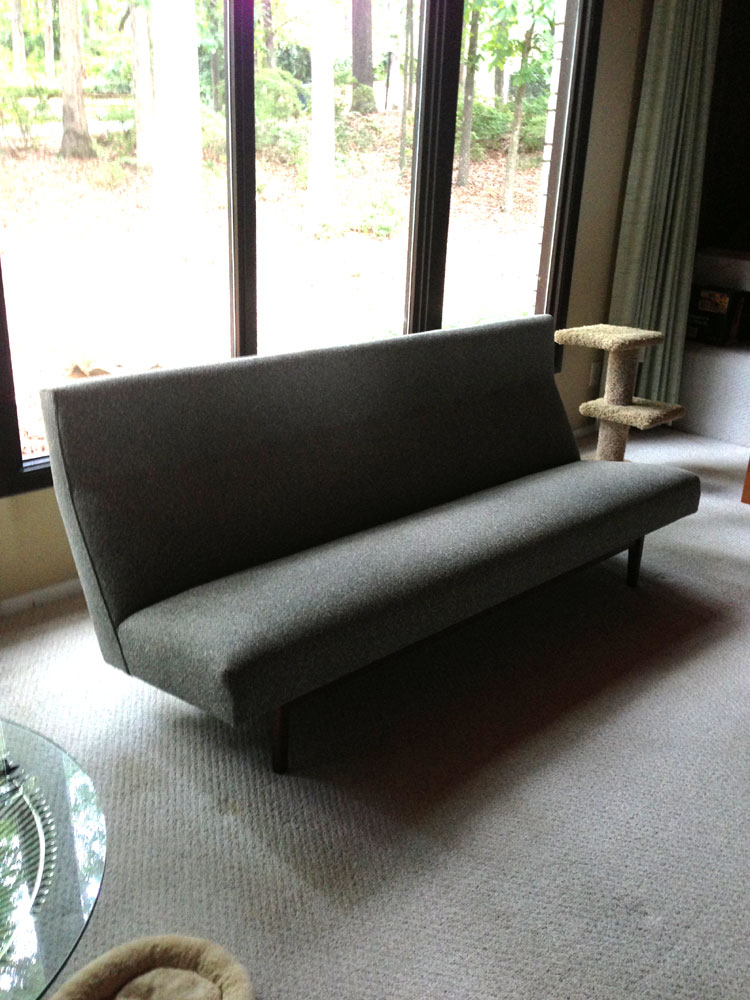
It's a vast improvement over the first upholsterer, and they were able to fix everything without patching-in any extra material. They did a really fantastic job - we won't be taking any similar projects to anyone else from now on. Now for more photos...


And here's a comparison of before-to-after...
(and that's our cat Mucha photo-bombing under the right side)....
Hope you enjoyed this first of several restovation projects.
-- John
5 comments:
John--this is an awesome project! Love the details in your blog.
Hi,
I asked you about my Mainline by Hooker dresser on Facebook. I don't really know what to do about the veneer on it. About four inches has peeled away but is still hanging there and of course I can glue it back on. The very end of this though is gone. There are two dime or nickel size spots where the veneer is gone and part of the dresser top needs to be redone.
What do you advise? I wish you lived in Orlando. :)
Looks Good! Glad to see it finished.
Hey Sandra (on veneer fixes),
You can try to glue it and do a restoration using the original veneer - a few options:
1. Completely re-veneer the whole side - this is the most drastic and can be complicated, both in removing the old, finding a matching wood-grain, application then matching the color of the finish. In a way it may be the easiest though since the results are usually the best.
2. Glue down the loose veneer and patch in some veneer that approximates what you already have. If you're really talented with finishes this can get close to fixing the problem, however it may be noticeable.
3. Glue down what's loose and bondo the missing gaps, then faux-paint in details. Really good furniture restoration shops actually do this quite a bit, especially on crazy-figured woods like burls. This takes a lot of patience and a light touch - plus the whole side and possibly the whole piece will need to be re-covered in the same finish so it all blends together. Unfortunately all the options involve some woodworking skills that you will need to develop (if you don't already have them). Find a smaller project and practice first so you don't commit to something that's beyond your capabilities.
-- JOhn
I really like how you updated this sofa. You would never say it is an old sofa and certainly of better quality than what you would buy today.
GREAT JOB
Darrell Warren
http://dwwoodworking.weebly.com/
Post a Comment