Showing posts with label Delta. Show all posts

Wednesday, October 12, 2011

Rust Hunting in Georgia - October 8, 2011

Seems it's taking me a bit longer to post than usual. Part of that is due to my finding fewer things, as I don't have the time now that I'm once again working to scout out sails earlier in the week. It's also due to there being less stuff available - in any case the following comprises my finds over the course of two weeks.


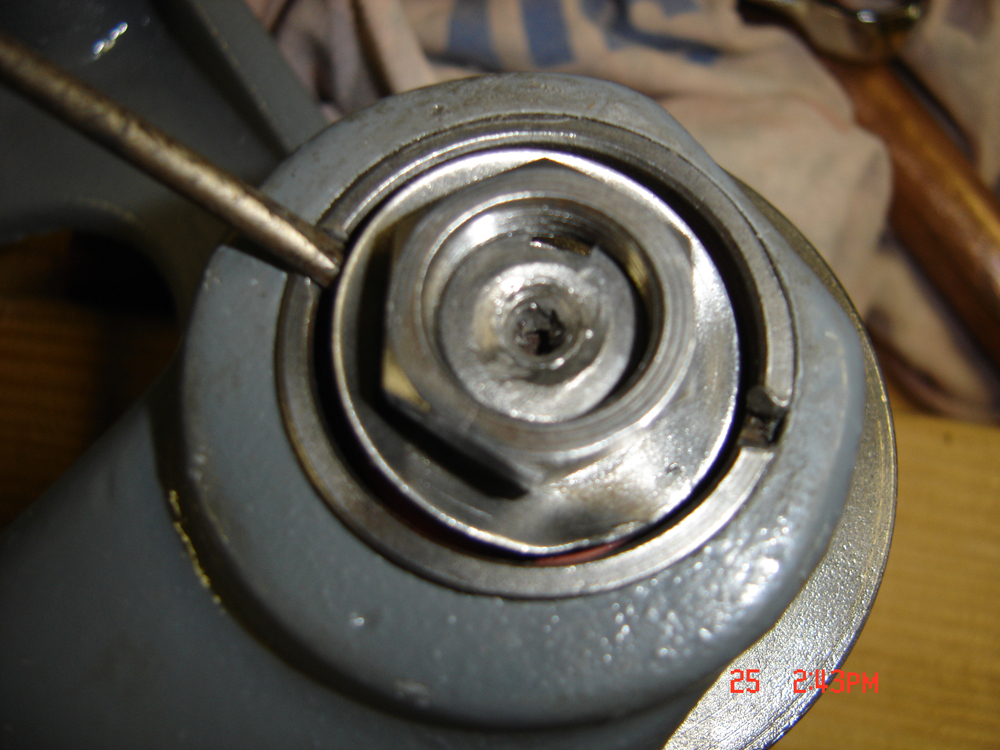
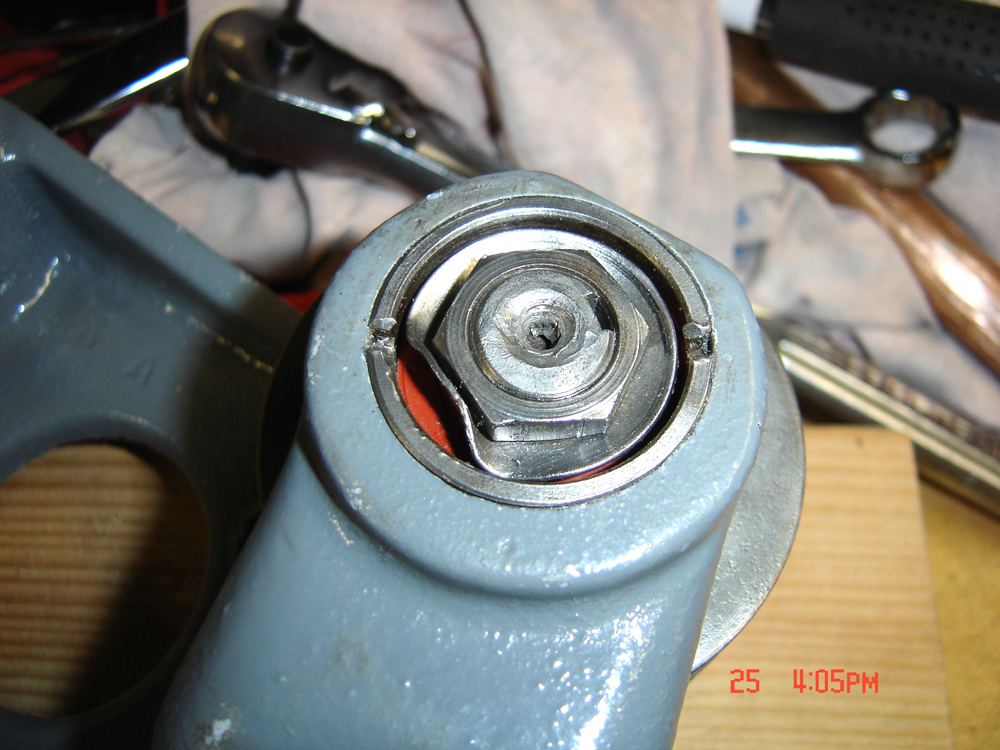
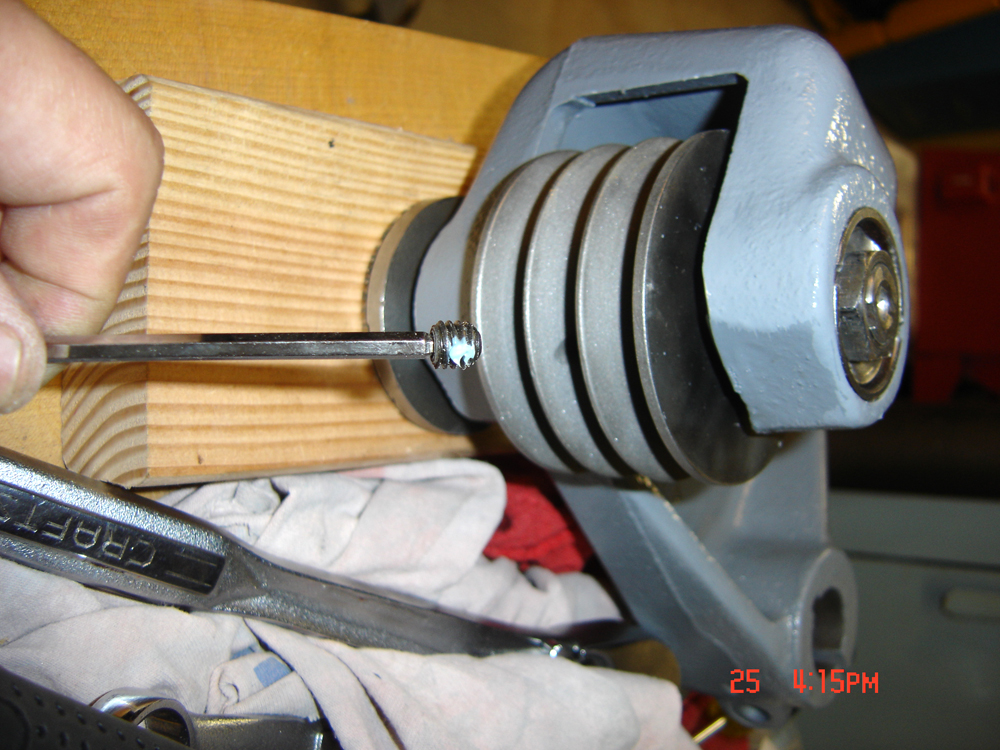
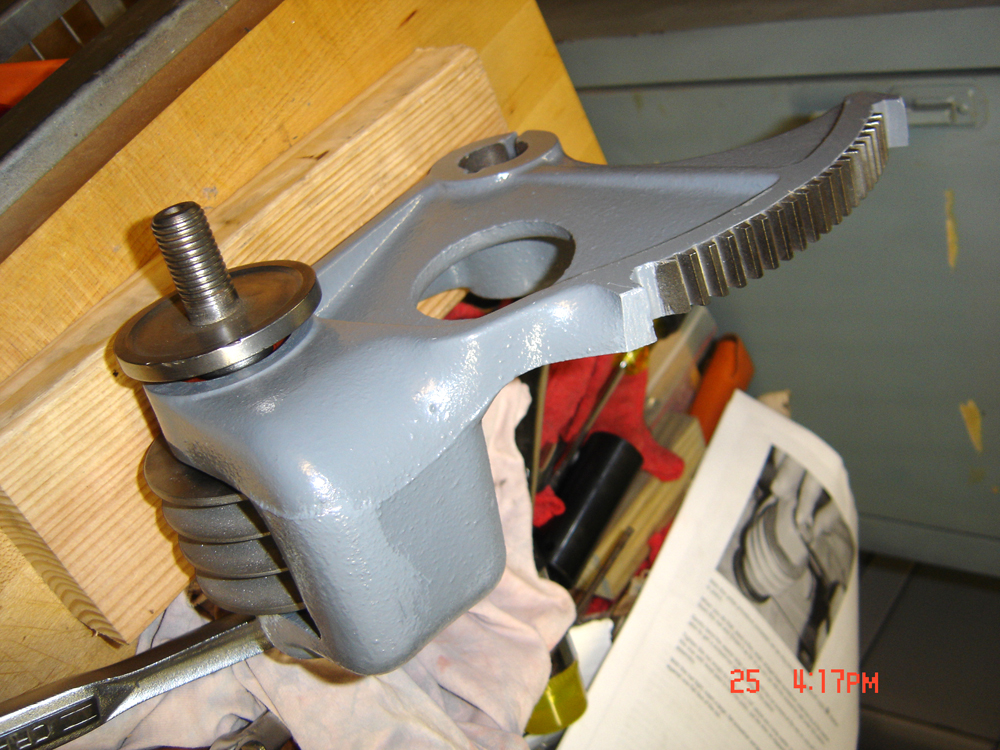
This set of old "Monkey Wrenches" was found with the two Bypass Pruners below them. Kind of odd as they aren't really related. I love the wood "perfect" handles on some of the wrenches. The two pruners are very heavy and made of a quality you just don't find in modern yard tools - the top is marked "Pexto" and the bottom just "Italy"


I tried the Pexto pair on a whim and they are much sharper than the old Crapsman set I've owned for 15 years or so - hard to imagine carrying these all day as they have some left to them. I'd imagine a gardener's forearm looking like Popeye's from using these (but then again, those laborers from 75 or more years ago weren't the slackers we seem to be producing these days).

There's one other item that's not related to the rest - the Stanley #67 Spokeshave next to the pruners. I actually bought this from a fellow woodworker on WoodNet - it has the best rosewood handles I think I've ever seen on this particular shave - they're usually beat to death. These are so old they're black, looking more like ebony than rosewood. I don't believe this is a very common shave. It's missing the round sole and there's supposed to be a fence but it's usable as-is. This shave allows you to remove one handle and reposition it perpendicular to the other so you can use it in corners, I guess. An unusual tool.


The other two tools in the photo I picked up at the same sale where I bought the lumber from the previous post - that was on the weekend of 10/8/11. I had known about the collection of tools as I originally purchased a Delta 15" drill press and a Makita 15 3/4" planer there about two years ago. I had left my number and after a couple of unanswered inquiries, pretty much forgot about it until the daughter sent me an email about the middle of last week. These were the items I was interested in - I'm thinking about helping her to sell a few other items (still some equipment including a PC 24" Omnijig). In the photo above are the cutter and cap from a 7" Delta plane - set made in the UK (I saw the plane there - it had a replacement blade and was cast from a Record body so it was much later). I also picked up the metal file handle as I find those particular useful.


The lightweight mallet above I grabbed on a whim - not that I really need it but I liked the feel of it in my hand. The Craftsman drill-vise is in really good condition and was grabbed as it was originally used on the drill press I purchased previously.


The clamps are kind of interesting - well the "Pearlitic" are at least. I can always use these deeper-throated C-clamps.


That small brace bit I actually got for a quarter a a yard sale - the edge has been filed for a fine slot and it seems well made.

I'm a sucker for honing and sharpening materials and these stones seemed worth getting.


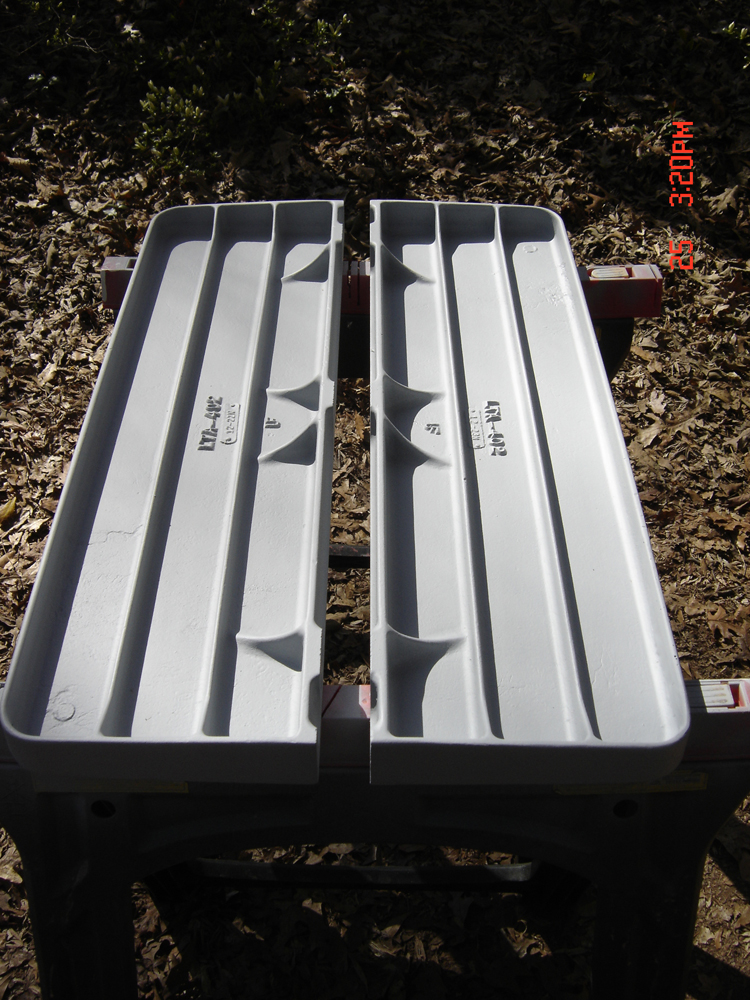
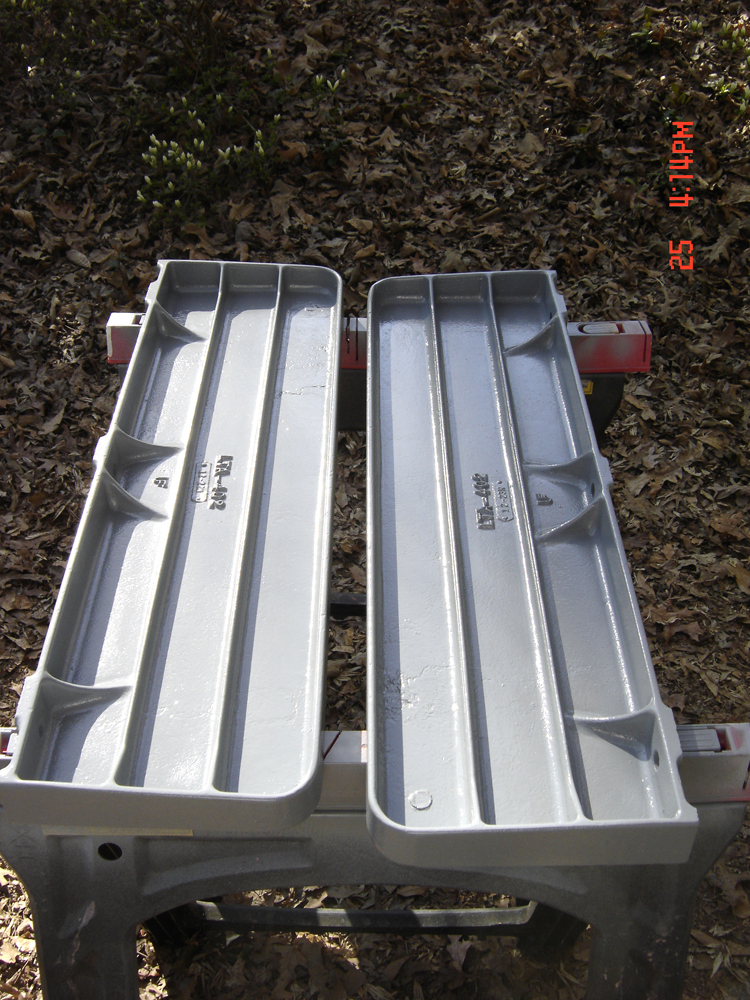
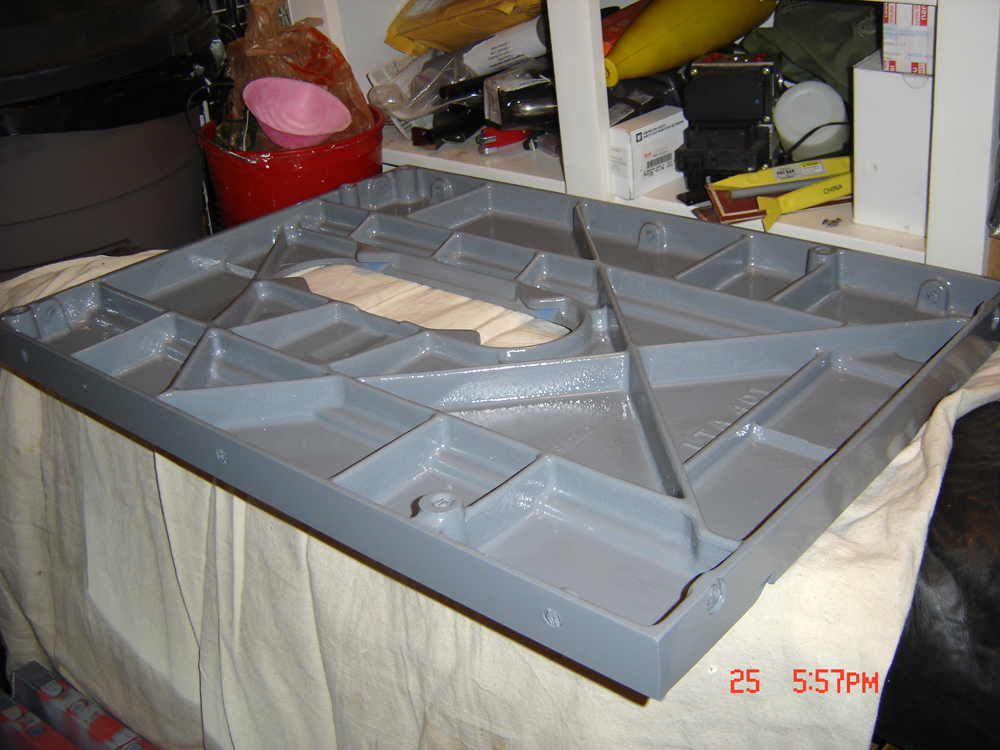
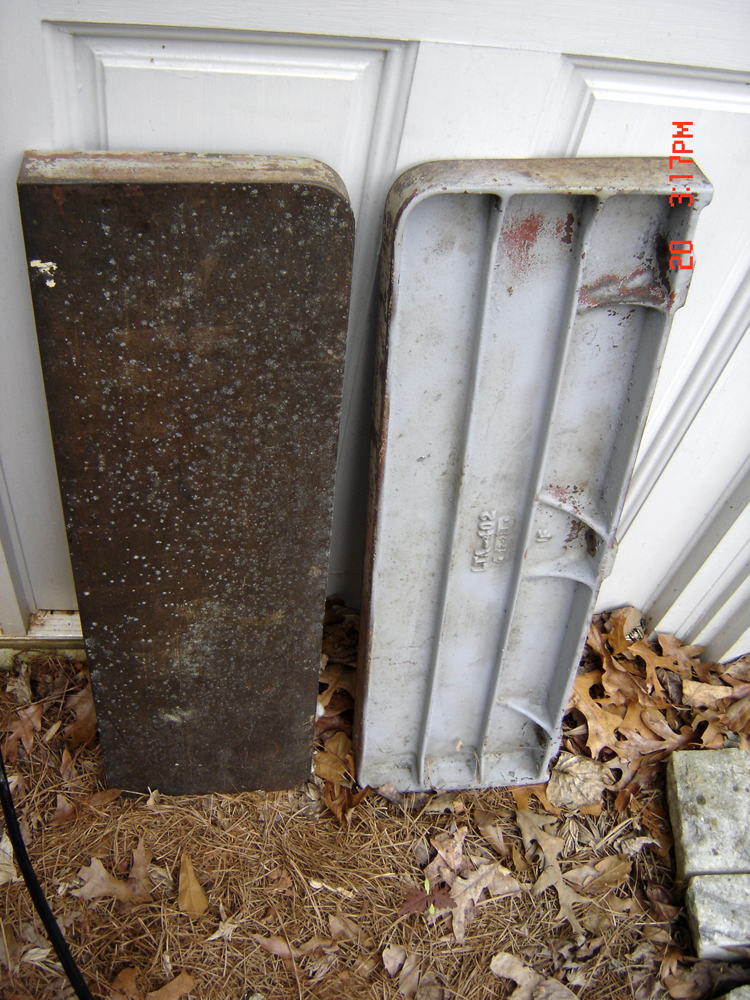
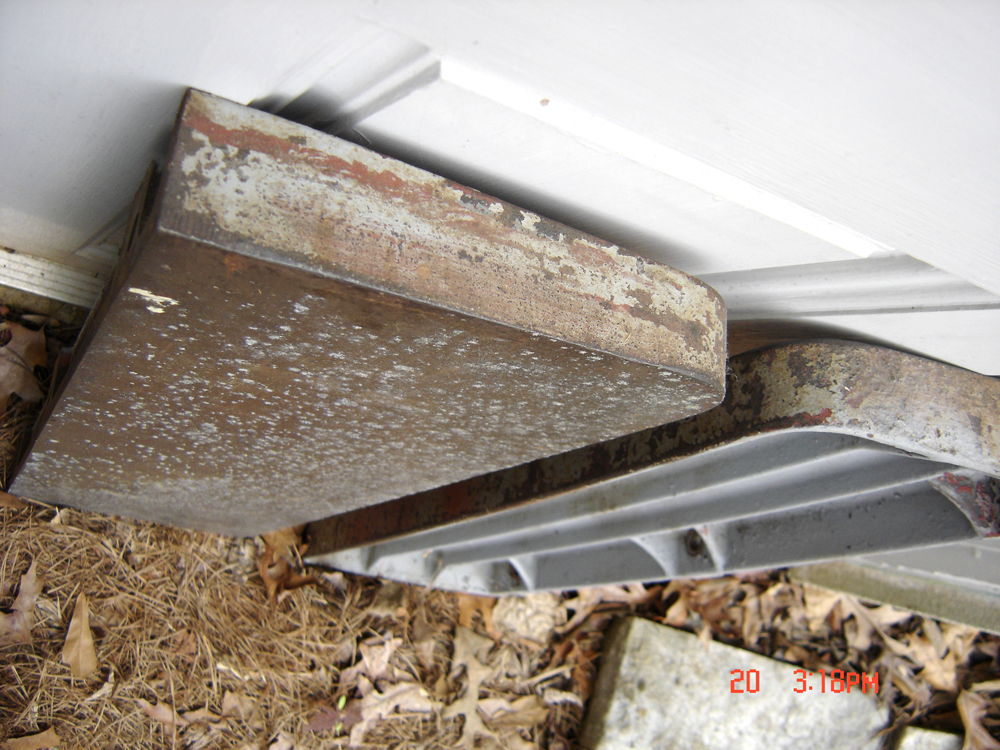
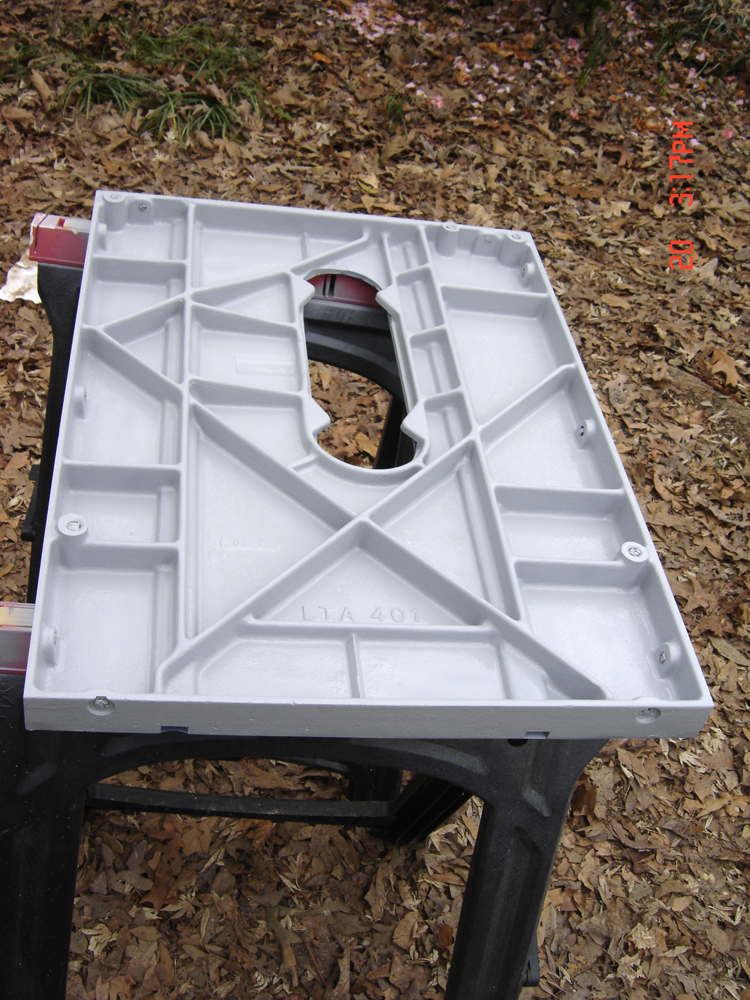
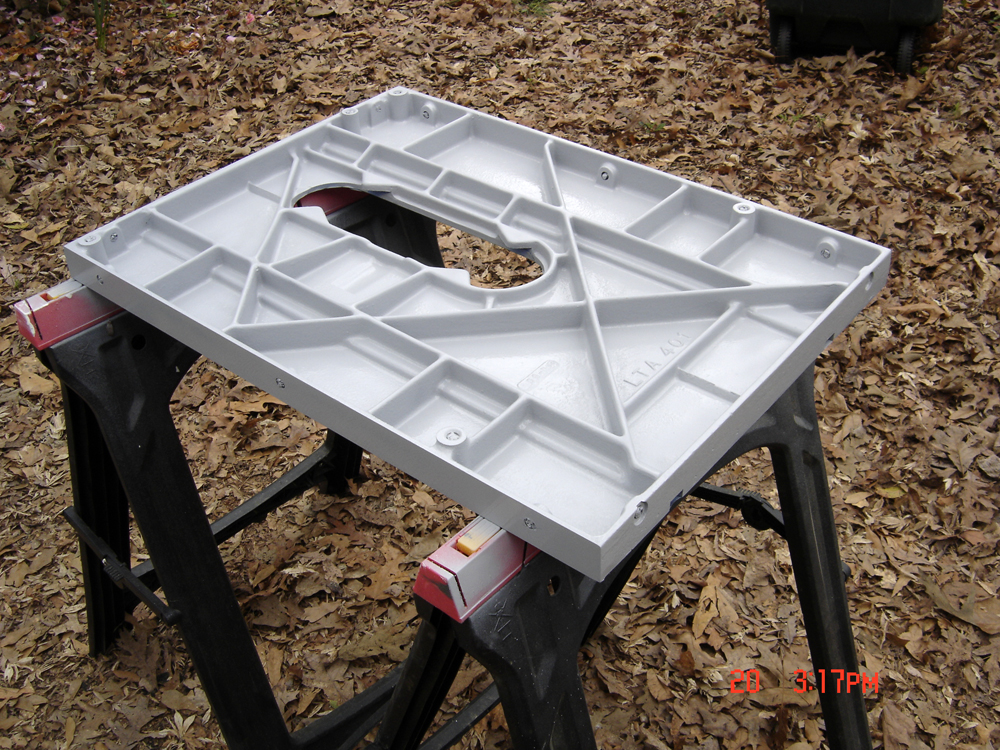
Next to the stones are the real find from the sale - the father originally owned a Unisaw and I'm not sure how this was missed - guess the purchaser just didn't know what it was. This is the first mortising jig I've ever seen "in the wild" - it's a bit newer than the one I already own (has one of the "indestructible non-slick grip" totes) so I'll probably use it for trading material or sell it outright. It also has the paperwork which I've never seen.


To the right are a couple of Craftsman branded handscrews - nothing exciting as these have plastic handles, but they do have a decent acme thread instead of that trash used in modern Chinese handscrews.

In this photo is a roofing or lathing hatchet, a wood crate tool and a concrete groover. As some of you suspect, I'm a real sucker for anvils - and couldn't pass up this small benchtop - it's marked but I can't make it out.


The anvil is marked but I can't quite make out the name (Valiant?).


The concrete groover is marked EC Stearns - I've got two vintage edgers so this will be added to those to complete out my masonry kit.


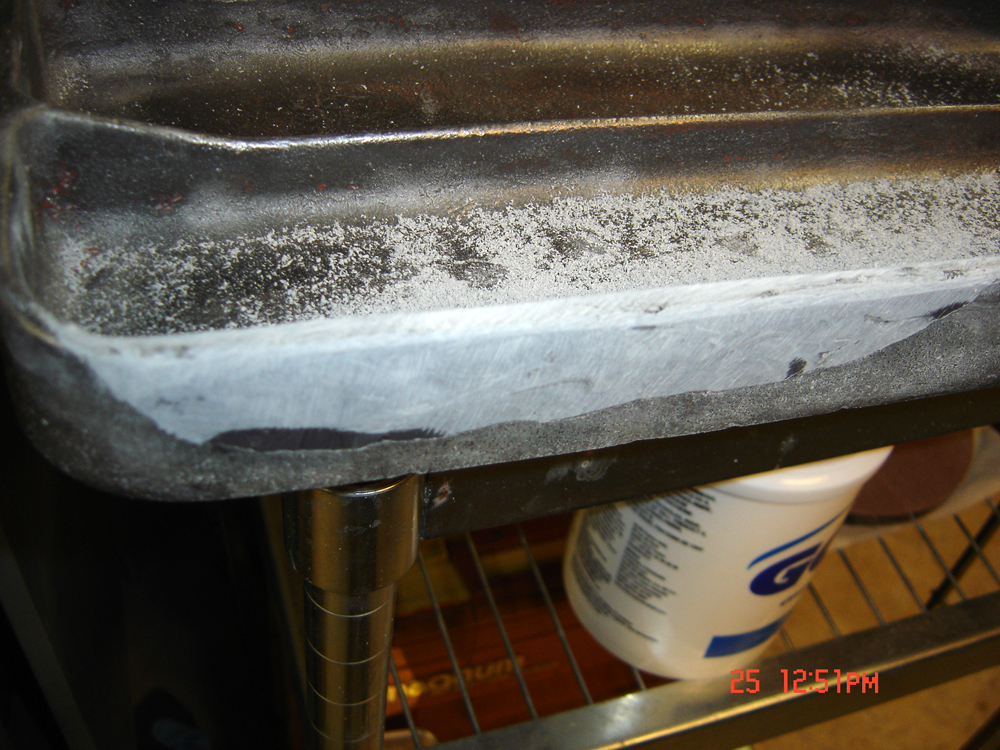
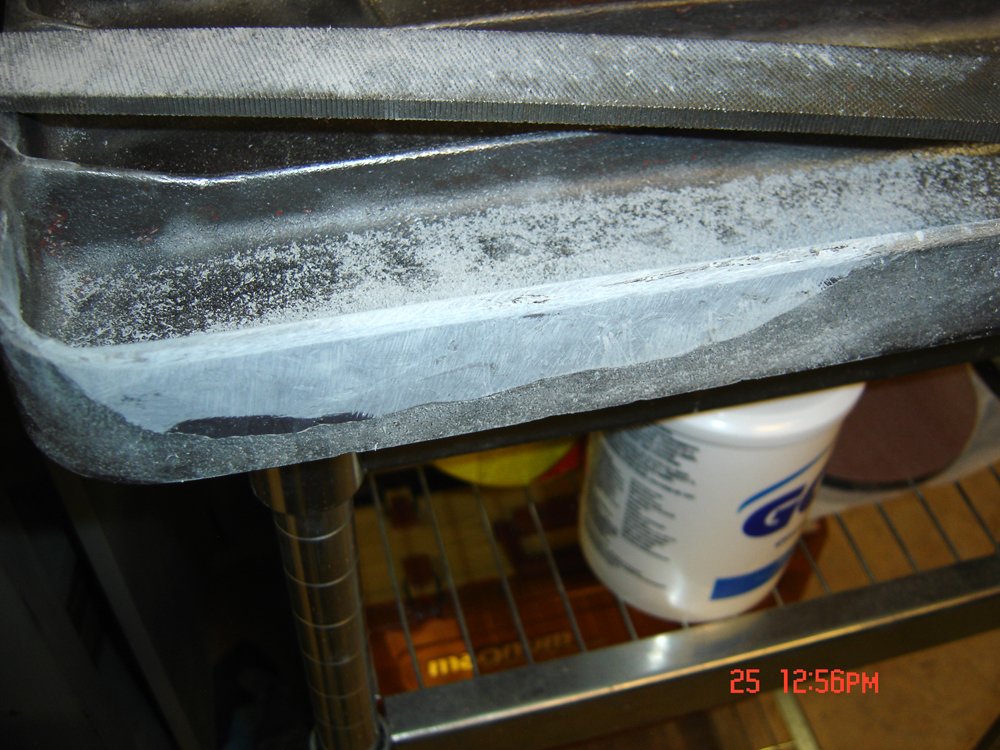
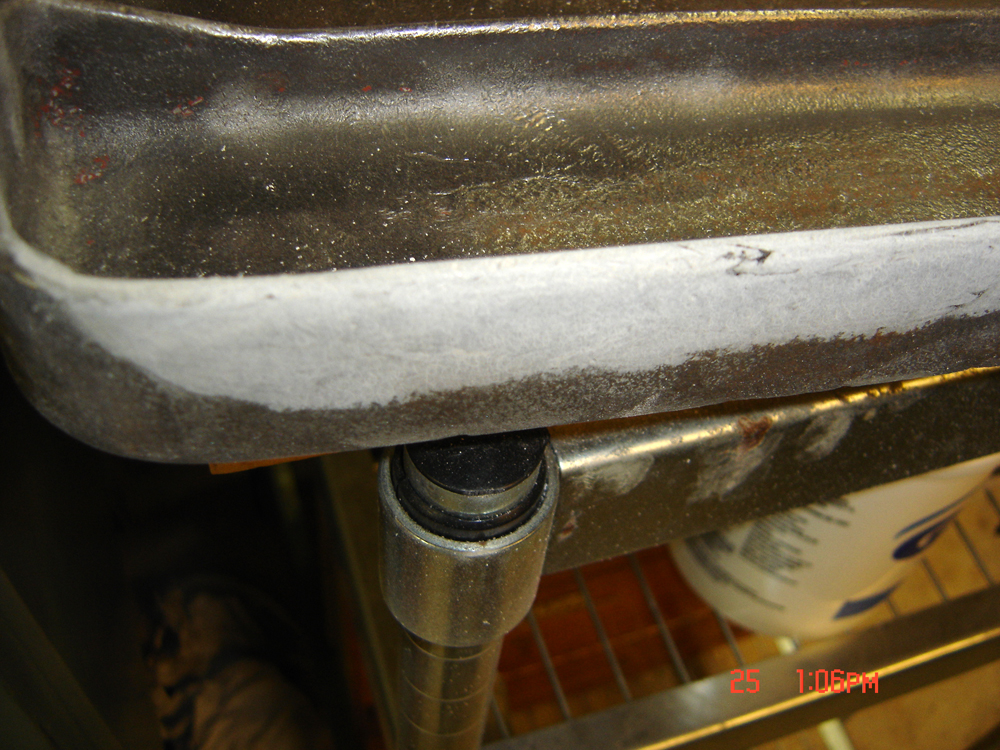
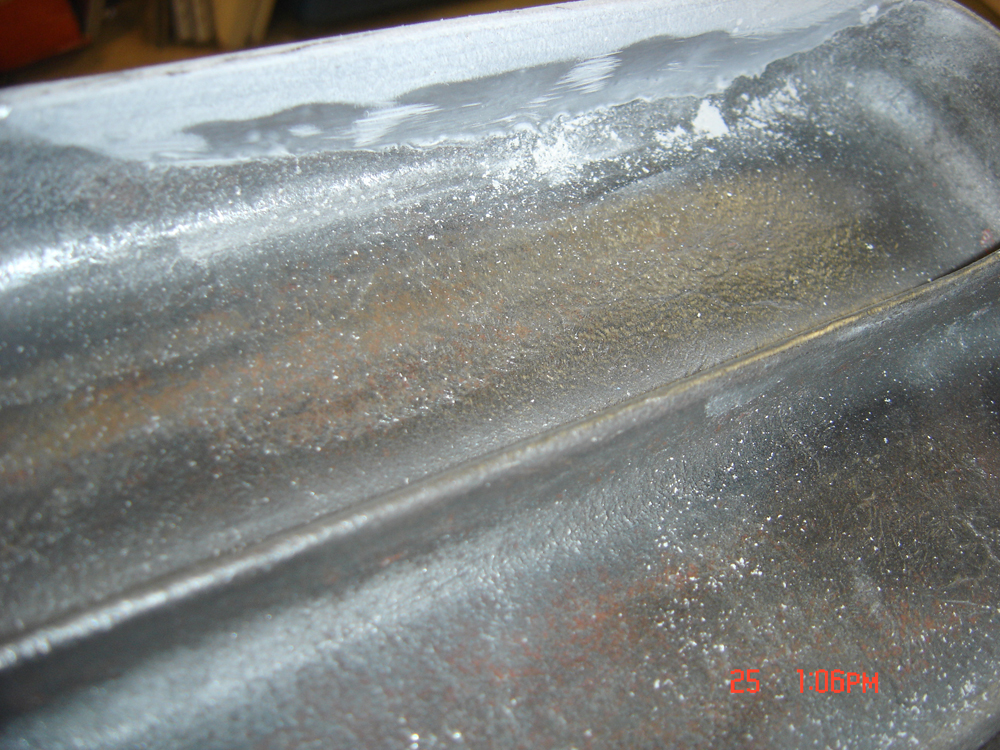
I don't know much about this handsaw other than it's massive, feels great in the hand and seems well made. It's cut at about 6-8 tpi (didn't measure so going by feel) and is very sharp. I think it will clean up great - I don't have it in front of me and the photo of blade lost the etch so I'll edit this when I can take a closer look.


Marked H S B & Co. The handcarved apple handle is in great shape - probably pre-war?


One hidden gem - don't know if you spotted it, is the Stanley $75 Rabbet plane, still in the box. This one is made in the UK.


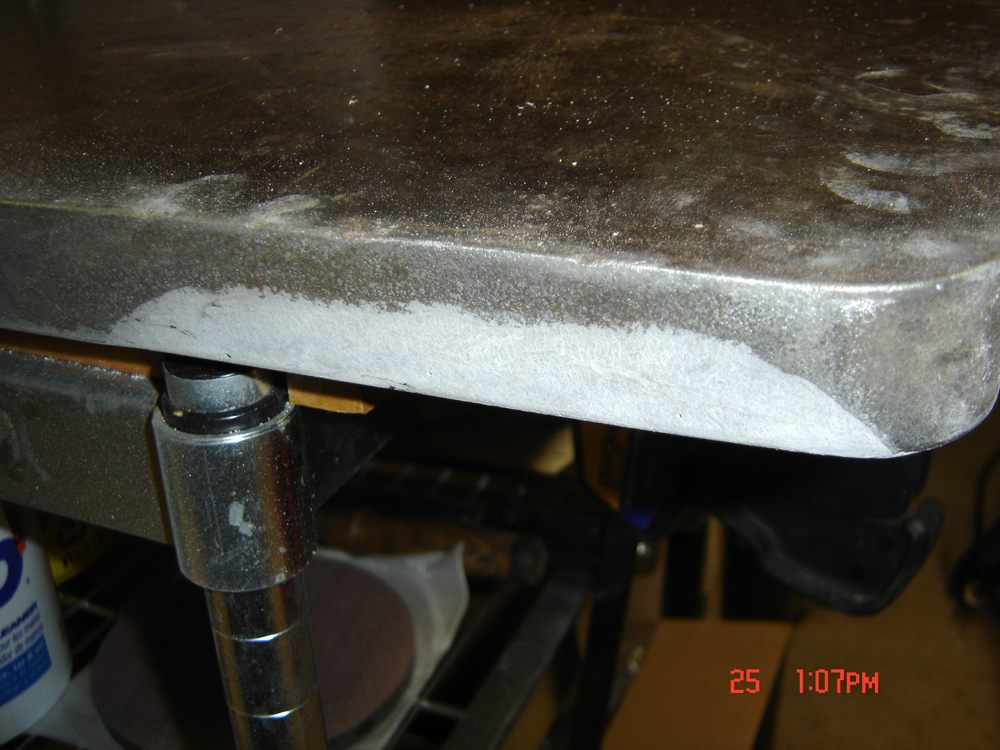
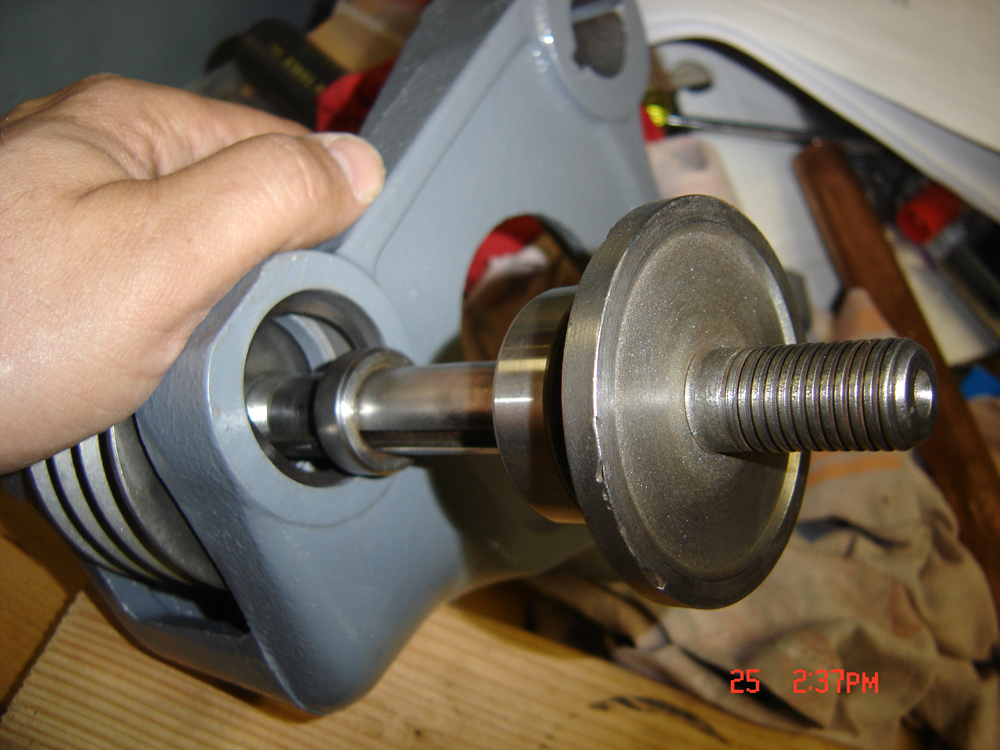
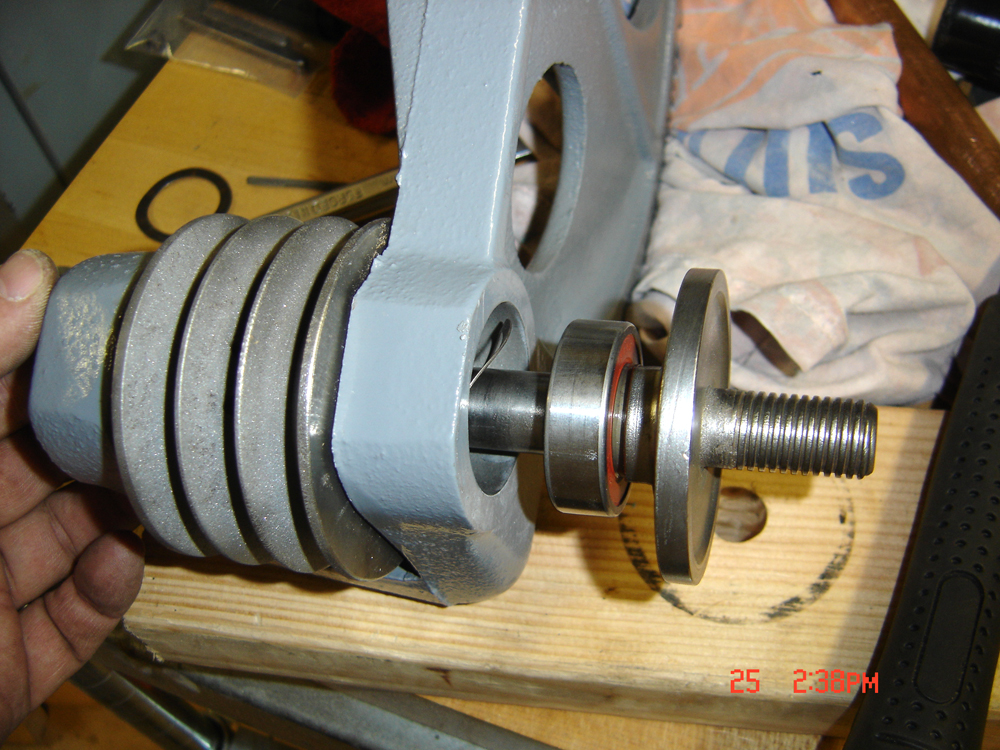
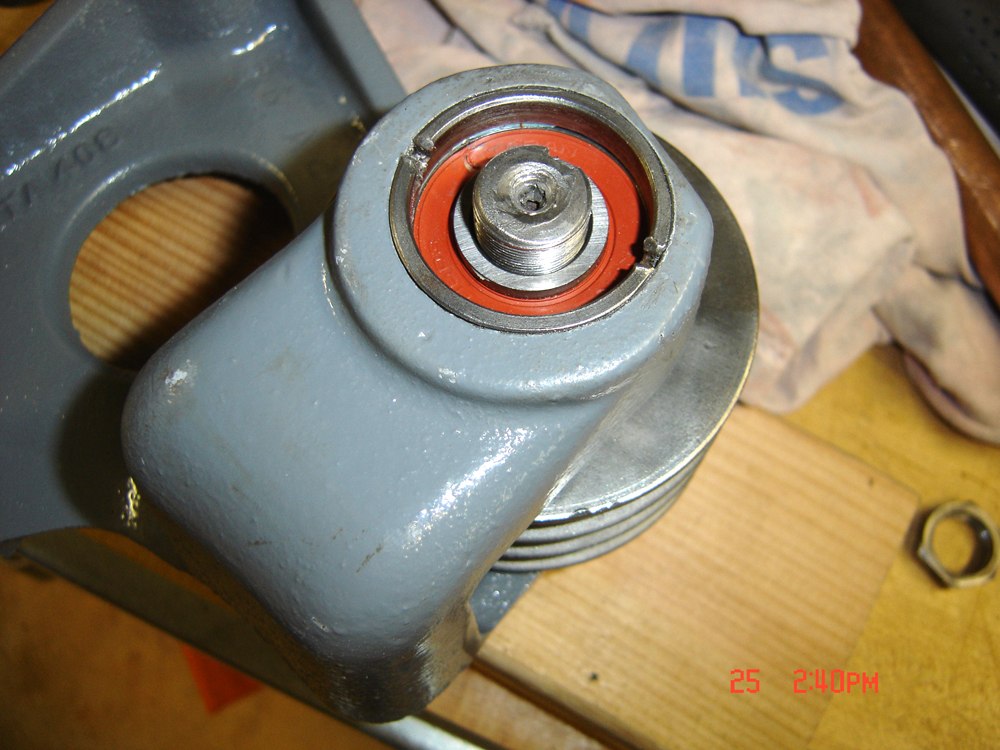
In all, some pretty good stuff. There are still a few items left at the house I'm thinking about going back for, including a Craftsman quick-release vise.

-- John

Saturday, April 16, 2011

Unisaw - Quick Mid-April Update

Only had a few moments to work on the saw during the last week or two - I did begin some sub-assemblies (front trunnion bracket) and painted the second coat on a few parts (feet, cranks, blade dust shield). I've been messing with a couple of magnetic starters to use on the saw - these are all three phase so I'll be converting for use as single phase 220. So far I've collected an old Allen Bradley, a Cutler Hammer and I may be purchasing a Square D just to make things interesting. More photos to come.

As usual, all the other stuff I do has been interfering - I've also been working on a bird house (my woodworking club is having a little contest this morning during our regular Saturday meeting) and the yard. My current project is to dig out the space beneath the rear deck (by hand I might add - shovel load at a time), then wheelbarrow the dirt out to various areas in the yard that need filling (we've lost so many trees that there are somewhat dangerous holes all over my wooded lot). I also moved 8 tons of dirt (by hand once again) out at the rental property (thanks to my friend Allen who took pity on me and helped move about half of it) to back-fill the rear drain after the water-proofers were done coating the wall.

-- John

Tuesday, March 29, 2011

Unisaw - Completing the Arbor and Tables

So a few days ago I got busy completing the arbor rebuild and starting the tables. The first thing I needed to do was address the big piece of the table edge that was missing (broken off - see the first post images and you'll see what I'm talking about). Ideally this would have a new piece braised back in, but frankly, I've yet to find anyone locally who I felt comfortable with doing the work. Cast iron is rather finicky - the technique requires heating the metal up to cherry red before welding so that the metals interlock, then allowing to cool slowly (like it sand) so you get a strong joint. When talking to any of the welders around here, the only process they know is to immediately start going at it with rod - after thinking about this a while I decided to just fill it as best I could with JB Weld. Since it's not a load bearing surface and wont be under any stresses, metal-filled resin just seemed easier to me (to work, particularly). I cut a few pieces of hard plastic and made a small form, mixing up the two parts and laying it into the void. The stuff was pretty much self leveling.


JB Weld within Form
Cardboard palette and Popsicle stick applicator
Allowed to dry and harden over-night

As you can see the color approximated the raw, cleaned cast iron. I continued to work down the resin using rasps, files and finally sandpaper


Ready for Paint!
While I starting taping off the tables and wings for paint, I also finished up the arbor rebuild. The first time I put the arbor together I wasn't happy with the result - the pulley could slide back-and-forth along the shaft about 3/32" - the threads on the bearing side were also a bit buggered so the retaining nut wanted to cross-thread. So before I torqued everything down and screwed something up, I took it all apart and made a few posts on OWWM to ask for some opinions. I knew I would need to chase the threads so with it apart it would be easier to get things to go together when assembled. One idea I got from the forum was to put everything together sans bracket so I could see how it would fit - that way I would know how much room I would have for the final nut and belvedere washer. While taking things apart the far bearing nearly fell out of the bearing - so I knew that was probably part of the problem. It was too loosely pressed in (the retaining nut wasn't applying enough force), so apparently what happened was that when I applied pressure on the arbor to press everything into final assembly, it loosened the far bearing - that was the slack I was seeing (understand there was so much slack that the spaces would slide - that's where I got my 3/32" of looseness). The second time was the charm - this time I applied a drop of blue LockTite to the far bearing, then made sure I got the retaining nut very snug. I did have one mishap - the punch slipped and hit the plastic bearing sleeve hard enough to scrape the coating, but not hard enough to puncture (luckily) so I went with the same bearing with the hope that it wasn't bad enough to warrant a replacement (only time will tell!).

Starting to press the bearing


Watch the spring washer so it doesn't get caught


You can see the small spot of coating where I slipped


TIP: Place small screwdriver blade under belvedere washer until nut is tightened


Slightly pry upward then go to a larger screwdriver (careful not to hit the bearing sleeve)


Final step to add the pulley lock (with a drop of blue LockTite)


Completed Arbor Rebuild!

I tried to group the photos together a bit, but in practice I actually went back-and-forth from inside to outside while I hit the wings with primer, then two coats of paint (if you look at the camera times you can see the order). I also got two coats on the underside of the table.

Primer
Paint
Table after Second Coat
Wings after Second Coat
In all I feel pretty good about where I am thus far. I still need to finish painting the cabinet, plus the motor cover, cranks, feet and pan, but those will need to wait for a clear day. I'm going to start the sub-assemblies and probably get the motor apart so it can be cleaned, potentially turn down the commutator and fit new bearings (may get new brushes as well).

-- John

Friday, March 25, 2011

Unisaw - Prepping the Table and Rebuilding the Arbor

My next steps were to both start the preparation of the table/wings, and rebuild the arbor with new bearings. Here's a shot of what the table wings looked like - note the multiple coats of paint, rust and marred surface.


You can't see it in the photos but if you look at my first couple of Unisaw posts you'll see that there's a big chip missing from one edge. Initially I was going to abandon the use of that wing by using an extension table for a 52" fence. I've since decided to go with a shorter fence as the width of the previous would make it too cumbersome to walk around in my tiny wood shop.

I cleaned all surfaces as best as I could using a twisted-wire cup brush mounted in an angle grinder. I then media blasted using Black Diamond abrasive purchased from Northern Tool (great stuff and only a little more expensive than sand, and the threat of silicosis is minimized). Here's the table after blasting and shown with a coat of primer. Done with this for the day (trying to prune up the yard to get ready for the Friday yard trash pickup).


I had already started the arbor dissembly using my bearing puller:


I finished cleaning up the rest of the gunk on my grinder equipped with a brass wire wheel:


And a few days later pressed on the new extended-race bearing purchased from Accurate:


I had already pressed on the other bearing into the arbor bracket using my thumbs:


And then supported the hollow area between the two ears using a twobafore and a couple of cedar shakes (the taper let me sneak up on a tight fit), tapping in the bearing with a soft-faced hammer until flush:


It's suggested that the threaded retaining ring be installed with a drop of blue Locktite:


And that a punch be used instead of a screwdriver:


At this point both bearings have been seated and the arbor is ready to be inserted.


I set everything down and prepared for the next phase - finishing up the arbor rebuild and completing the tables. Sorry about the disjointed chronology - all this stuff was going on in between other projects and demands on my time so it's a bit spotty (didn't remember to take shots of the table underside, for instance).

-- John

Friday, March 4, 2011

Unisaw - Parts Clean Up

I was out of town over the weekend and didn't get back until Tuesday so these photos are from just before I left for Albuquerque.  First the Unisaw cabinet - managed to spray a couple of coats on the interior and did coat one surface of the exterior (didn't take a photo of it though as I wasn't happy) - it was then that I saw many sanding marks and imperfections (I'd anticipated some but this really bugged me). I've decided to rough up the painted surface and re-shoot with primer, then hit the worst of it with some glazing compound (blocking with wet sandpaper) until it looks better. I figure this is the only chance I'll have to do this so I may as well spend a little extra time getting it right. Images of the cabinet up till this point:

2 coats on the interior surfaces

Dark Machine Gray on Interior (primed exterior)
As I've been working on the painted portions, I've started cleaning up the interior pieces - here are images of what's been worked on thus far - note the labeled baggies - as I dissembled the saw (over 3 years ago - ugh!) I carefully bagged the parts and took photos so I could have a reference in putting things back together. Most of the parts have been cleaned up on a brass wire wheel - some of the smaller parts were put into a vibratory tumbler. I'm replacing the carriage bolts for the base (had to cut two of them off that were frozen with rust) and won't bother with the square nuts (you don't see them anyway since the nut is tightened from the bottom).

Arbor Parts

Tilt and Elevation Crank Parts

Table Wing Fasteners

Top Fasteners

Trunnion Stops, Bolts, Washers and Pins

Trunnion Bracket Fastners

Motor Mount Fastners
Guard Bracket Mount
Blade Retention Washer and Nut
Blade Dust Deflector Fasteners and Sleeves
Arbor Support Bolt
Door Latch
Front Trunnion Parts
Crank and Door Knobs

Switch mount and cover
 As you can see by the photo above the switch cover is really shot - I just purchased a reproduction one - I think I'm going with a magnetic switch so the reproduction plate will be for looks only. I've also recently scored a tilt plate and a serial number plate from a 60's model saw (along with the drive screws) - all for looks really as those I pulled off the saw were really shot.

While out of town the bearings for the arbor and motor made it to the house - if the weather stays lousy (rain in the forecast) I'll move on to those rebuilds and wait on the cabinet. Still a ways to go...

-- John