OK so I didn't use all of my vacation from last year and lost a couple of days (I had 7 days roll over, but it reduces to 5 after the last day in January). This year I decided to use those days - thus far I've only taken a couple of days off and it's already halfway through the year. That was enough justification to take off the week of July 4th (so 4 vacation days) which brings me a straight 9 days off! So with all good intention, I started with a list of things to accomplish - of course I didn't get very far. The good news, is that one of those things on the list was to finally build a workbench top for the two metal Craftsman units I started on way back in
December of 2010!
To bring you up to speed:
- I have a short end-wall on one end of my workshop - the cyclone is in the right corner and there's a door on the left wall close to the corner. There's just enough room for a workbench.
- I found two rusty Craftsman metal bench cabinets full of drawers (they were $10 each, found at an estate sale in my neighborhood), which I lightly sanded and repainted in red/black. These made up the base.
- I leveled these up along that end-wall and then built a frame using pocket screws, with countersunk bolts to hold a bench top.
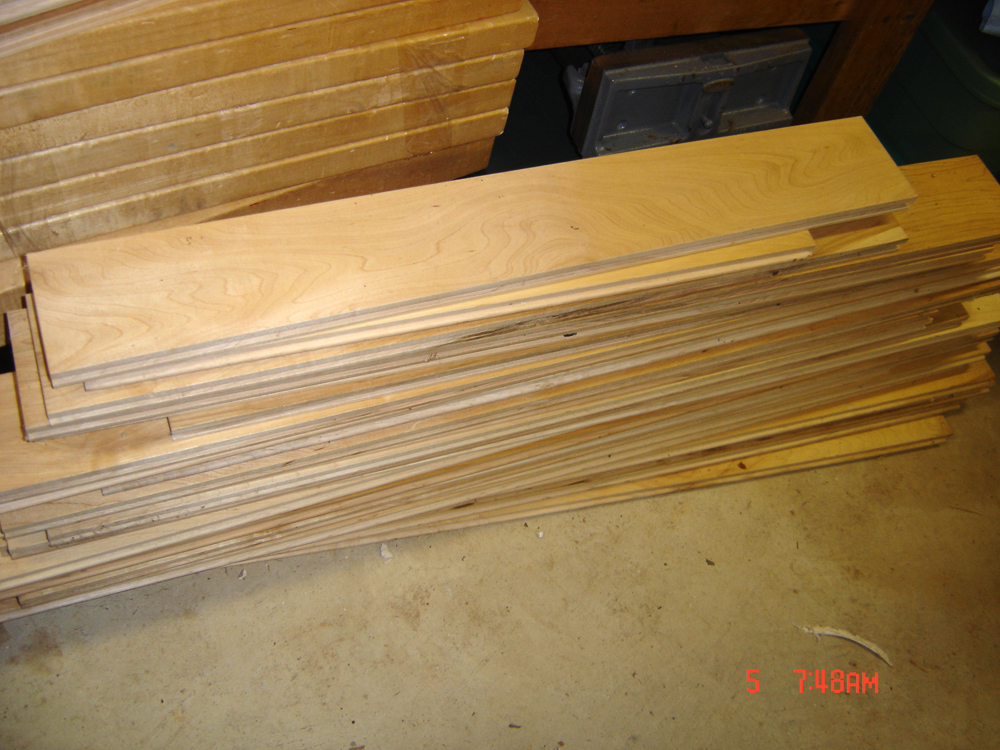
- At some point I had salvaged some maple flooring that had been drug to the curb - I've been kicking over that stack for over a year and was ready for it to be gone.
- I then contemplated using the stack as the top but would have to build a frame to hold everything together - this would mean ripping a tongue alone each end after trimming to length so the flooring would all interlock. The project then became home to all the pieces of my Unisaw build (also still in pieces). It was time to get some of these projects done!
 |
| Stack of Salvaged Maple Flooring |
That brings us up to this week. I got out my sketchpad and worked out a few measurements. First a note - this is one of those projects where you want to create something utilitarian so it doesn't have to be perfect. That being said, I went a bit overboard. The problem was that I could have made a narrow skirt for the top using a single maple board I salvaged - the original length was about 8 feet so it was long enough for the long parts of the frame, but to make the board work the top would have looked a bit "skimpy" - last year I was given a fat piece of maple and inspiration hit - I'll rip that in two and use it for the ends, so the frame/skirt would have better proportions. So these were the quick measurements I made:
 |
| Sketch - the numbers are inside measurements - note I calculated it twice using different methods. |
I figured on 1/8" of wiggle room - I actually just barely had enough length to fit the skirt on the bench, based on the lengths of the longest boards - they were 91" long. Oh, and did I mention that I decided to handcut the dovetails? This is where things got a bit overly complicated. I could have just done a mortise and tenon but had recently viewed a video by Paul Sellers (great blog by the way) regarding the hand-cut dovetail and decided to go for it. That was also why I needed so much of the long boards since they needed to be full lenght to allow for the dovetail.
So I got out some trusty tools like by Lie-Nielson dovetail saw.
I bought this saw with the leather holster from someone on Woodnet - it was so cheap it was hard to pass up - it's a bit dirty from the previous user - when I originally purchased it a few years ago I just used it for a few test cuts and put it away. This is the first practical use.
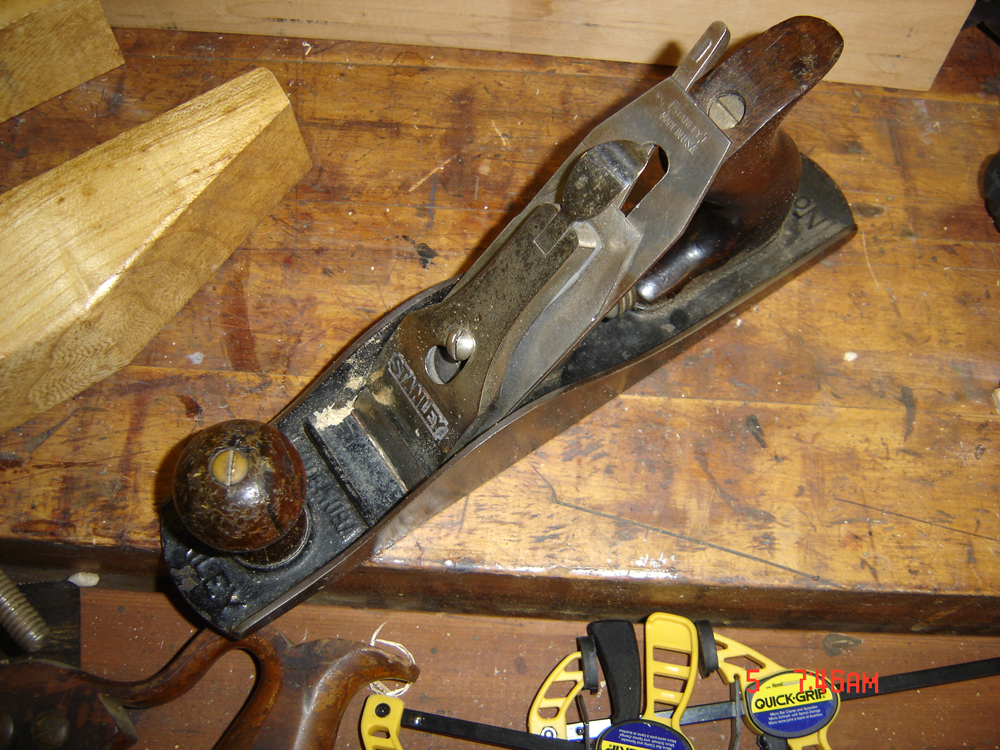
I won't bore you with all the initial steps, other than to say that I ripped the boards on my table saw and then edge-jointed by hand to flatten out the imperfections and burns (maple doesn't smell very good when it burns, by the way) using my trusty Stanley 5 1/4 - one of my favorite planes.
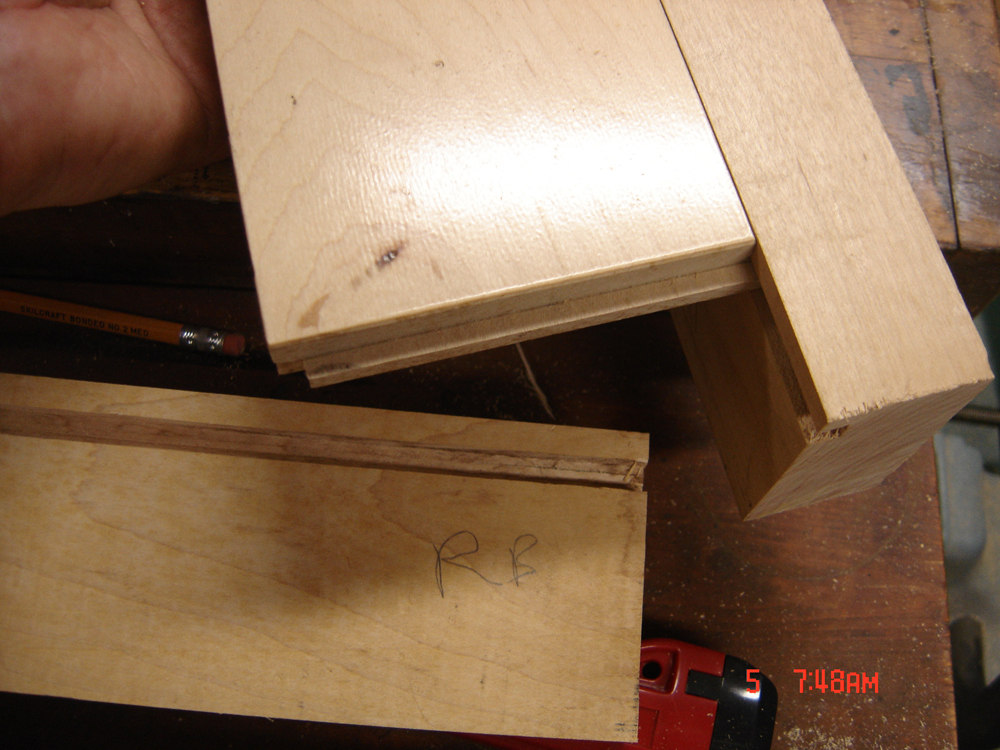
I then adjusted my fence and did a couple of passes on the table saw to cut the rabbets for the tongues on the flooring.
This is the test fit:
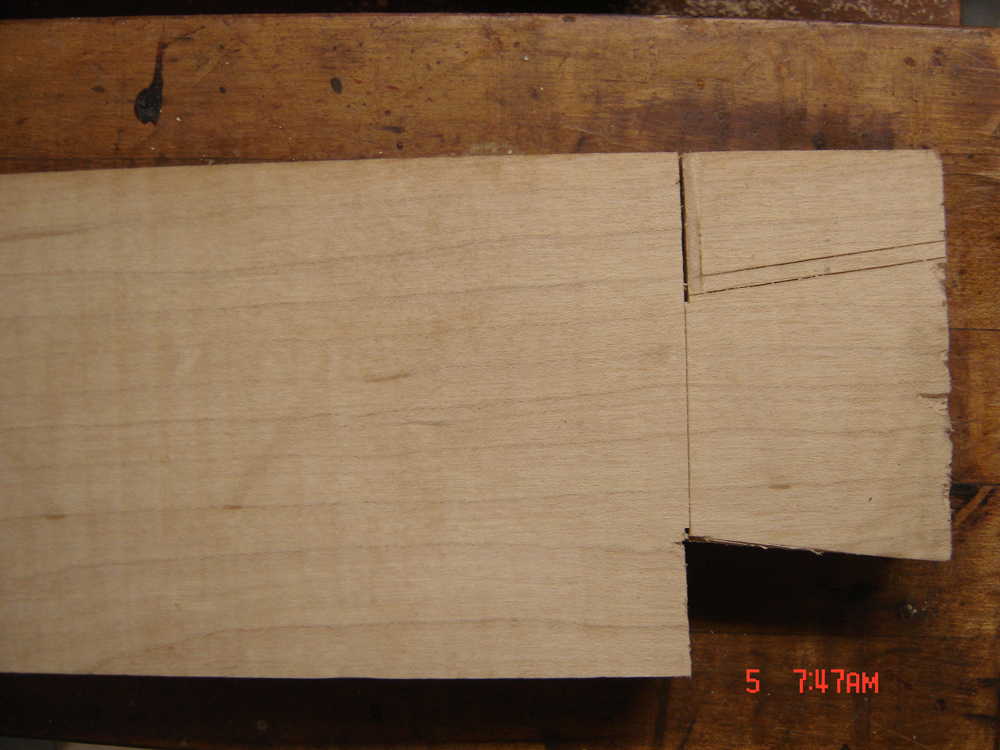
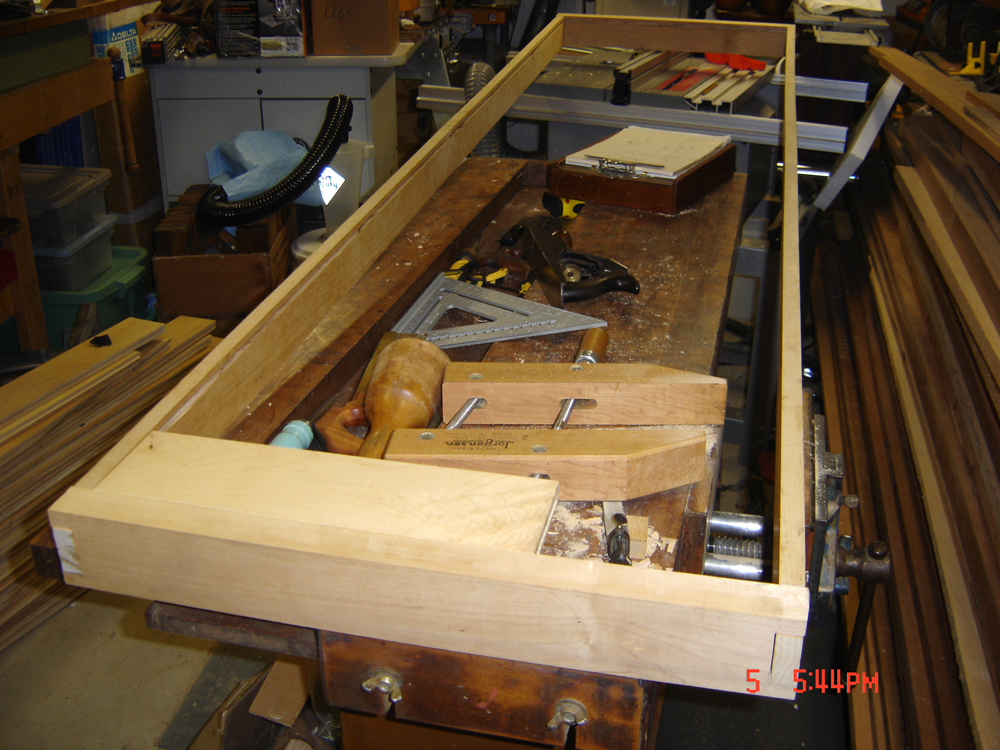
That's as far as I got on day one, Tuesday (July 3). Invited a few friends over for the 4th - typical cookout, etc, so I didn't get back into the shop until Thursday (July 5th). I took the above photos before continuing.
After carefully marking the dovetail, I started cutting (yup, no practice or anything). Note to self, before hand-cutting dovetails cut a few scraps to get back into the swing of things. Needless to say my first attempt was pretty bad:
The hardest part about these were the rip cuts - the boards are so long I couldn't put them in a vise, I cut these straddling the boards (no saw bench yet either).
So my first dovetail was pretty yucky - also fairly loose fitting, good thing I started in the back. Fortunately, my second dovetail was 100% better and I continued to tweek things as I moved around the frame. Here's the assembled skirt:
About that time I decided to take a break and change out the blade and cord on my Dewalt 708 12" Sliding Compound Miter Saw (this is a Type 4 with the extra amperage). I got this guy for $50 at an estate sale due to the dry-rotted cord. It's got new brushes and a new belt. I already had an unused blade. The cord was $24 at the Dewalt/Delta center up on Jimmy Carter Blvd.
 |
| Thinking about placing the Miter Saw on the bench instead of a RAS |
 |
| To get it to fit I'd need to do a sliding table so there's room enough for the guides to extend to the rear when the saw is retracted from the cut. I'll have to think about this a bit. |
 |
| Core replacement was super easy - love working on Dewalt tools. |
I then test fitted a few boards and called it a day:
 |
| These are the shorter boards that won't be used - just for a test fit. |
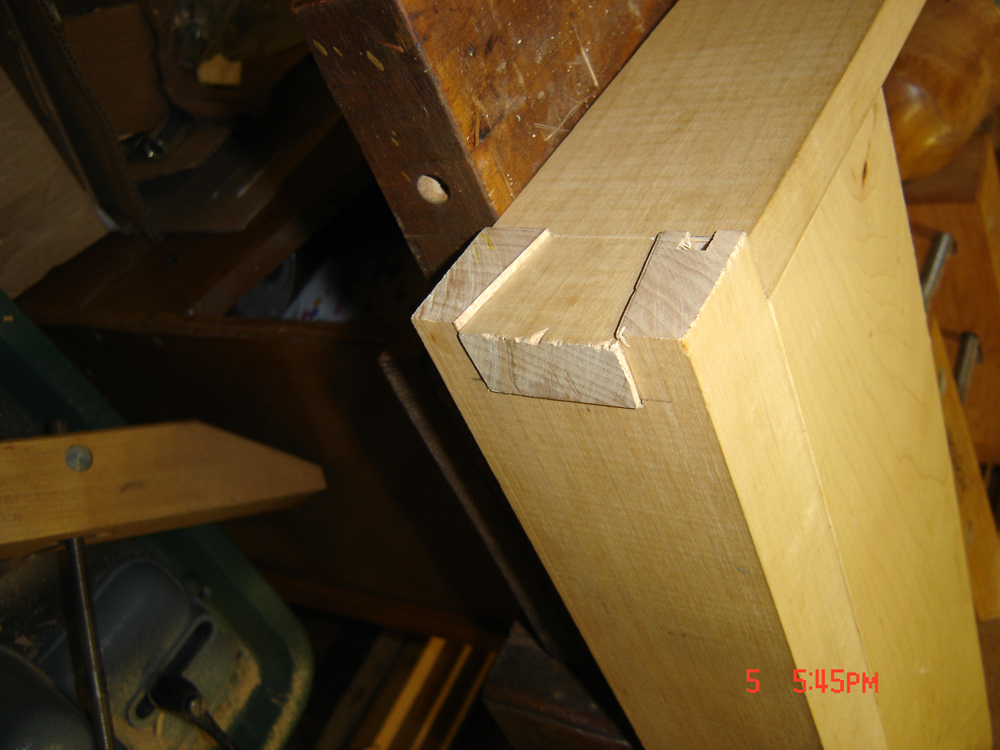
Here's a close-up of those dovetails (the better ones):
 |
| Still a little sloppy but it is for the shop. |
I thought that was enough to do on one day. More when I get back this evening.
-- John