Friday, March 4, 2011

Unisaw - Parts Clean Up

I was out of town over the weekend and didn't get back until Tuesday so these photos are from just before I left for Albuquerque.  First the Unisaw cabinet - managed to spray a couple of coats on the interior and did coat one surface of the exterior (didn't take a photo of it though as I wasn't happy) - it was then that I saw many sanding marks and imperfections (I'd anticipated some but this really bugged me). I've decided to rough up the painted surface and re-shoot with primer, then hit the worst of it with some glazing compound (blocking with wet sandpaper) until it looks better. I figure this is the only chance I'll have to do this so I may as well spend a little extra time getting it right. Images of the cabinet up till this point:

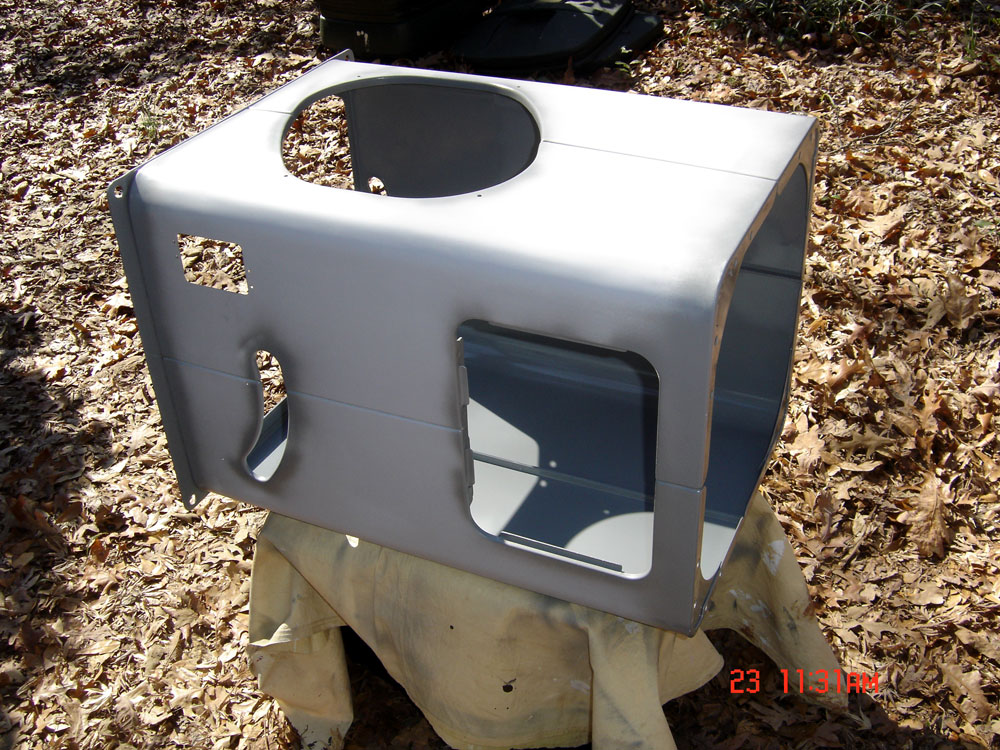
2 coats on the interior surfaces

Dark Machine Gray on Interior (primed exterior)
As I've been working on the painted portions, I've started cleaning up the interior pieces - here are images of what's been worked on thus far - note the labeled baggies - as I dissembled the saw (over 3 years ago - ugh!) I carefully bagged the parts and took photos so I could have a reference in putting things back together. Most of the parts have been cleaned up on a brass wire wheel - some of the smaller parts were put into a vibratory tumbler. I'm replacing the carriage bolts for the base (had to cut two of them off that were frozen with rust) and won't bother with the square nuts (you don't see them anyway since the nut is tightened from the bottom).

Arbor Parts

Tilt and Elevation Crank Parts

Table Wing Fasteners

Top Fasteners

Trunnion Stops, Bolts, Washers and Pins

Trunnion Bracket Fastners

Motor Mount Fastners
Guard Bracket Mount
Blade Retention Washer and Nut
Blade Dust Deflector Fasteners and Sleeves
Arbor Support Bolt
Door Latch
Front Trunnion Parts
Crank and Door Knobs

Switch mount and cover
 As you can see by the photo above the switch cover is really shot - I just purchased a reproduction one - I think I'm going with a magnetic switch so the reproduction plate will be for looks only. I've also recently scored a tilt plate and a serial number plate from a 60's model saw (along with the drive screws) - all for looks really as those I pulled off the saw were really shot.

While out of town the bearings for the arbor and motor made it to the house - if the weather stays lousy (rain in the forecast) I'll move on to those rebuilds and wait on the cabinet. Still a ways to go...

-- John

1 comment:

Rob Austin said...

The restoration is coming along nice. You look so organized with the plastic bags. The last time I saw anything that neat was when I was a jet engine mechanic. We accounted for every piece of hardware.