I thought I needed to start writing a bit about my shop construction. About two years ago I finally decided that something needed to be done with all my tools. I had been pulling my tools out into the yard to do anything "dusty" like cutting trim, ripping on the table saw, etc. It's a bit of a pain but clean up is relatively easy - I can pull the hose from my
compressor and hose off everything before pulling equipment back inside. The only issues were with weather and waning light - if I got caught in rain it basically sucked, or if it got dark on me it made it a lot harder to complete a project, so I ended up being rushed right when I probably
shouldn't be - this compounded mistakes. So I started looking at my basement and how I might leverage some of the space for a workshop. I decided that I could hook up a dust collector and do some stuff inside, but it took a bit of ingenuity as there wasn't a lot of space to move lumber around, especially sheet goods. So at the time the DC was only used for my
bandsaw (I would occasionally use my miter saw inside, but the shop vac worked better at collecting the dust shot by the blade back to the built in port). At the last house, I erected a 12x16 workshop on the side-yard. At some point I might do something similar at the new house, but for now it's a lot more economical to put something into the full basement.
My house is about 2400 sq ft of finished space, with a full basement (400 sq ft of the basement is finished, which leaves about 2000 sq ft of storage or potential work space). The basement is peculiar in that the floor has two levels - the center of the basement mimics the sunk-in floor of the living/dining/kitchen area above (so each end of the basement appears to have a raised floor, when one is looking across the entire space). The ceilings are also fairly low - about 72" to the bottom of the floor joists above from the poured concrete slab. This provided some challenges. There is an addition that expands the master bedroom, with a "gardening" room below, which I use to store yard tools and other 'crap.' This room also has an exterior door that opens to the back yard, with the original door to the house separating that space from the rest of the basement. The old door is hollow-core and badly
delaminating - more on that later.
So my initial thinking was to take the back quadrant (actually a sextant if you divide each level by two front-and-back) of the basement by the back door/"garden room" to build out. The space was about 13'x33', but I would have to factor in space for the furnace and
hot water heater, which were also in that area. I started a floor plan and also began a materials list. That's when I realized that enclosing the furnace, etc would really limit the space and take a lot of extra time to do. Plus the doors I would need to install would be in
awkward places, further limiting the available space. The solution was to use the adjoining space towards the front of the house. The only issue being the need to move my boxed and
palletted book collection elsewhere. So the challenge was to consolidate my collections and bring them towards the furnace space, while leaving enough room for
pass-through and access to the house systems (furnace, etc). That took a bit of thought and brought me up to early last year.
Starting about October of 2007, and committing to building out the front sextant of the basement, I began making some plans. First, I wanted to keep costs down while having the most flexibility. I also wanted to reuse some of the lumber and sheet goods I had accumulated and saved that was now taking up valuable space. The room ended up being rectangular at about 13' wide and 33 feet long (two walls are cinder block foundation while the other two are
limited by the drop in the floor on the short end, and a demising support through the center of the house for the long wall). There would be two doors - one opening up into the bulk of the basement, and the other approximately in line and the same size (32") as the door leading to the "garden room" (no need to have the door larger than the exterior door as anything built to move outside would have to exit
through the exterior door). I would also replace the door into the "garden room" for better security, change this door and exterior door locks to mach and work with the same key; and finally to rework the house alarm so I could enter through the back and input an alarm code, instead of coming in through a normal exit and having to
disable the alarm from the first floor.
I would also wire the room with at least 3 240v 20 amp circuits and 4 120v 20 amp circuits, with lights wired into the regular house wiring via 2 120v 15 amp circuits (good idea to have lights on a separate circuit in case there's an issue or need to disable the sub-panel). The idea is to have enough power to leave equipment plugged in with one circuit dedicated to dust collection. More than likely I wouldn't have more than one or two pieces of equipment in use at the same time, so it became a "power management"
exercise. Through all this I did a lot of research on what other woodworkers did - what worked and what didn't, and made some decisions based on my research and needs (
woodnet.net is a great source for ideas, as were
Google searches). The lights would be suspended and plugged into switched outlets, so they could be moved for best effect once the equipment was laid out. Also, the
receptacle would be located above 4' from the floor, in case sheet goods were laid against the wall it would prevent them from being covered.
I had enough left-over
bead-board from previous projects so I would only need to buy 1 sheet to complete the two walls, I also had enough salvaged plywood to sheath most of the walls, that came from part of a neighbor's addition that had rot along the bottom (cut off the rot and the bulk was still usable). I purchased some interlocking floor pads at Harbor Freight (4 pack at $5.00) so most of the walkways would be comfortably covered. The walls would be painted and I would have lumber racks on two of them (I have a stack of Walnut and
Sapele currently in the carport along with a pile of misc hardwoods like purple heart and mahogany, so the racks would need to be able to store at least that amount).
I started collecting materials as soon as I knew roughly what I wanted to do. I started scouring
Craigslist and saved a lot there. I got lucky and found a 100 amp service panel to use as a sub on CL for $30 complete with the 20 amp 240 and 20 amp 120s that I needed. I also bought a box of misc electrical supplies including 250' of 12-2 wire, nail-in and remodeler-boxes, wire nuts, switches and outlets for $30 off of CL. I still needed a 100 amp breaker for the main panel - a Cutler
Hammer (which happened to have the most expensive components - go figure) - the retail for that breaker was more than $100 but I managed to find one on eBay for $25 shipped. I also just recently found a
pre-hung metal clad exterior door on CL for $40 to replace the
delaminated one. Of the two doors leading into the space, I bought and modified a hollow-core
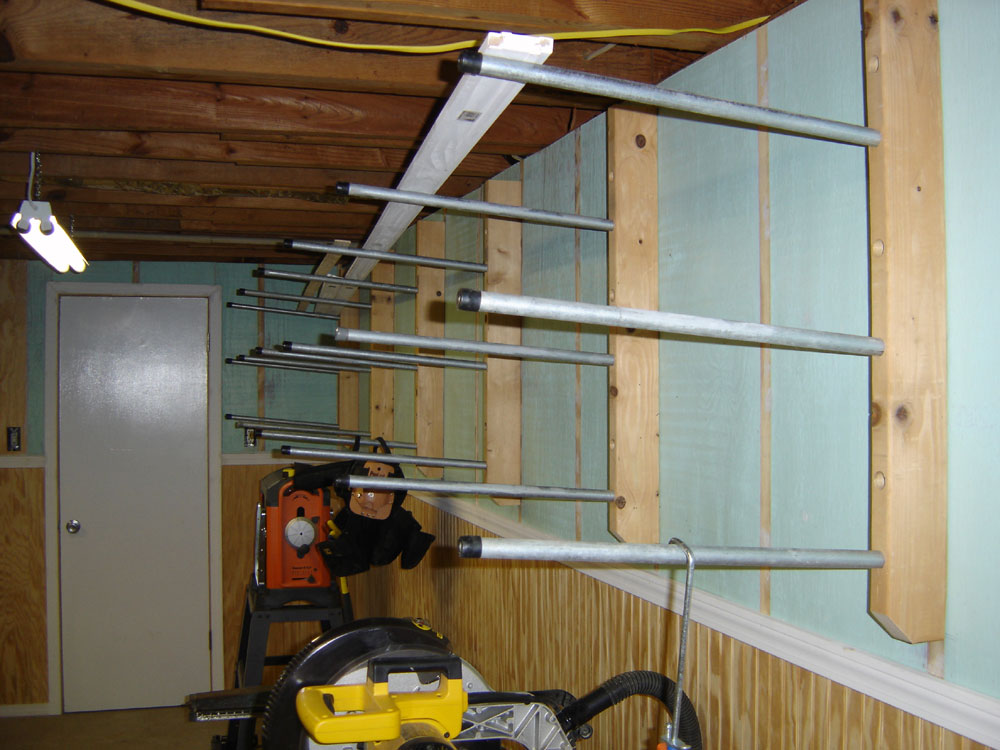
pre-hung for the entry from the basement, while the other was a salvage from one of my neighbors who replaced all his doors - I just had to buy a door-frame kit that was fortunately on sale at Home Depot for $14). All this helped to keep costs down. Finally, I found some lumber racks made of 2' galvanized pipe angled (about 5 degrees) into the edge of 2x4s with lag screws - 9 of those were $25 (and I managed to score a bunch of woodworking mags and books for another $25). I modified those for my shop racks, attaching them to the long wall I built so I've got about 20' of usable wood-racking on that wall. I used some John Sterling standards and brackets on the block wall - those were all on close-out at Home Depot so were very cheap.
Some other considerations include soundproofing (sound travels and is very loud in the rooms above) and some type of ceiling sheathing - I want to use something thin and reflective to not lose ceiling height and improve visibility. Also, with stationary machinery it makes sense to go with ducting to the Dust Collector, which in itself won't be powerful enough for my needs (there goes the budget!). All along I've been picking up used equipment to use in the shop, so I've relatively got everything I want (there is some opportunity to swap out some things for better or old
arn, as the case may be and I'd like to have a metal lathe but those are all outside the scope of the shop design and build). I also created a small space in the pass-through area to use as an office, mostly to store diagrams, magazines and woodworking reference books. I might also commandeer some additional basement space to store wood and unused/project tools. I'm also leaving my automotive tools outside of the
woodshop to free up space and make things more efficient - though there may be room for some exceptions. Finally and perhaps the most important, is to seal everything up to prevent the escape of dust into the rest of the house - so I'll be spending a lot of time closing up cracks and gaps, and caulking seams.
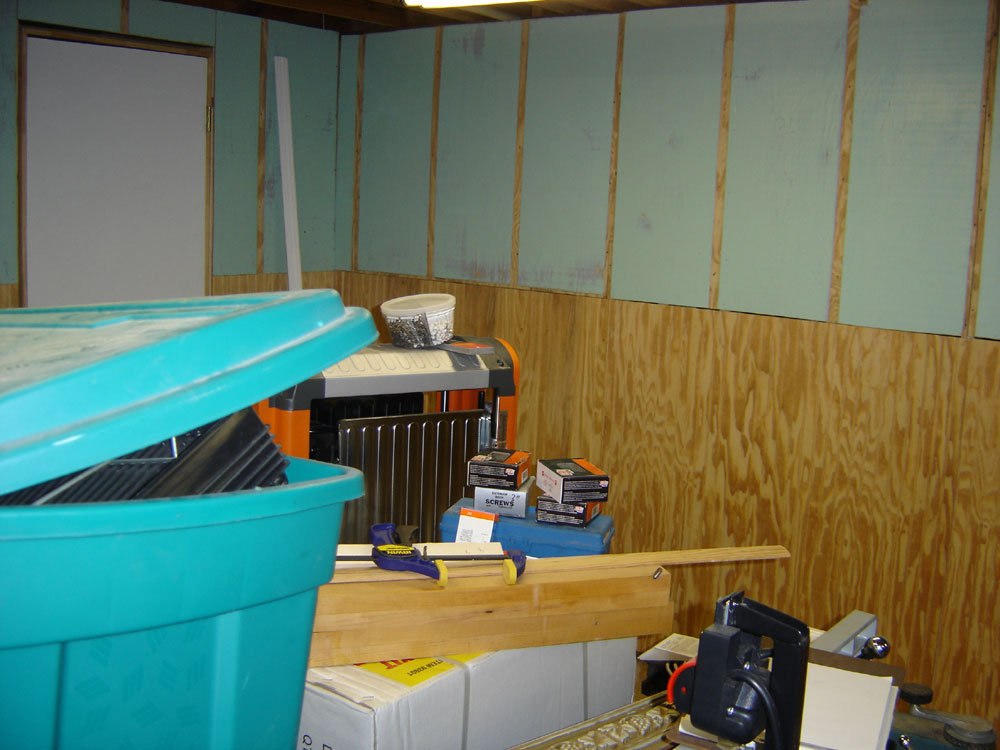
Unfortunately, I didn't take any shots of the space before I started putting up walls - the two walls were basically studs on 16" centers, with the top plate attached to existing floor joists and the bottom plate attached with R
amsets into the concrete. I then sheathed using the left-over
bead-board and recycled exterior 3/8" sheathing - note the paint, the lines are where
battens were nailed to the exterior. These images were shot on 2008.02.06:


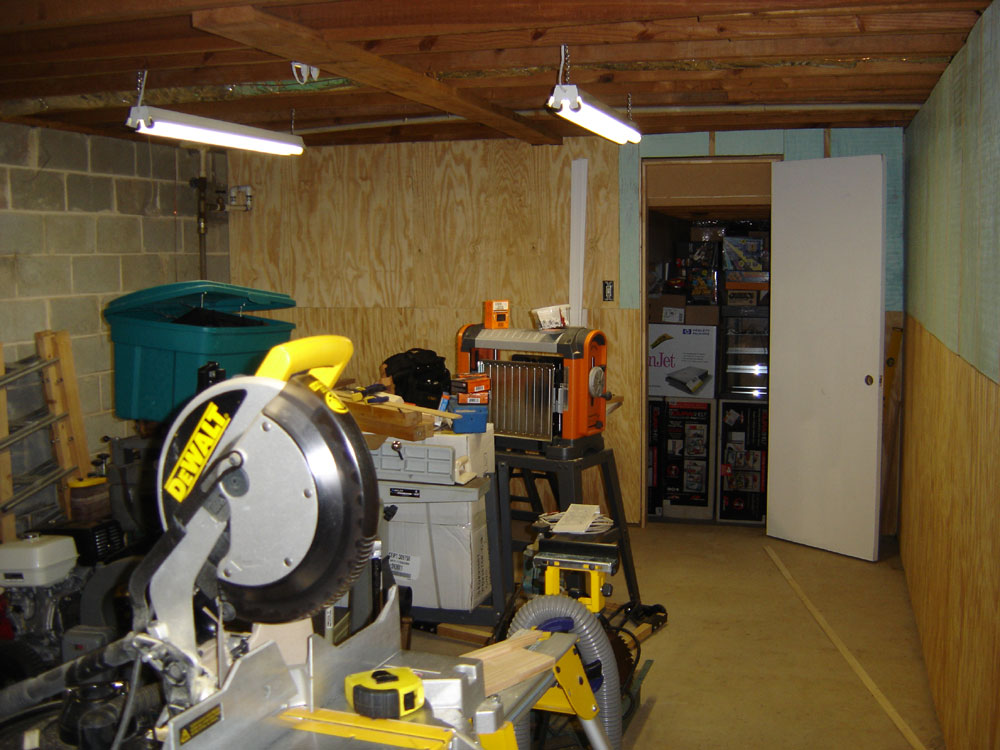
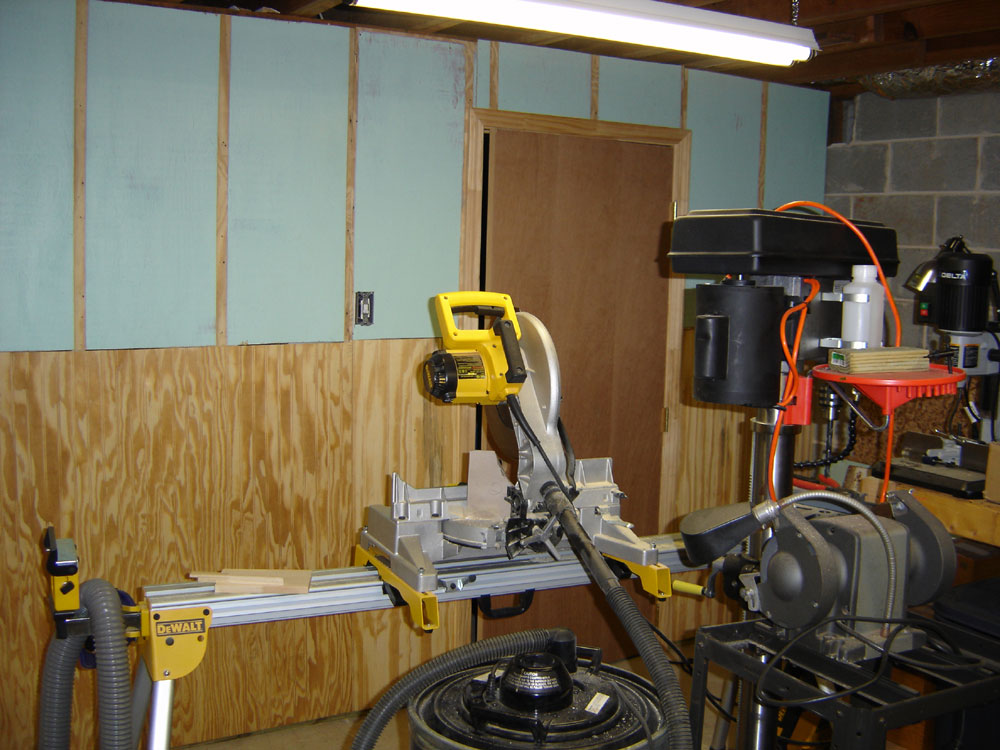
I salvaged several doors that one of my neighbors was throwing out - he had replaced all the interior doors with new, so I reused on 28" door for the short wall. I bought a
pre-hung 32" door for the long wall so it would be the same size as the door leading out of the basement. Note the position of the four 48"x2 bulb lights - you can see the outlets mounted on the wall - I zip-tied the cords so there's about an extra 2 feet of range for repositioning. You can see the light switches in these two photos - 3-way so the lights can be turned on/off from either door. The pre-hung had to be shorted about 8 inches to clear the supporting beam on that wall - I now wish I had taken a bit more time and shortened it from the top instead of the bottom - the knob is lower than normal - not uncomfortably so, but it is a nagging detail. I'm not sure if it was worth all the extra time it would have taken to modify both the door and frame - it would have been easier starting with base components (I think I would have if there was a 32" door in the salvage pile, but alas the largest was only 28 inches wide).
I then shortened the wood racks mentioned earlier and lag-screwed them into the new studs - the top screw goes into the supporting beam the top of the wall is attached to. These shots were taken on 2008.02.19:


Because of space considerations, I'm building my Miter station along this wall beneath the racks - it will actually be a bit shorter than usual to clear the bottom pipe. The drill press will be placed in the corner behind the door.
-- John