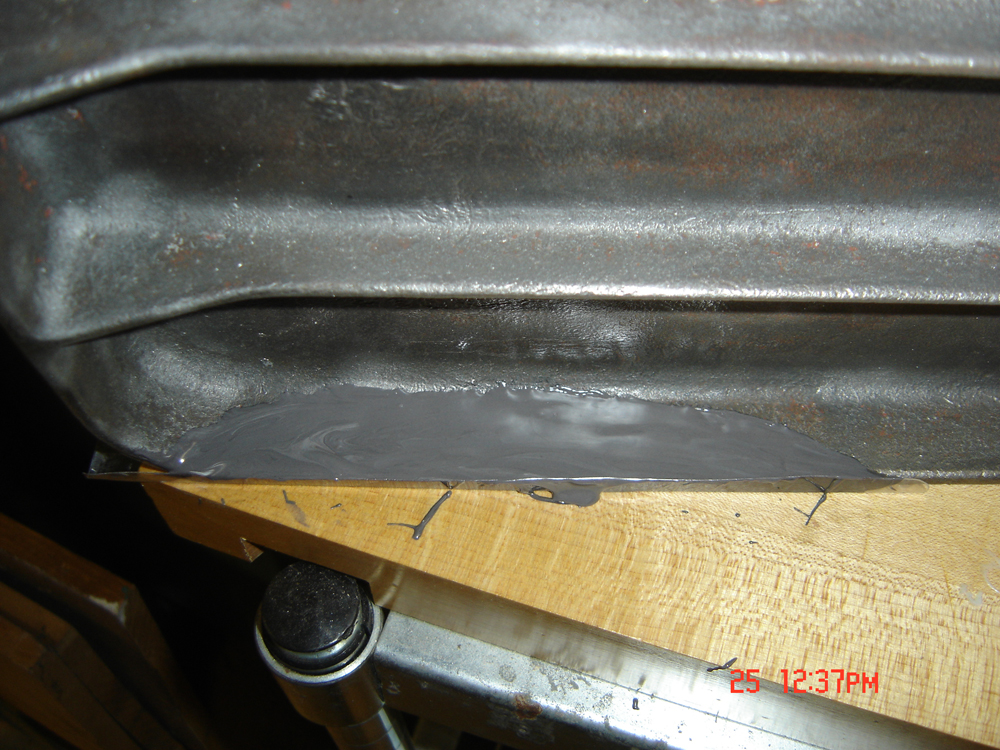
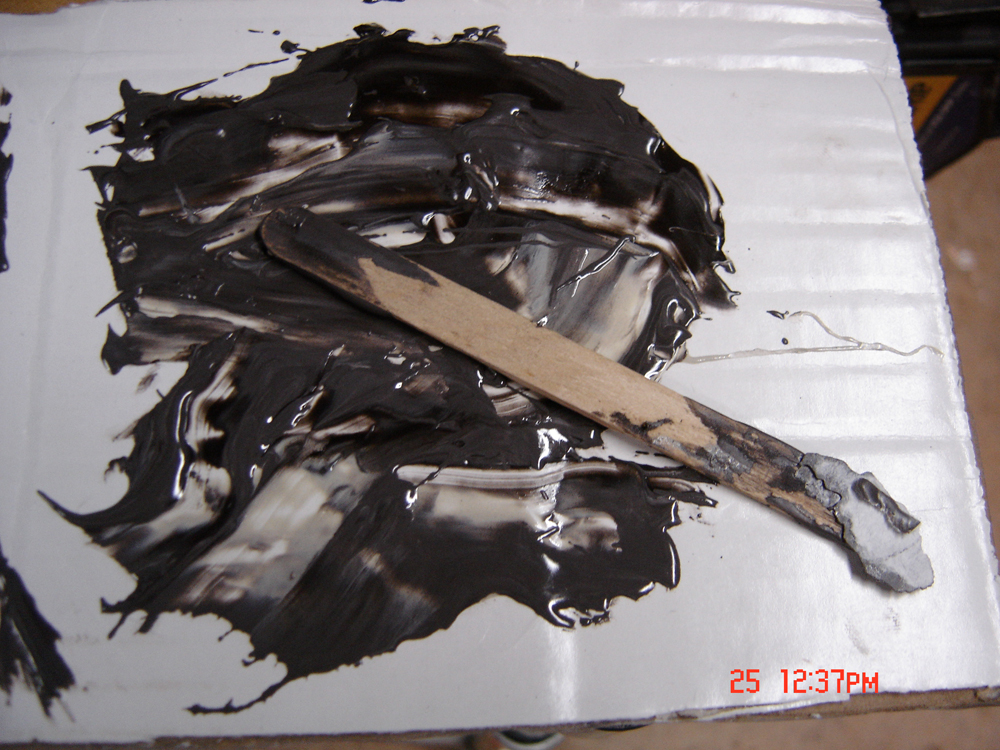
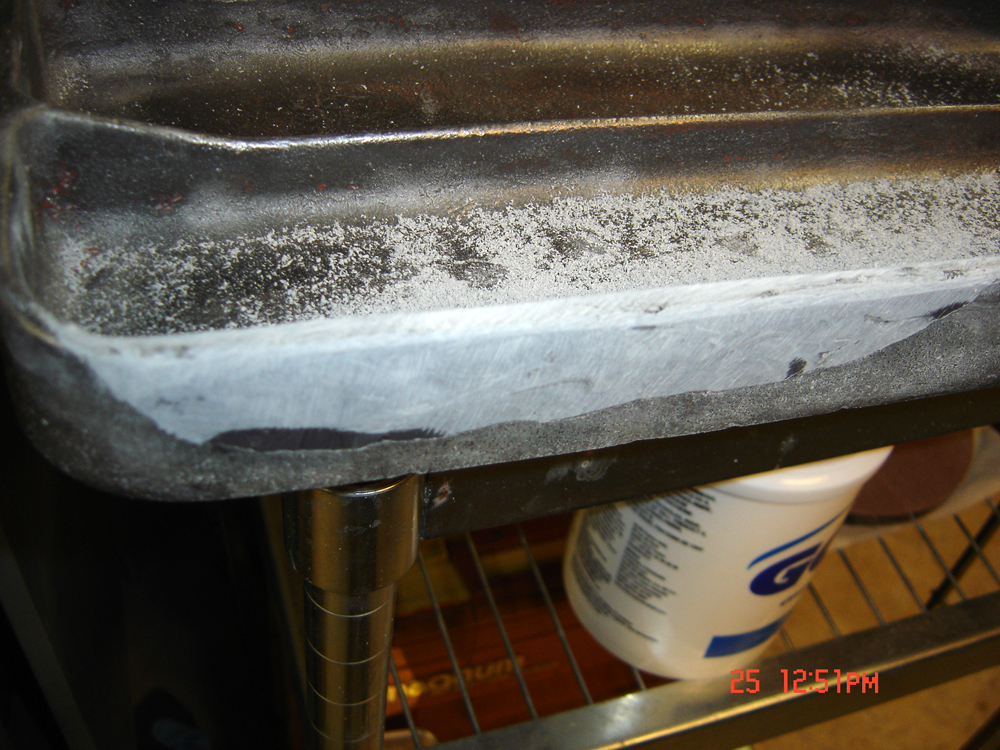
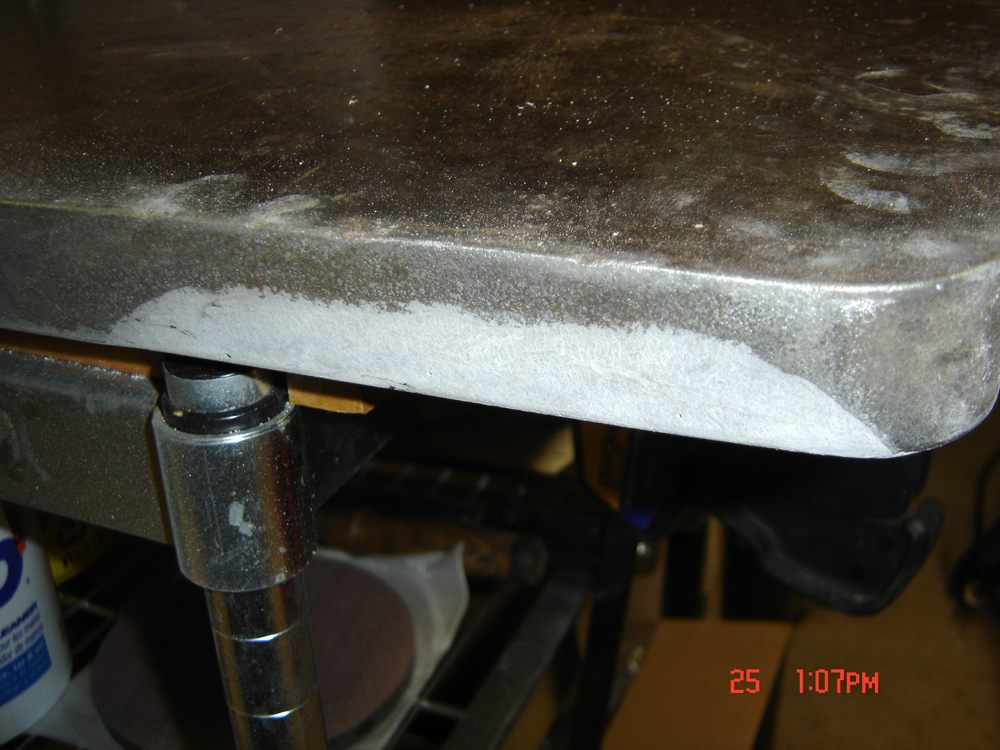
So a few days ago I got busy completing the arbor rebuild and starting the tables. The first thing I needed to do was address the big piece of the table edge that was missing (broken off - see the first post images and you'll see what I'm talking about). Ideally this would have a new piece braised back in, but frankly, I've yet to find anyone locally who I felt comfortable with doing the work. Cast iron is rather finicky - the technique requires heating the metal up to cherry red before welding so that the metals interlock, then allowing to cool slowly (like it sand) so you get a strong joint. When talking to any of the welders around here, the only process they know is to immediately start going at it with rod - after thinking about this a while I decided to just fill it as best I could with JB Weld. Since it's not a load bearing surface and wont be under any stresses, metal-filled resin just seemed easier to me (to work, particularly). I cut a few pieces of hard plastic and made a small form, mixing up the two parts and laying it into the void. The stuff was pretty much self leveling.
 |
| JB Weld within Form |
 |
| Cardboard palette and Popsicle stick applicator |
 |
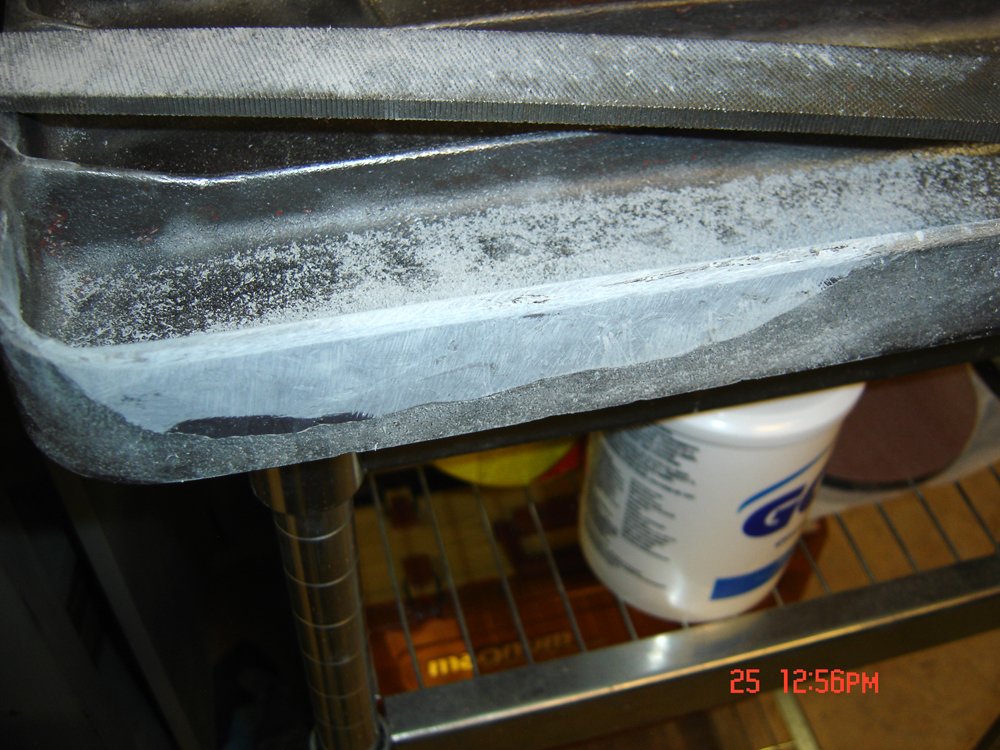
| Allowed to dry and harden over-night |
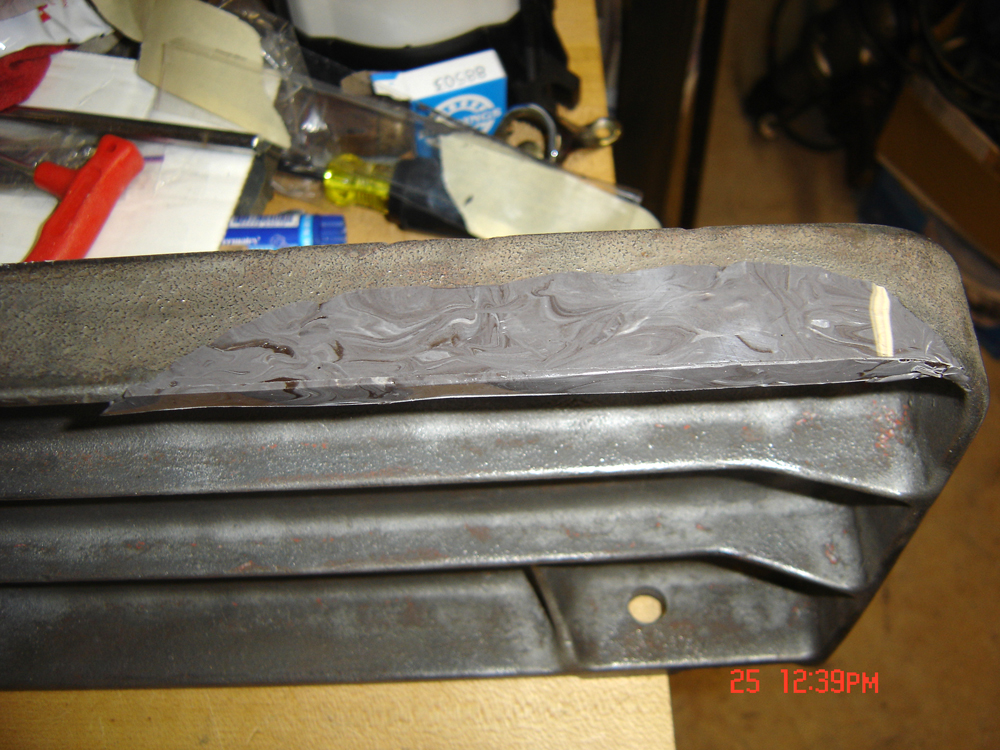
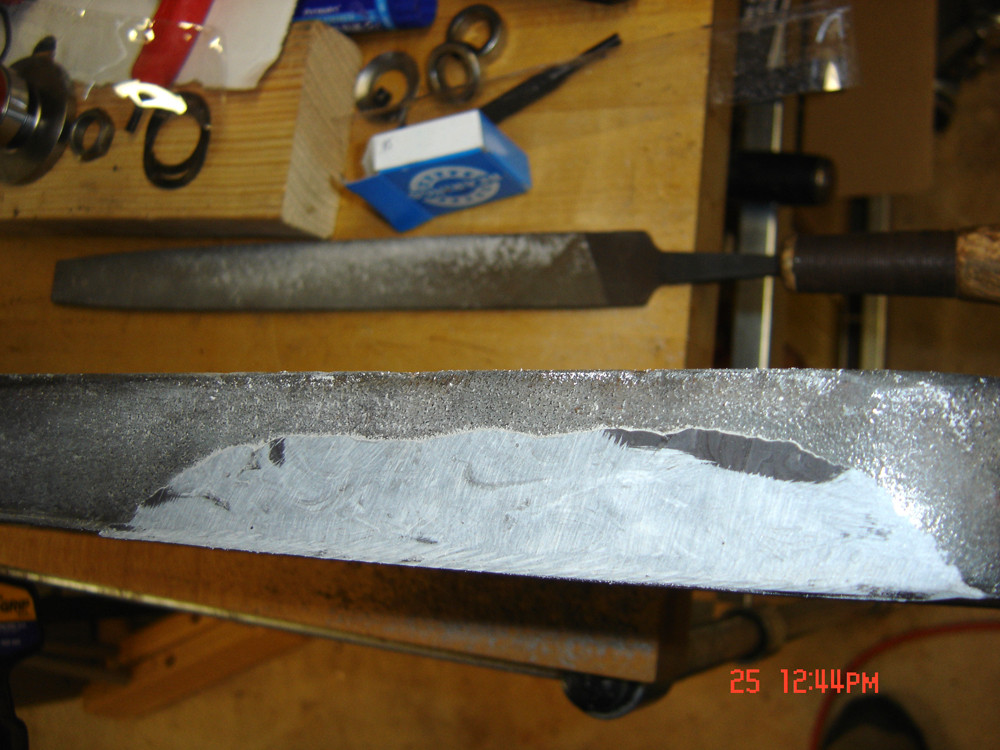
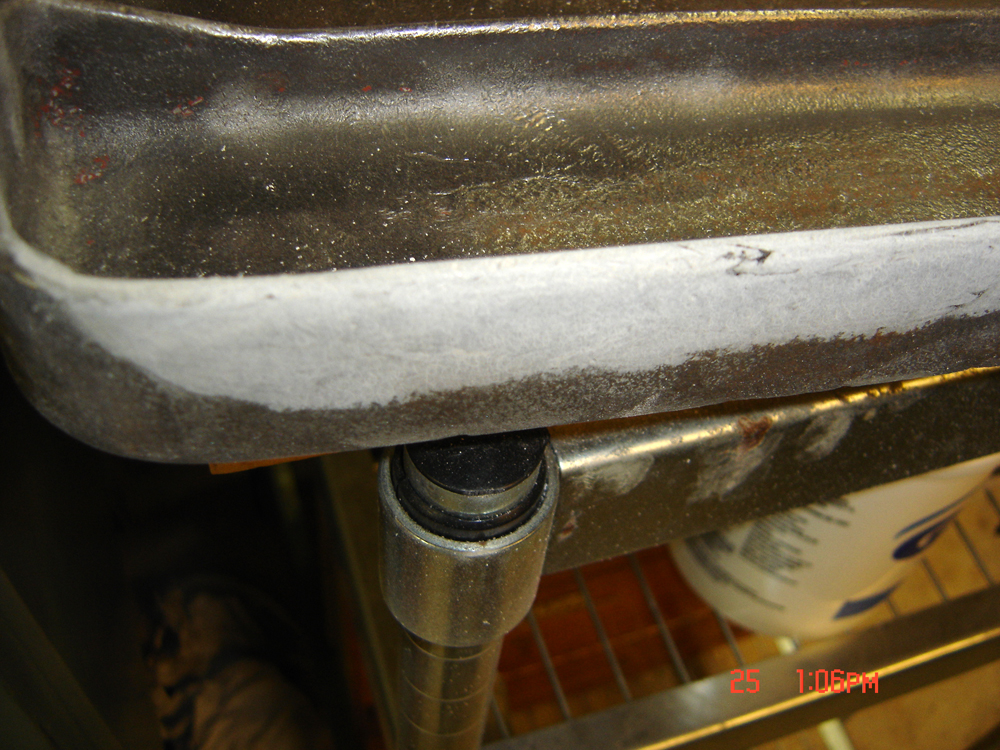
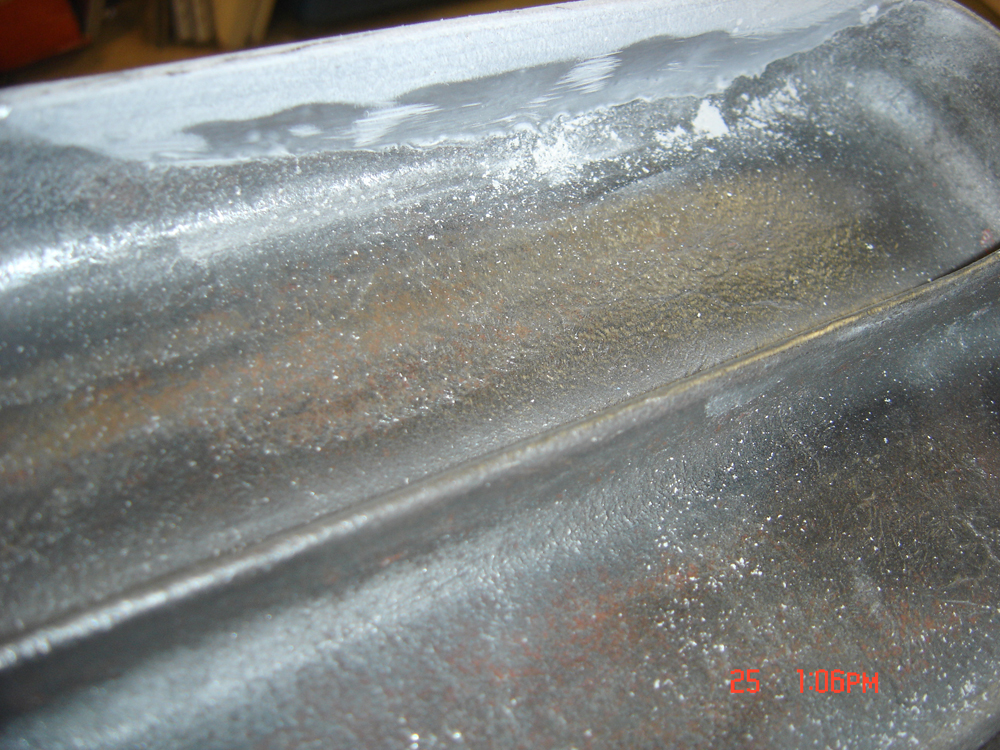
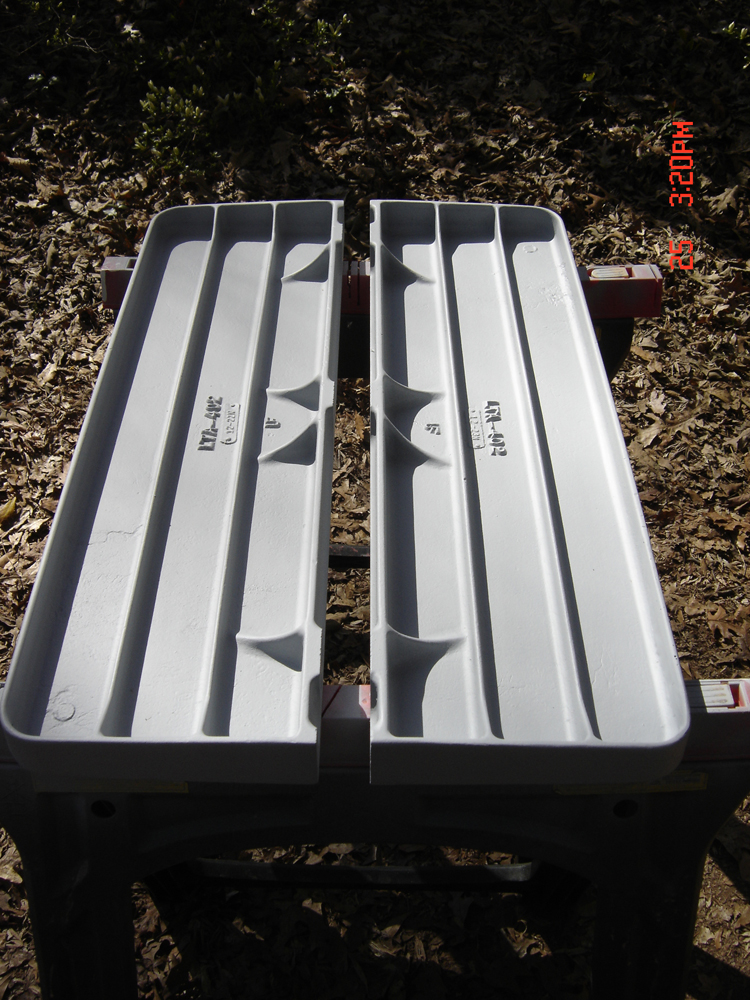
As you can see the color approximated the raw, cleaned cast iron. I continued to work down the resin using rasps, files and finally sandpaper
 |
| Ready for Paint! |
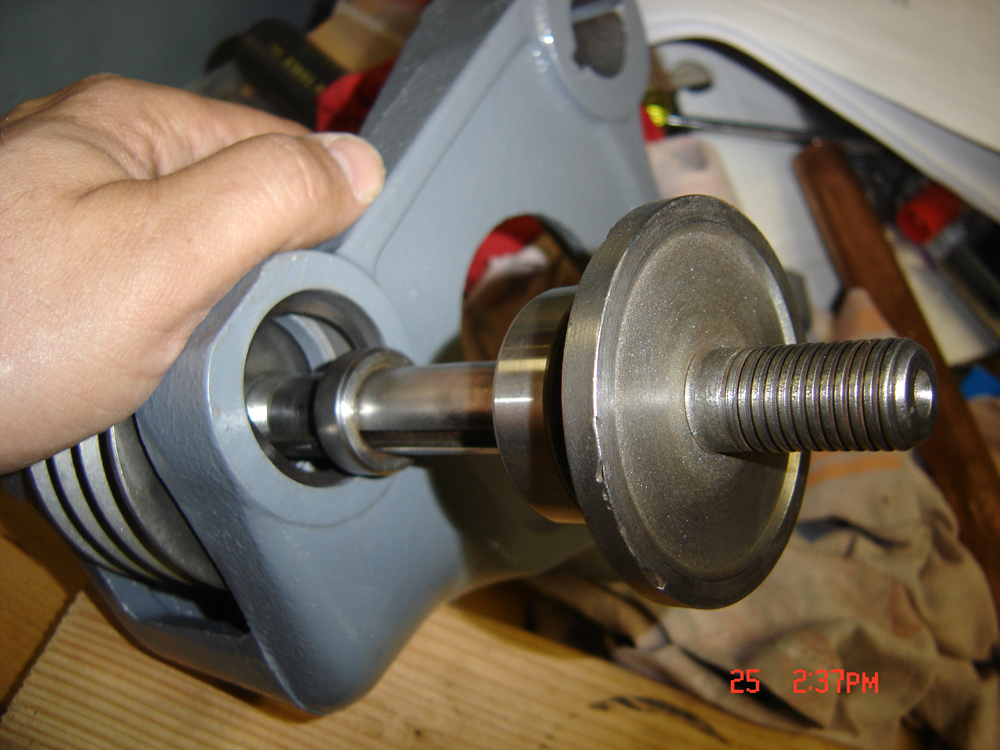
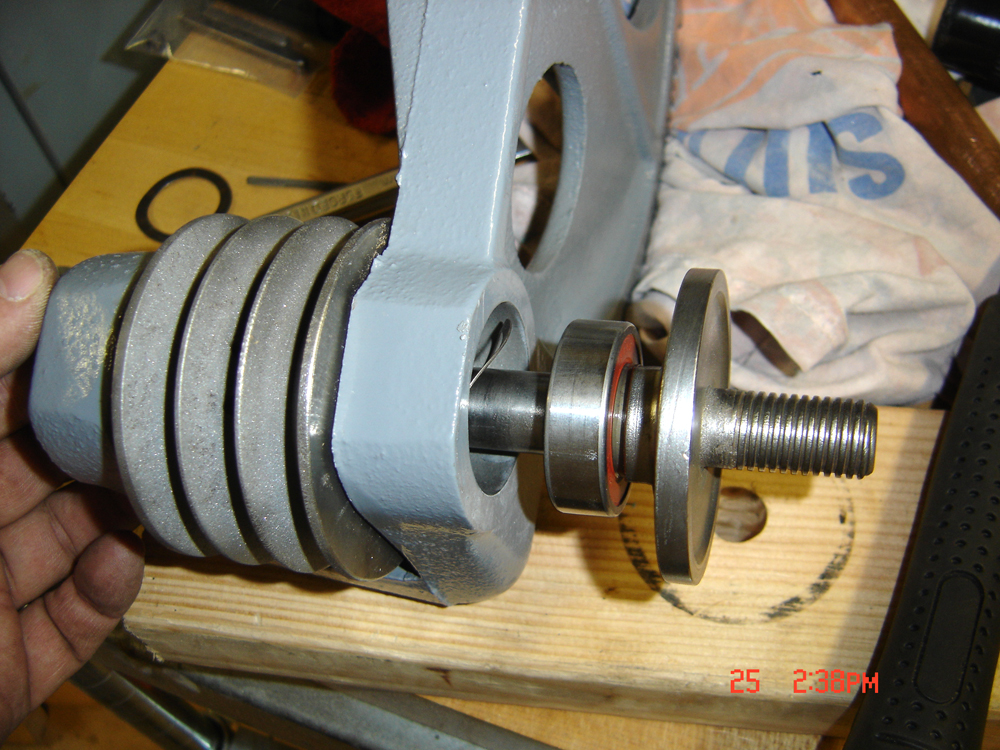
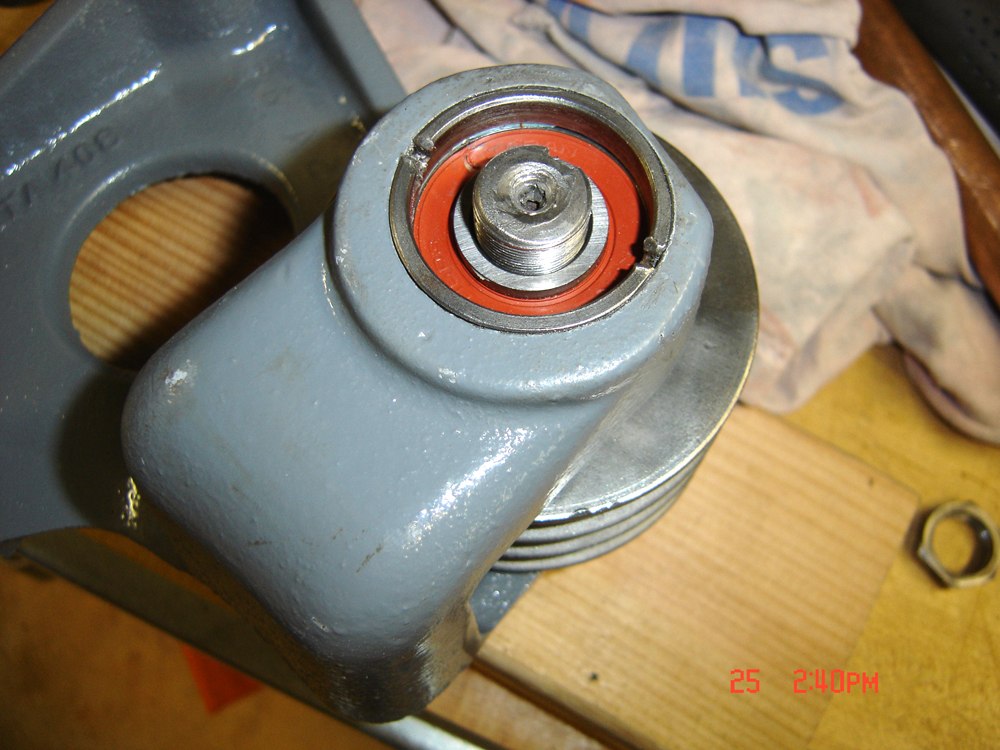
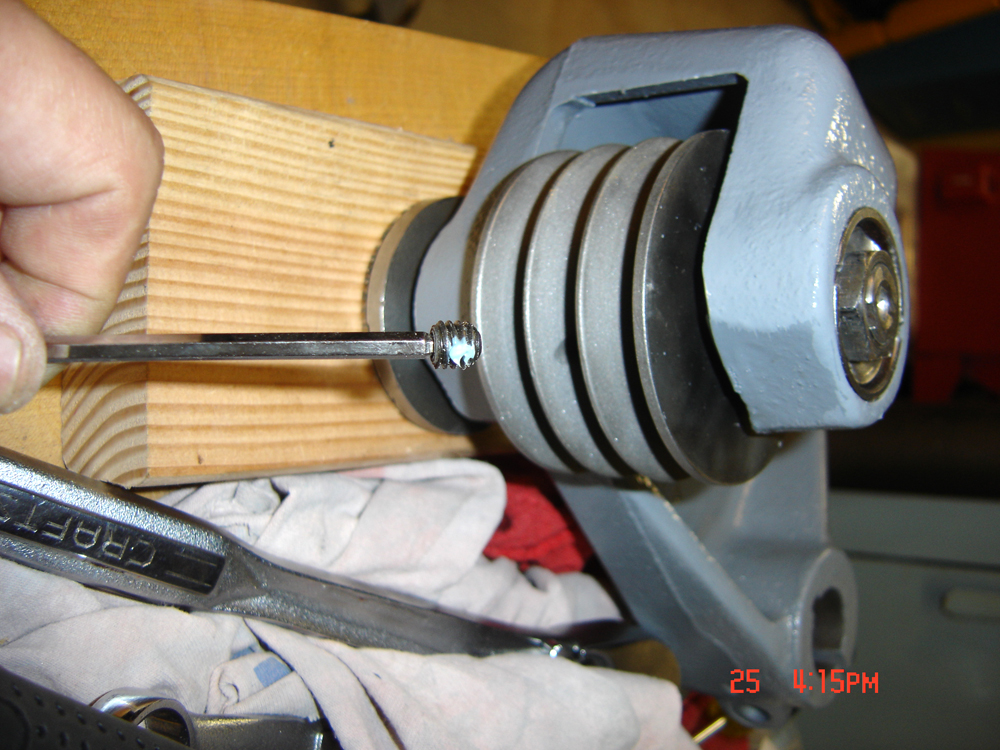
While I starting taping off the tables and wings for paint, I also finished up the arbor rebuild. The first time I put the arbor together I wasn't happy with the result - the pulley could slide back-and-forth along the shaft about 3/32" - the threads on the bearing side were also a bit buggered so the retaining nut wanted to cross-thread. So before I torqued everything down and screwed something up, I took it all apart and made a few posts on OWWM to ask for some opinions. I knew I would need to chase the threads so with it apart it would be easier to get things to go together when assembled. One idea I got from the forum was to put everything together sans bracket so I could see how it would fit - that way I would know how much room I would have for the final nut and belvedere washer. While taking things apart the far bearing nearly fell out of the bearing - so I knew that was probably part of the problem. It was too loosely pressed in (the retaining nut wasn't applying enough force), so apparently what happened was that when I applied pressure on the arbor to press everything into final assembly, it loosened the far bearing - that was the slack I was seeing (understand there was so much slack that the spaces would slide - that's where I got my 3/32" of looseness). The second time was the charm - this time I applied a drop of blue LockTite to the far bearing, then made sure I got the retaining nut very snug. I did have one mishap - the punch slipped and hit the plastic bearing sleeve hard enough to scrape the coating, but not hard enough to puncture (luckily) so I went with the same bearing with the hope that it wasn't bad enough to warrant a replacement (only time will tell!).
 |
| Starting to press the bearing |
 |
| Watch the spring washer so it doesn't get caught |
 |
| You can see the small spot of coating where I slipped |
 |
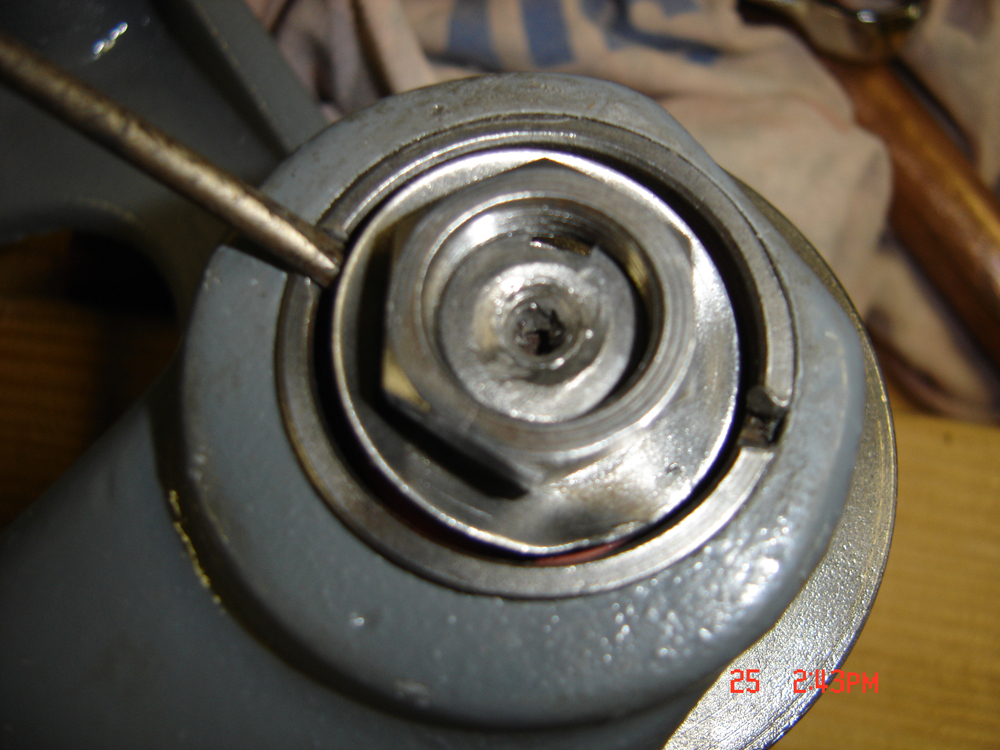
| TIP: Place small screwdriver blade under belvedere washer until nut is tightened |
 |
| Slightly pry upward then go to a larger screwdriver (careful not to hit the bearing sleeve) |
 |
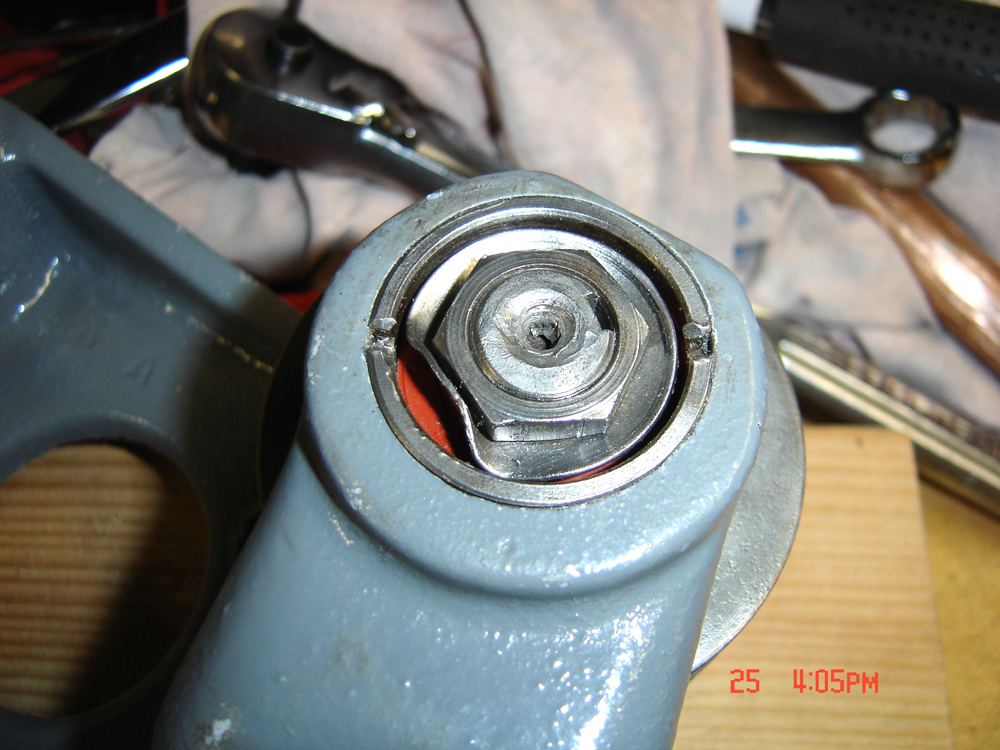
| Final step to add the pulley lock (with a drop of blue LockTite) |
 |
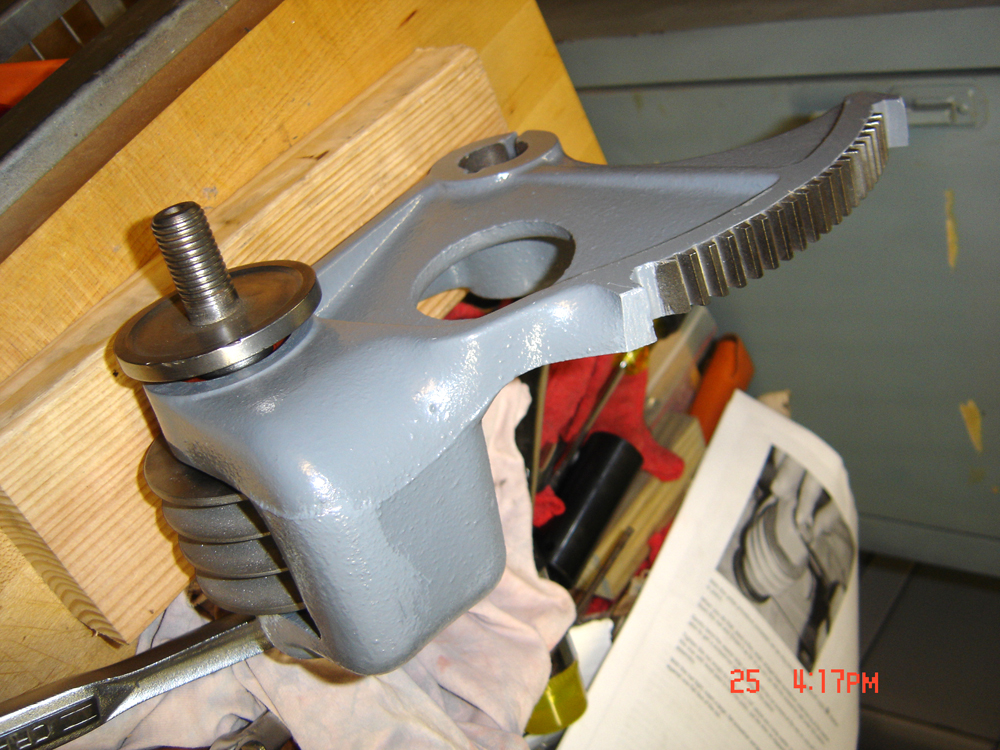
| Completed Arbor Rebuild! |
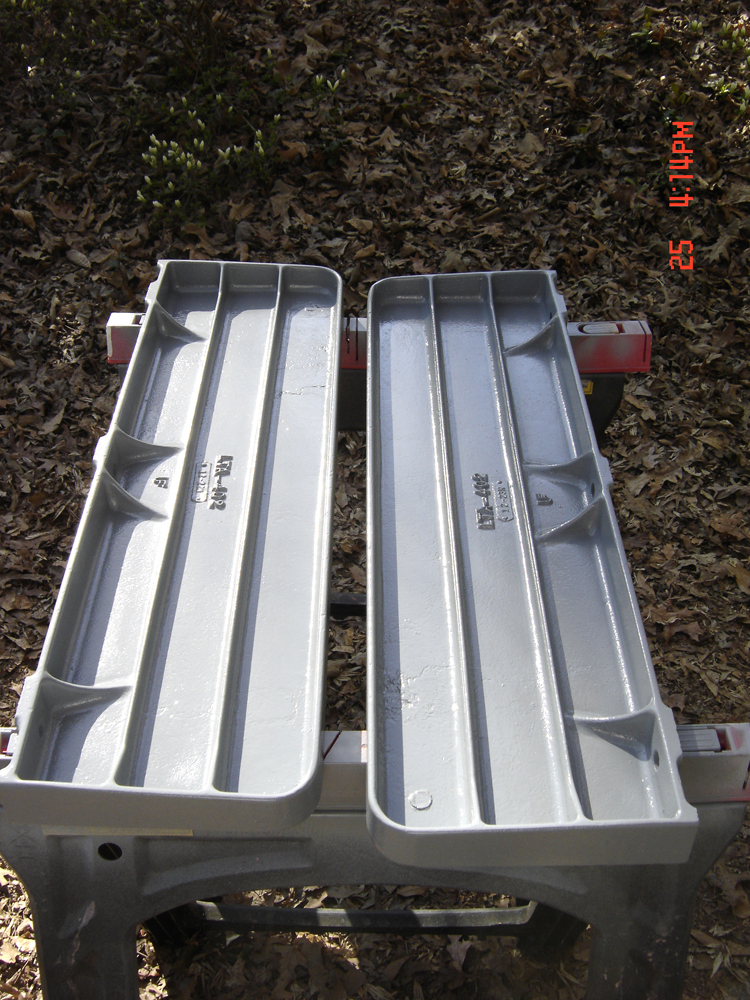
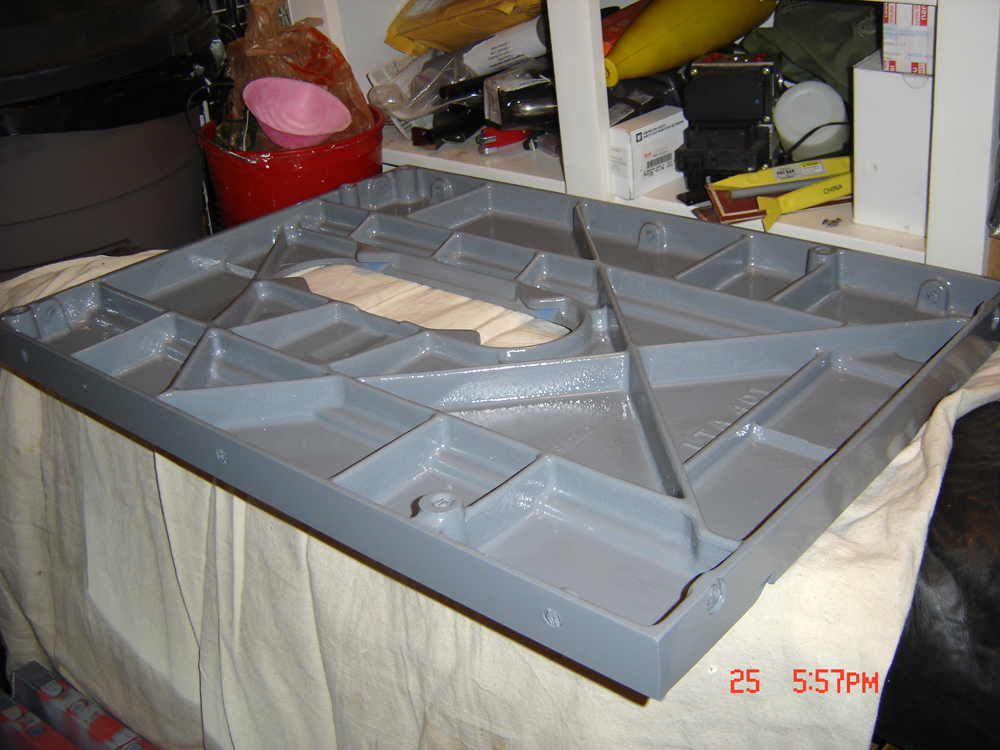
I tried to group the photos together a bit, but in practice I actually went back-and-forth from inside to outside while I hit the wings with primer, then two coats of paint (if you look at the camera times you can see the order). I also got two coats on the underside of the table.
 |
| Primer |
 |
| Paint |
 |
| Table after Second Coat |
 |
| Wings after Second Coat |
In all I feel pretty good about where I am thus far. I still need to finish painting the cabinet, plus the motor cover, cranks, feet and pan, but those will need to wait for a clear day. I'm going to start the sub-assemblies and probably get the motor apart so it can be cleaned, potentially turn down the commutator and fit new bearings (may get new brushes as well).
-- John
No comments:
Post a Comment