Sunday, January 30, 2011

Unisaw Rebuild - Starting the Painting Phase

So this is my latest progress on the 1948 Unisaw rebuild (that I started a few years ago) - OK so there were a few things that got in the way (like building the shop around it, a few bench and furniture restorations, converting the house to a tankless hot water heater, you get the idea) but I'm committing to finishing this build, hopefully in the spring of this year (2011). I won't bore you with the rest of the dissembly - it wasn't too bad except I found a few things that needed replacing, starting with the front Trunnion Bracket - there was a weld done on one of the "ears" that fold over the top and connect the bracket to the case. It's a common area to break - if the cabinet is slammed from the side or tipped over the casting there has a tendency to snap. At first I worked on the weld and was going to paint, when someone on OWWM.org offered one up for sale at a reasonable price. I continued with the dissembly and started media blasting. All of the internal parts are completed and in primer except for the arbor bracket itself - I saved this one for last as I wanted to take some extra care with it. I also started blasting the cabinet (as of today I'm about 5% done on that - multiple coats of paint - why someone would want to lay on red, especially with a brush, I'll never know)).

These photos show the various parts media blasted, cleaned up a bit with a file (anyplace where the casting was a bit rough - I didn't go overboard but figured since I had everything apart I should go ahead and work out what looked really bad), sprayed with primer and in most of these photos, at least half-way painted with Rustoleum Dark Machine Gray (the light gray is the primer). I intend to load up the parts with two coats of Gray. You can't see the tape, but those parts like the gearing that need to be exposed were cleaned and taped off. There's also a wood dowel in the yoke to keep out most of the paint.


In the photos you'll also notice a few new parts that weren't part of the original - Since this is going to be a "user" saw, I wanted the features that I liked best in the Unisaw, starting with the four corner feet instead of the cast iron plinth block (there in the following photos in the back, far right). Besides looking better to me than the plinth, it also provided me with the option of adding a dust shoot from the bottom - I remembered someone on OWWM.org offering up a custom welded plated and contacted him - got this for a very reasonable price (it's in the second photo below, far right). I also found a reproduction goose egg motor cover that will allow me to seal things up better for the DC - that's the big mound.


While media blasting I found another issue - one of the cranks was cracked across a spoke - I put a WTB on OWWM.org and had one on its way in a couple of days. I also spent some time cleaning up the "Delta" door plate - used acetone, rubbing with a lot of patience and it came really clean (surprisingly) but did take some time. The last photo is of the arbor parts (cleaned and polished on a brass wheel) - next step is to blast/prime/paint the arbor bracket and set the bearings.


-- John

Wednesday, January 26, 2011

Rust Hunting in Georgia - January Estate Sale

I managed to hit an estate sale last Friday and picked up a handful of tools. Someone in the family was a hobbyist woodworker - the largest piece of equipment was an older Shopsmith with a full compliment of accessories (bandsaw, etc) - there was also a European bench that was already long gone when I hit the sale (probably a good thing as I wouldn't have room for it anyway and they tend to be very pricey).


Most of the prices were reasonable to high (as usual) - I passed on a later model Disston handsaw at $10 and a few other tools, but did manage to pick up a set of Footprint cabinet maker screwdrivers - these are the flat haft type with oblate handles in beech. I also found a #15 SnapOn Phillips driver, a "Sears" marked grinding wheel dresser (appears unused), a rosewood handled putty knife (partial to those) and a Sargent hole punch (second of this type I've found). Most items were in the $1-2 range with $25 on the screwdriver set. Nothing real special here but all good user tools.


Footprint Bench Screwdriver Set

Made in England

Snap-on SSDP102

Sears Grinding Wheel Dresser

Super Hyde Putty Knife

Sargent Hole Punch


Not too bad for a brief stop. In particular I've been thinking about a set of cabinet drivers so those are very welcome.

-- John

Saturday, January 15, 2011

GWA Field Trip to Makita Plant in Buford GA

On January 8, 2011 the Gwinnett Woodworkers Association made a field trip to the Makita plant in Buford, GA. We arrived about 8:00 AM to a brisk morning (this was before the snow/ice that hit Atlanta and locked up the city for a week).


I knew that the plant existed and I believe the club may have visited it many years in the past, however this was my first trip so I wasn't sure what to expect. There's an interesting "Makita Workshop" room where all their current hand tool line is on display - I was especially impressed by their "beam saw" - basically a circular saw with a blade large enough to cut timbers for timber framing (wish I had gotten a good photo of it - I want one!).


Our hosts were very cordial and offered up donuts and coffee (you can see the empty box in the photo above). There was a separate table with many of their more common hand tools in "cut-away" form (love stuff like that):


The main demonstration and classroom is in an adjoining room - there were so many in attendance that we filled that room and over-flowed back into their Workshop (I took these snaps through the door):


The talks centered around some of Makita's award winning technology (batteries and their most recent brushless motors). In the next room we got to try out many of the tools (driving screws, etc into wood) - I think they gained many converts to battery tools from our group:


One of the things I really like about the GWA are these field trips as they allow us to view and experience woodworking related subjects that we would normally only see in photos (like these) or in video. I think everyone had a great time.

-- John

Tuesday, December 14, 2010

Basement Shop Progress Pics 2010.12.12

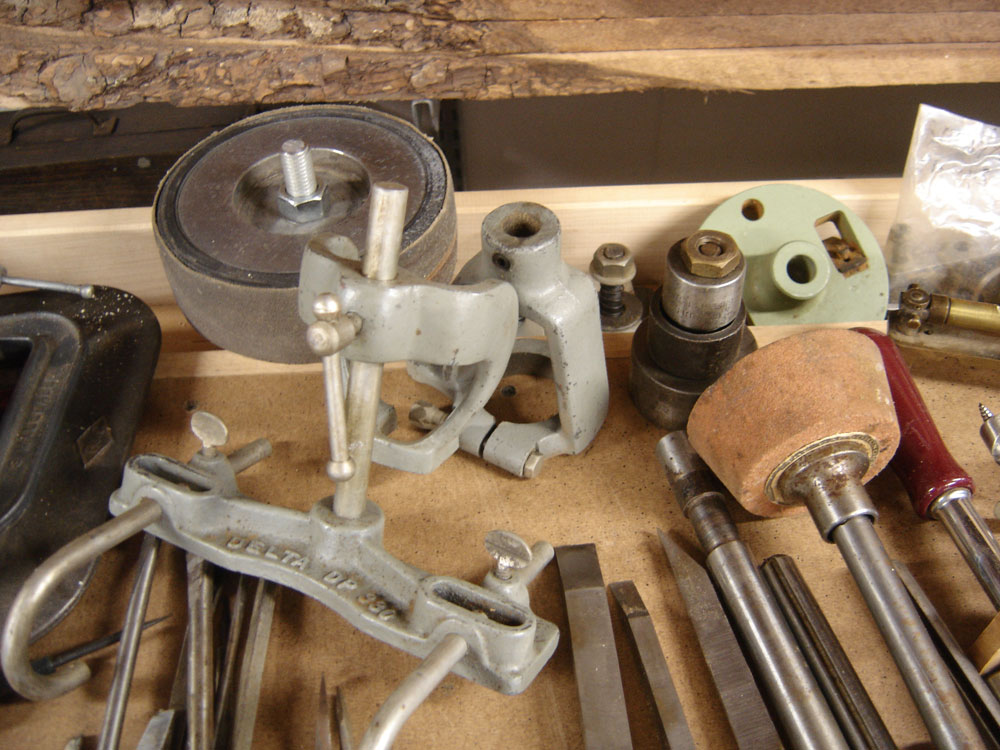
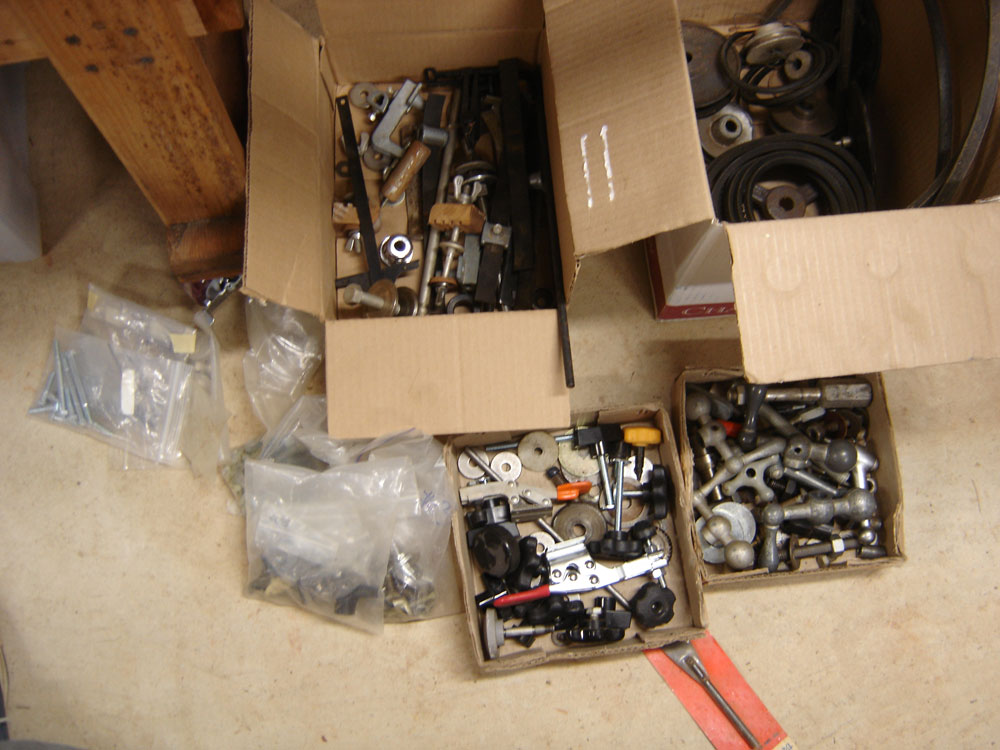
I figured it had been a while since I posted images of the shop - at this point I guess the shop is really an ongoing effort - I'm not sure if I'll ever get it to the point where I'm totally satisfied. From the last group of images, I've put in the central pipe for the dust collector and started placing my workbenches - but it finally hit me that I've got too many tools, so many of my project tools will need to go - some I'll put on CraigsList while others I'll part out an put on eBay (or list on the Old Woodworking Tools org site as sale items).

This first image shows how I tied in the Grizzly Cyclone into the over-head duct system. I tried to minimize what was overhead and did so by running a main trunk line down the center of the room with "y"s leading to each side (one exception was a duct running along one end with drops to a long bench which I'll show below). There are also two floor standing drill presses shown, both 14" Deltas (the one on the left was probably from a school shop with "DRILL PRESS" stenciled on the side. The one on the right is a very old 1937 Delta model with split-phase motor and round cast iron stand - got that one for $15 (it's in an earlier post). They both run but that older model needs a tug on the belt - need to figure out that motor soon.


 Here's a shot of the duct work - note that to maximize space I've suspended my longer clamps from the ceiling using "J" hooks they sell at Home Depot - it's very effective. I added some additional "y"s for future expansion with covers mounted over them. The cover you see will go above the bench mounted on the wall to the left.


This is the main trunk looking towards the back of my shop - note the old turning tool display mounted on the door - I was given that during one of the GWA shop tours and thought it would be a cool way to display some of my older turning tools (they're old Buck, Walker Turner Driver Line and Delta - non-HSS).


Towards the other side the ducting runs next to my ambient dust collector - I got this brute during an Amazon sale for $130 - it has both a remote control and timer and works very well in clearing all the airborne dust - I can set the timer for 30 minutes and the dust is gone by the next time I come into the shop.


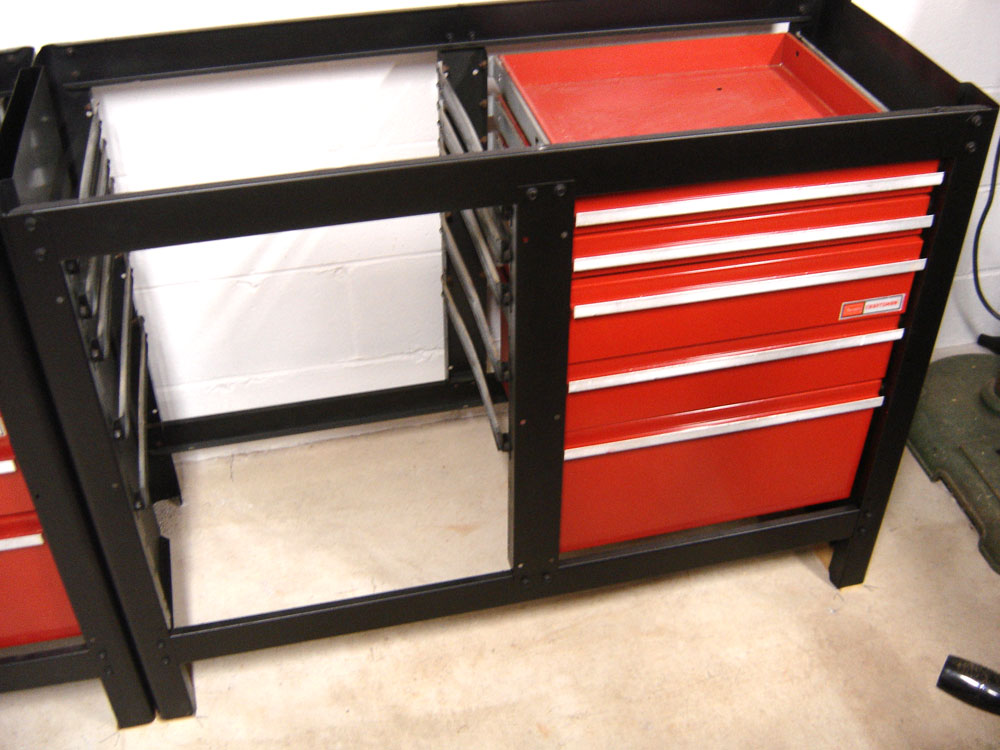
Now on to the "new" workbenches - I originally had planned to build a long bench along the far wall next to the dust collector. Last year I went to an estate sale in the neighborhood (a neighbor was relocating to Florida for a job) and got these two Craftsman all-metal workbench cabinets (no top) for $10 each - I wish I had taken a photo before I cleaned these up - they were basically a rusty heap from being stored in an unconditioned storage building outside. I treated the rust, sanded, then shot these with primer and rustoleum. I didn't spend too much time on them since they were going into the shop - I think they turned out looking nice (there is a little pitting on the lower drawers but you have to get in close to see them. Here's the left 8 drawer cabinet:


And here's the right 10 drawer cabinet:


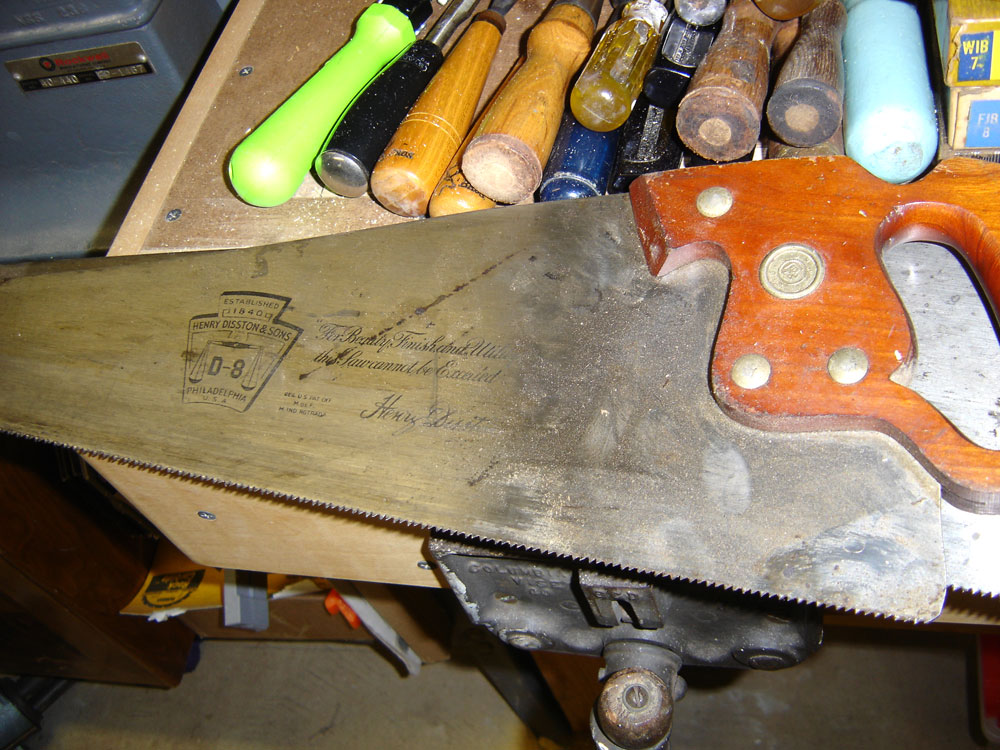
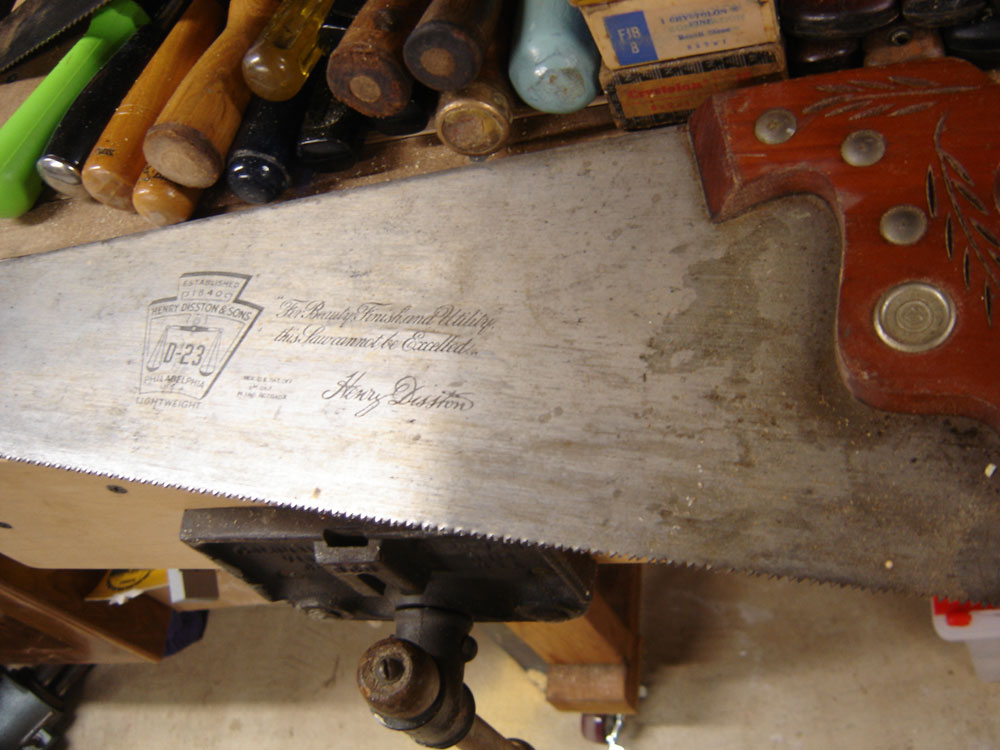
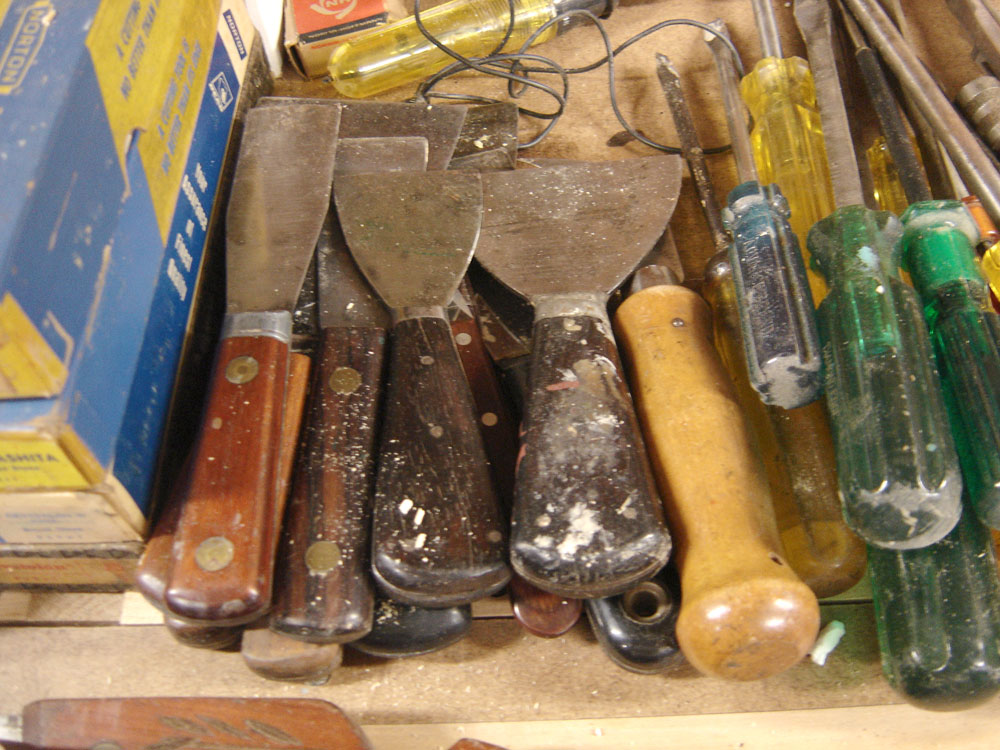
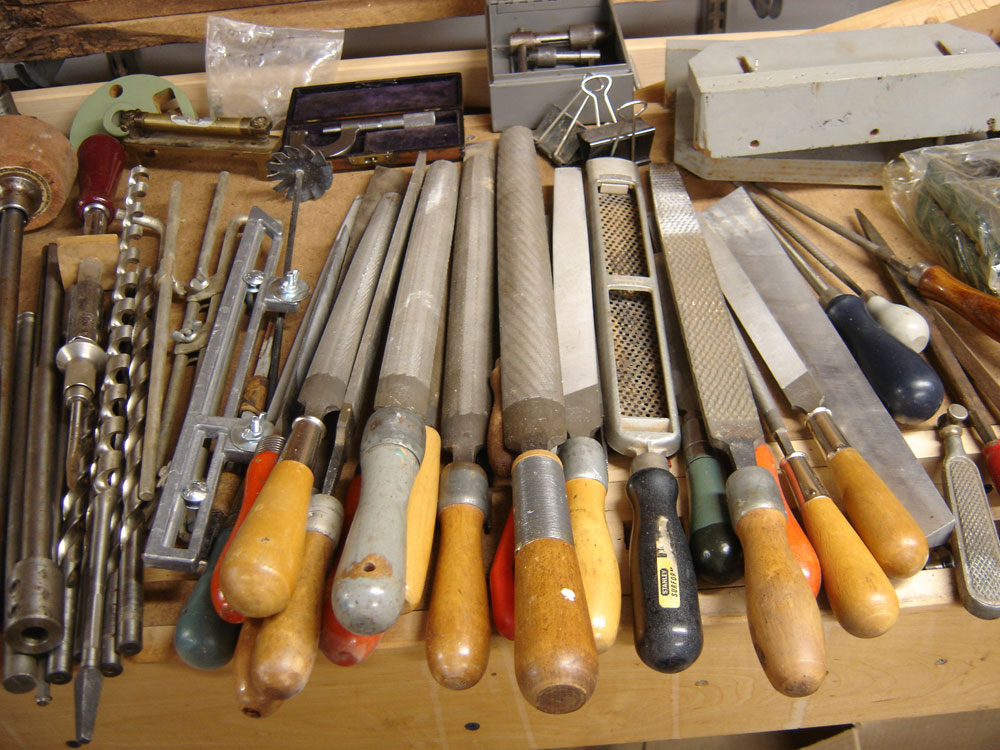
I put a few chisels into the left to see how they would work out - all of these are users:


You can see some of the over-spray and the drawer glides - like I said previously I didn't spend much time doing these and just wanted the rust gone. I used some 1/4" nuts and bolts to mount the two cabinets together.


Next I had to figure out what to do with the top. I wanted to mount a radial arm saw in the middle but wanted a base for it, as well as some work space before elevating the ends to support stock. I was driving through the neighborhood and spotted some open cardboard boxes with wood sticking out on the curb - it ended up being two boxes of pre-finished maple flooring. The ends were slightly "dirty" and weathered - I believe they were exposed a bit to the elements and probably left-over. In any case, I'm glad the neighbor was throwing them out as I think they'll make a fine workbench. Not bad for free. You can see my Dewalt MBF on the table behind the stack - that's going in the middle of the workbench.


I spent some time getting the cabinets as level as possible - those are cedar shakes custom cut to be hidden yet provide the leveling I needed for the benches. I marked the floor in case I needed to move the unit (which I probably will need to in order to attach the top).


So I next needed to figure out the top. I decided to cut tongues along each cut end so they will fit into a groove in a skirt - the skirt will be made of maple and would attach to a sub-frame made of 1x material - I wanted to get the base as low as possible so it's just slightly larger than the cabinets. There are some holes in the top of the cabinet that are used to attach a top. This is the sub-frame with a piece of maple flooring to illustrate the overall idea. Each board will extend from back to front.


I built the sub-frame using pocket screws - it's amazing how well those guys work - each joint is also glued with Titebond 1:


Since I wanted to be able to take everything apart if needed, I had to devise an assembly/disassembly plan. Bolts would come up through the cabinet and into nuts/washers in the sub-frame. The top will be one unit held together with the skirt, then screws would be used from the skirt to attach to the edges of the sub-frame. To pull this off, the sub-frame needed to have counter-sunk holes. I did these using a forstner bit in a hand-drill. Note, to start I first marked the holes using the actual hole placement from the cabinets then drilled for the bolts with the frame upside-down - that way they would align from the bottom. I next flipped over the sub-frame right-side up and used a spade bit to start the counter-sunk hole (if you've ever tried to hand-hold a forstner you'll know why I did that first) - once the hole was started I switched to the forstner and drilled down to a depth that would allow the bolt to clear and still have room for a washer and nut. Here's what that looked like.


I'll take additional shots when I finish the top - the weather was nice this fall so I got back on my Unisaw restoration, media blasting parts and getting primer, and in some cases some finished coat on them. More pics soon.

-- John


Wednesday, December 8, 2010

Rust Hunting in Georgia - August Estate Sale


 Have you ever been to one of those bittersweet estate sales where there's tons of wonderful items but most have either been sold or are out of your price range? I actually like those as there are many possible gems to be found. In this case, a member of my woodworking club (GWA) passed away and another member was helping to liquidate the tools and clean out the basement. There were some great vintage items there including an old Delta drill press, a Powermatic 12" planer in unbelievable condition, a Dewalt RAS, an older Delta Shaper and an amazing Rockwell Gap-bed lathe. By the time I had gotten there the better items had already been picked through and were gone (including an old Delta mortise sled) - the better stationary tools were either pricey or I already own an equivalent so I couldn't justify purchasing. What was left were many of the handtools hanging on racks or pegs on the walls - good thing I like those sorts of items as well (actually I've gotten to the point where I prefer handtools over power).

The great thing about those items I ended up with is that because no one being interested in them, I was able to pretty much buy the "whole wall" or the "entire contents" of cabinets and drawers. There were a couple of interesting hand saws, in really great shape with very little use (still sharp!).


Also included were a big pile of chisels, all very well honed with protectors on the edges...


And I'm always on the look out for sharpening stones...


And check out these rosewood handled putty knives...


And old American made screwdrivers...


This is a pile of steel American made clamps...


And just to add to the mix are these machine bits (that's a Delta mortiser and several Delta spindles)...


One of the real finds were these carpenter rasps - all carefully used and sharp, and of course American Made! There's an interesting brass level (plumbers probably?) and a Brown and Sharp 1" micrometer in the back along with a couple of Tap handles and brace bits to the left...


Better view of the spindles and some super large/heavy mortise chisels...


Some awls, a burnisher and a couple of combo-rasps, a bearing scraper and metal file holder...


Close up of the micrometer and level (that's also a Dewalt RAS planing attachment in the back left)...


Boxes of misc hardware, motor pulleys, belts and machine handles...


I did score this great Delta grinder with sharpening fence (dirty paper too!)...


And finally, this really cool deco metal cabinet - hard to believe all this stuff fit in my SUV...

The cabinet has ended up being my storage container for finishing supplies. All in all, a good haul of items I really didn't need but couldn't leave behind...

-- John