So this is my latest progress on the 1948 Unisaw rebuild (that I started a few years ago) - OK so there were a few things that got in the way (like building the shop around it, a few bench and furniture restorations, converting the house to a tankless hot water heater, you get the idea) but I'm committing to finishing this build, hopefully in the spring of this year (2011). I won't bore you with the rest of the dissembly - it wasn't too bad except I found a few things that needed replacing, starting with the front Trunnion Bracket - there was a weld done on one of the "ears" that fold over the top and connect the bracket to the case. It's a common area to break - if the cabinet is slammed from the side or tipped over the casting there has a tendency to snap. At first I worked on the weld and was going to paint, when someone on OWWM.org offered one up for sale at a reasonable price. I continued with the dissembly and started media blasting. All of the internal parts are completed and in primer except for the arbor bracket itself - I saved this one for last as I wanted to take some extra care with it. I also started blasting the cabinet (as of today I'm about 5% done on that - multiple coats of paint - why someone would want to lay on red, especially with a brush, I'll never know)).
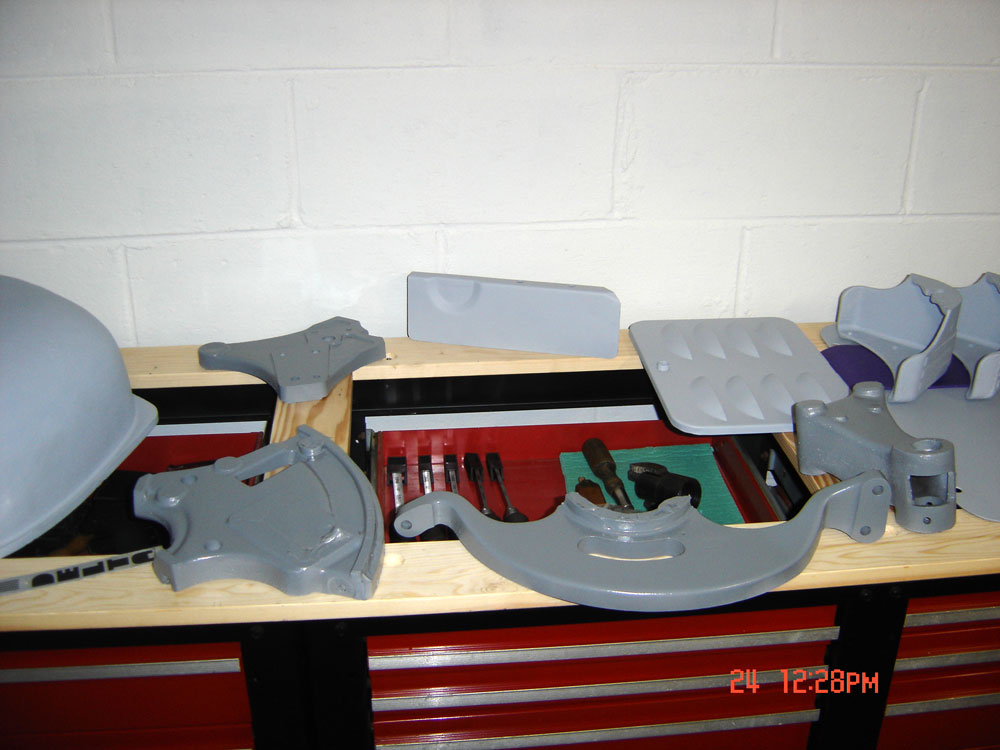
These photos show the various parts media blasted, cleaned up a bit with a file (anyplace where the casting was a bit rough - I didn't go overboard but figured since I had everything apart I should go ahead and work out what looked really bad), sprayed with primer and in most of these photos, at least half-way painted with Rustoleum Dark Machine Gray (the light gray is the primer). I intend to load up the parts with two coats of Gray. You can't see the tape, but those parts like the gearing that need to be exposed were cleaned and taped off. There's also a wood dowel in the yoke to keep out most of the paint.

In the photos you'll also notice a few new parts that weren't part of the original - Since this is going to be a "user" saw, I wanted the features that I liked best in the Unisaw, starting with the four corner feet instead of the cast iron plinth block (there in the following photos in the back, far right). Besides looking better to me than the plinth, it also provided me with the option of adding a dust shoot from the bottom - I remembered someone on OWWM.org offering up a custom welded plated and contacted him - got this for a very reasonable price (it's in the second photo below, far right). I also found a reproduction goose egg motor cover that will allow me to seal things up better for the DC - that's the big mound.


While media blasting I found another issue - one of the cranks was cracked across a spoke - I put a WTB on OWWM.org and had one on its way in a couple of days. I also spent some time cleaning up the "Delta" door plate - used acetone, rubbing with a lot of patience and it came really clean (surprisingly) but did take some time. The last photo is of the arbor parts (cleaned and polished on a brass wheel) - next step is to blast/prime/paint the arbor bracket and set the bearings.
-- John


3 comments:
Can't wait to see it. Is the motor the big thing that looks like a pig?
Yup - bit 1 HP Repulsion Induction.
Where did you get the goose egg replacement?
Post a Comment